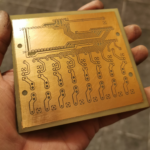
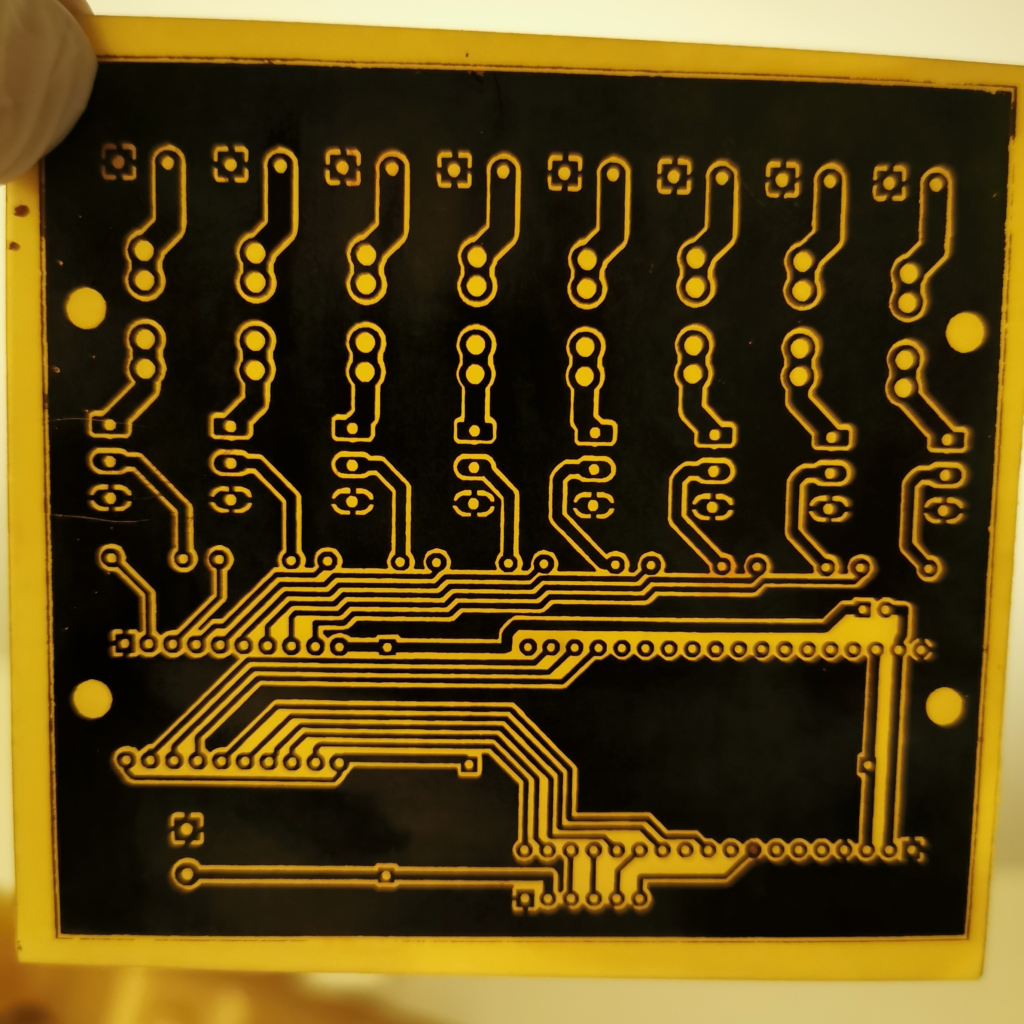
I had a need recently to make a quick PCB for a pixel controller I’m working on, and I usually send them off to a fab to be manufactured. Sometimes I’m a bit impatient, and this was a fairly straightforward design, single sided for the most part, so I made a couple with the DIY technique described below.
Edit: Youtube link at the bottom if you prefer video content…
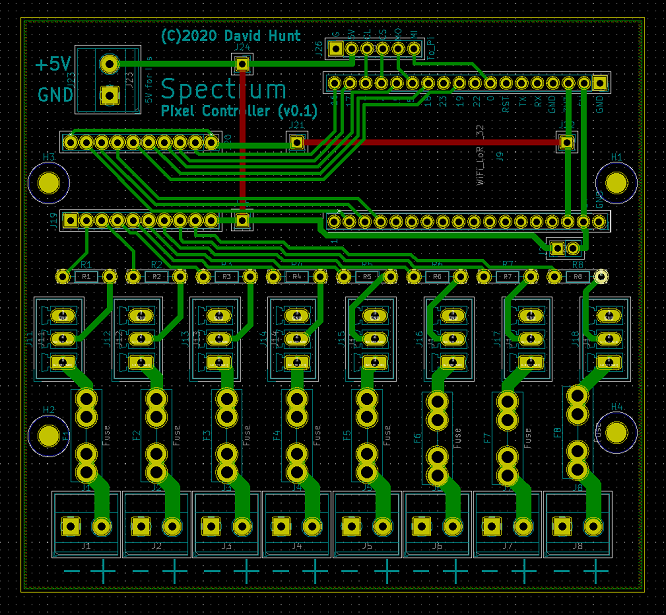
First I designed the PCB in KiCAD. I usually use Eagle, but this was bigger than what’s allowed under the free lcience, and I wasn’t going to start an Eagle subscription at $15 a month, so I switched over to the excellend KiCad.
I use a few different techniques, but this one is going to use toner transfer. I find that photographic paper in a laser printer works really well. The image is nice and sharp, plenty of contrast, and the interesting thing here is that the plastic surface of the paper bonds to the copper using the ink as a kind of glue, which results in a really thick mask that’s well resistant to the ferric chloride. For this I use Kodak Everyday Picture Paper.
So when we’re looking at the PCB, the layer we’re printing is the bottom, so we don’t want to mirror it, we print it as is.
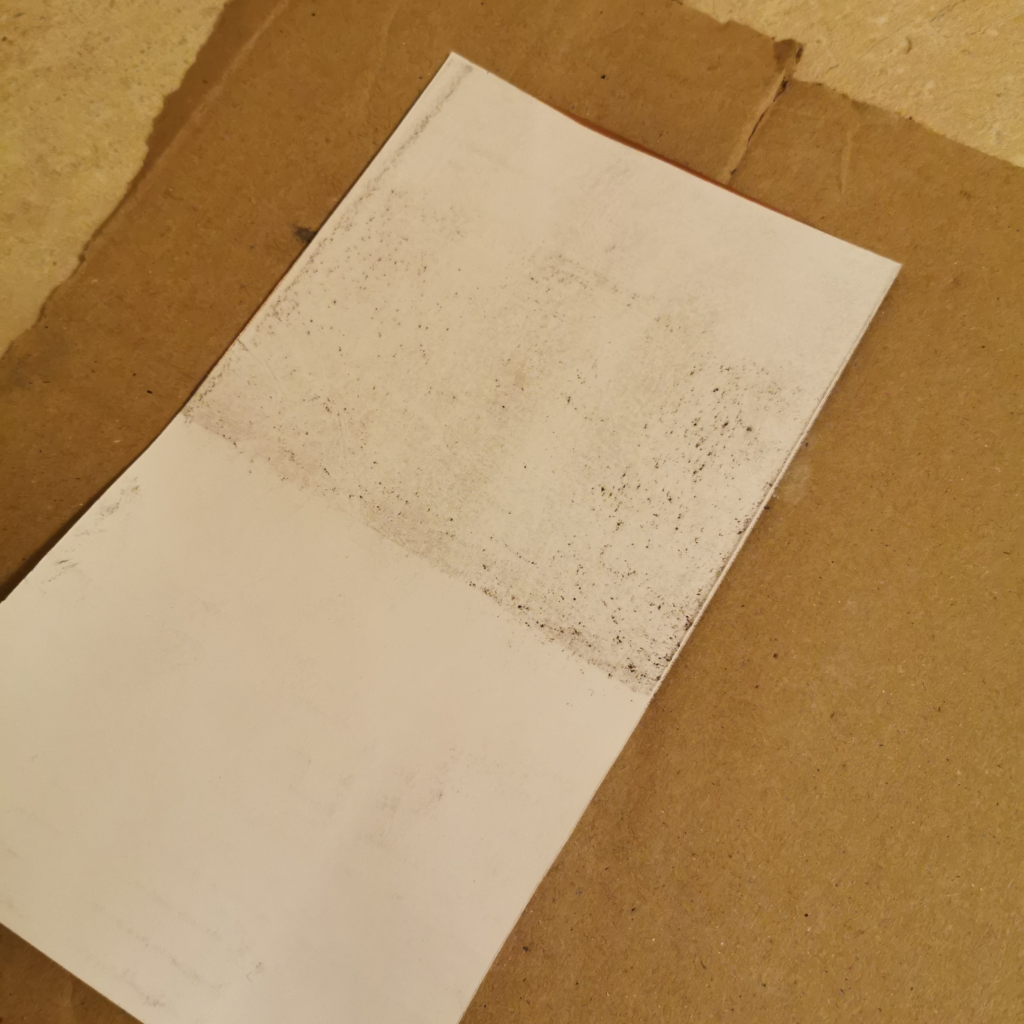
In the printer driver for my Brother laser printer, there’s an option to print lighter or darker, so I chose maximum darkness.
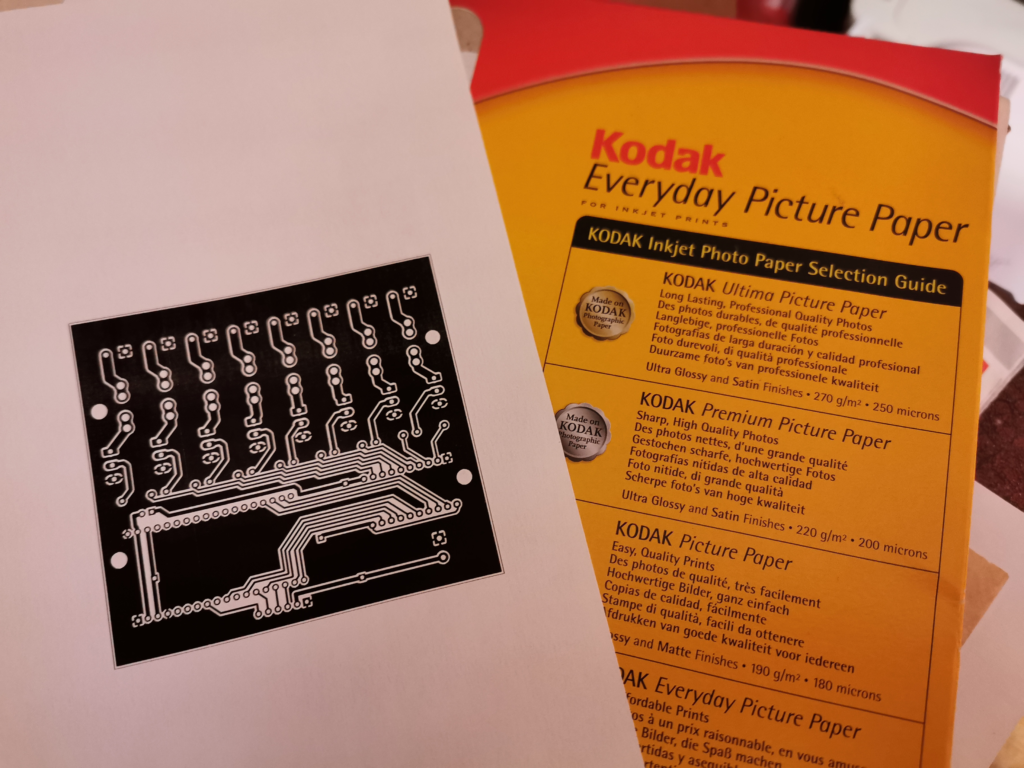
Nice ‘contrasty’ image. Next to iron it onto the PCB. I usually put down a sheet of cardboard, then the PCB face up, then the picture paper face down, then a layer of greasproof paper just to let the iron slide around a bit easier.
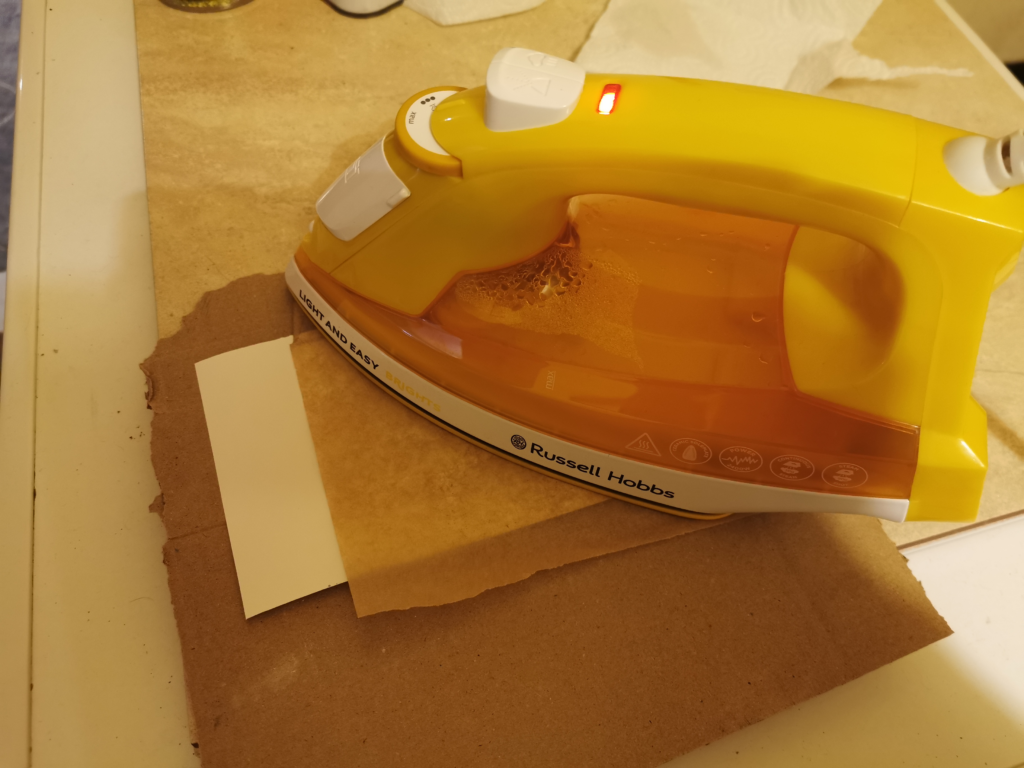
I set the iron to max temperature, wait for it to get up to heat, then set a timer for 60 seconds. Start the timer, then start ironing. I make sure to apply firm, but not leaning on the iron. That might bond the non masked areas as well as the masked areas. Practice makes perfect. When taking this series of images, I got it right first time, so it’s possible to get it right almost every time once you’ve practiced the pressure with the iron. Be sure toput a good bit of pressure at the edges with the edge of the iron, as the edges can to be problematic.
The paper is nicely bonded to the copper, so now we just dunk it in cool water for 10 mins. Give it a good soaking.
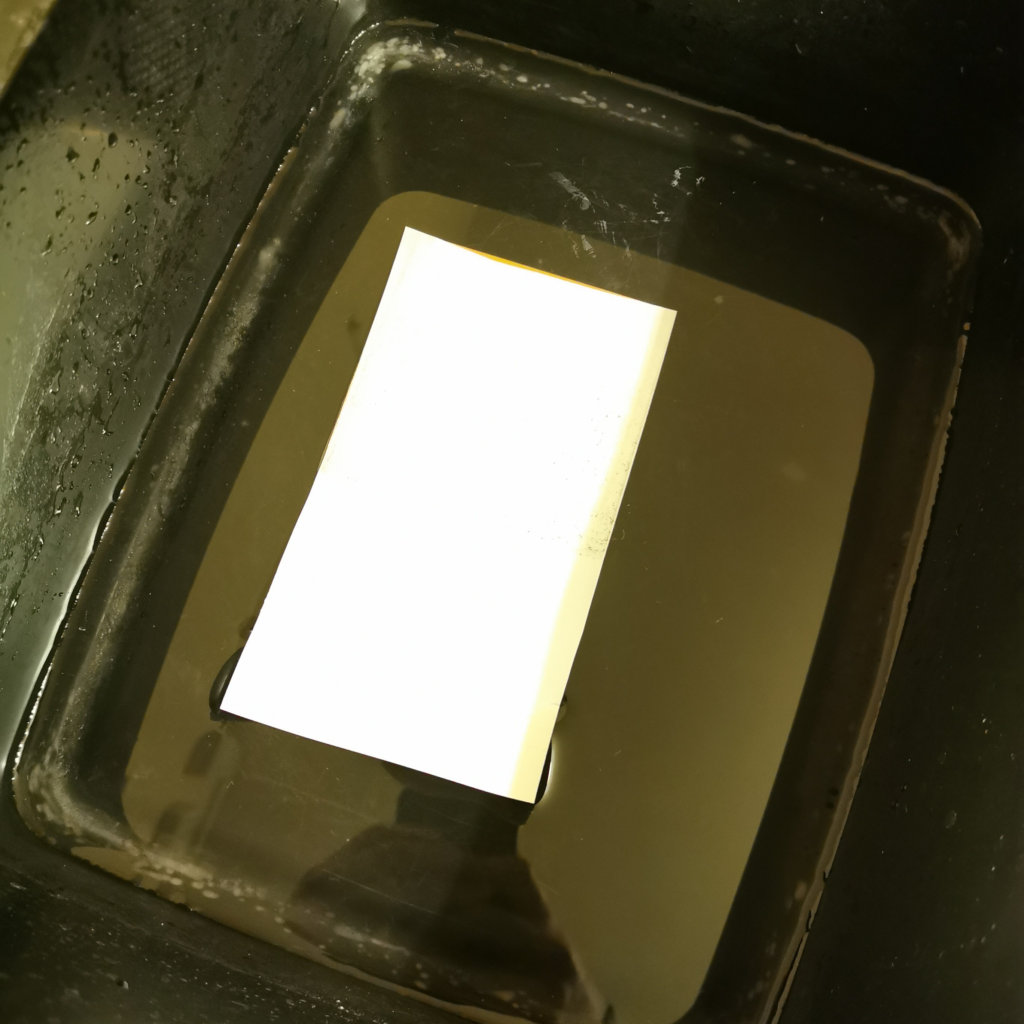
Since photo paper tends to be thick, you probably wont see the imprint as the paper soaks, as you might with magazine paper, but I think this gives much better results.
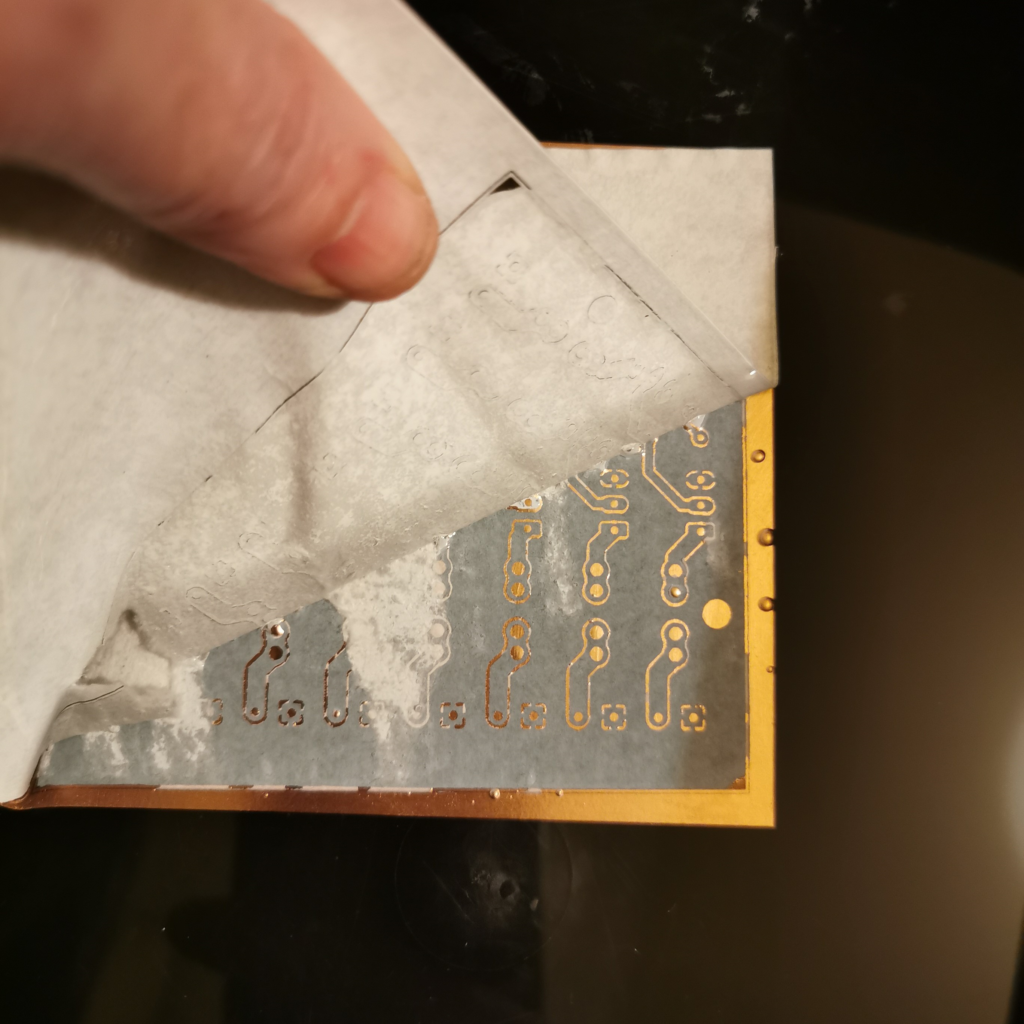
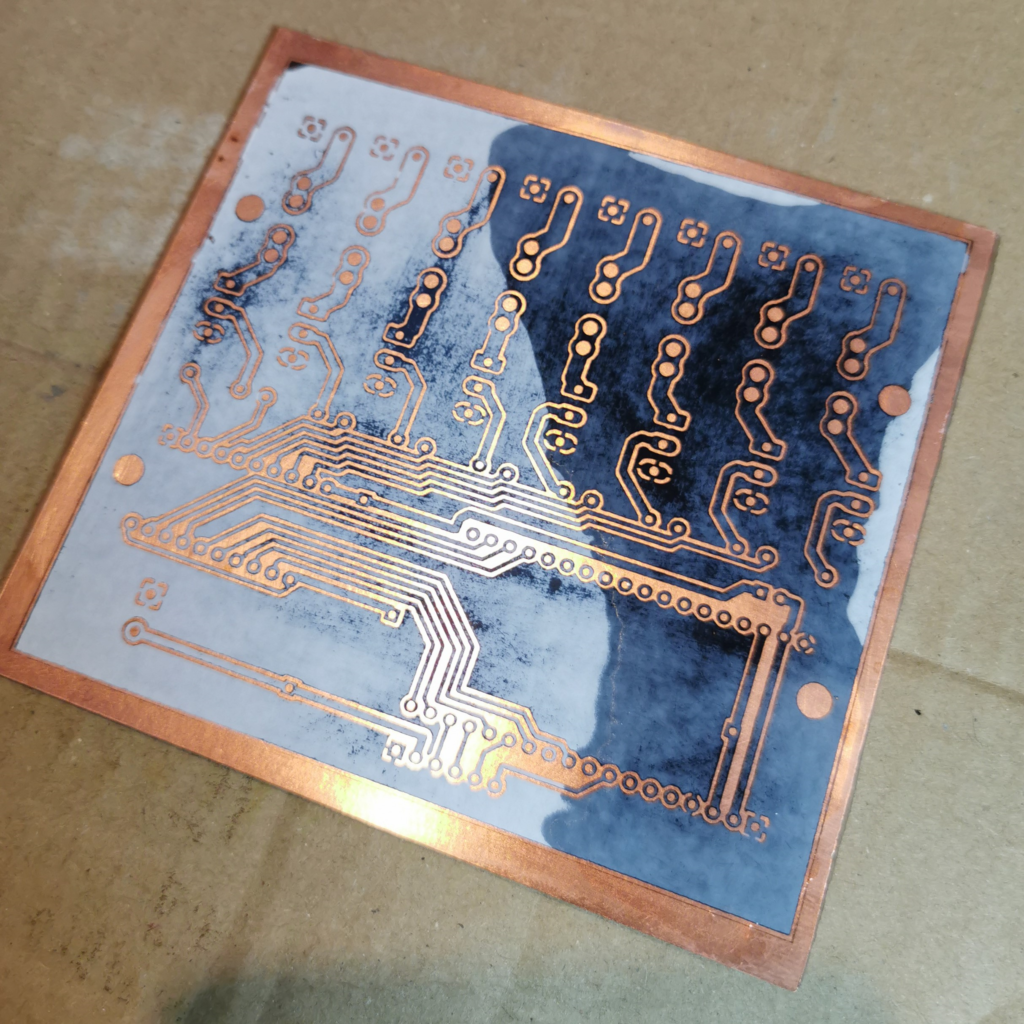
Peeling off the paper to reveal an almost perfect mask. Don’t worry, we can easily remove the portions that don’t come off clean.
Next we need to clean the mask using an old toothbrush and plenty of running water.

The white areas between the traces need to be cleaned down to the copper. This is where the plastic surface of the paper has not stayed on the paper, as most of it did. However, because there is no toner underneath, it seems to come off very easily with some vigorous brushing with the toothbrush.
You can brush quite hard, as the mask is very solid in the areas were the toner is present. Make sure you get all the excess plastic off, as this will mask the copper, and you will end up with no etching in those areas.
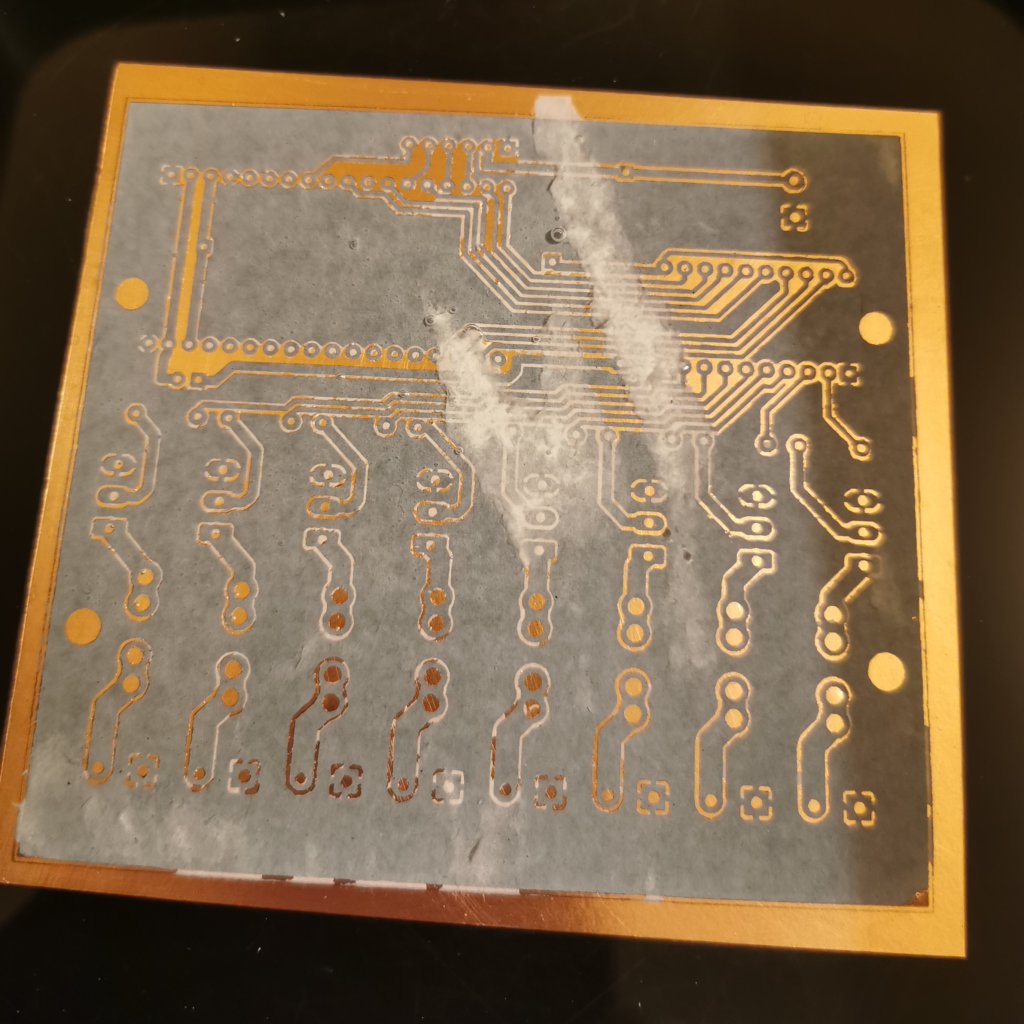
Pretty good so far. You can see the areas that remain to be cleaned they’re the lighter coloured areas. Keep at it with the tooth brush and water!
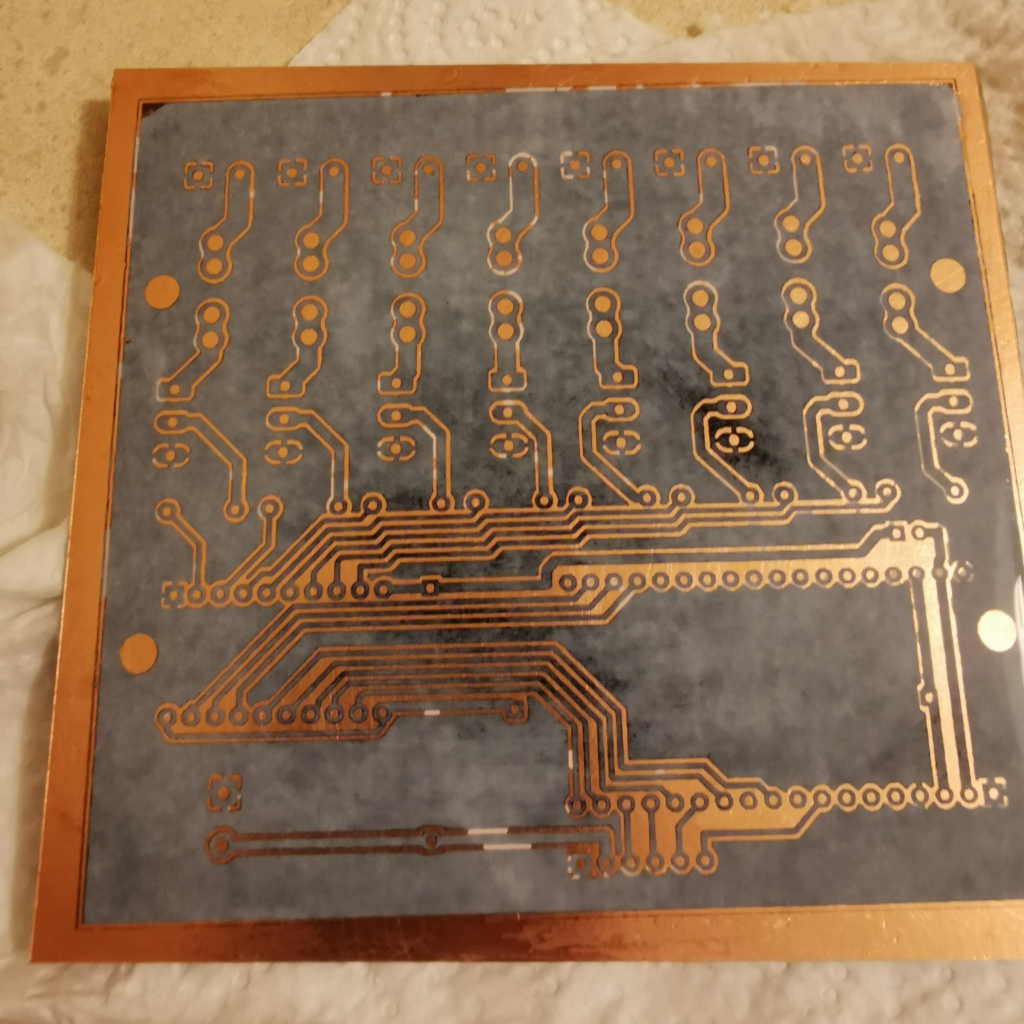
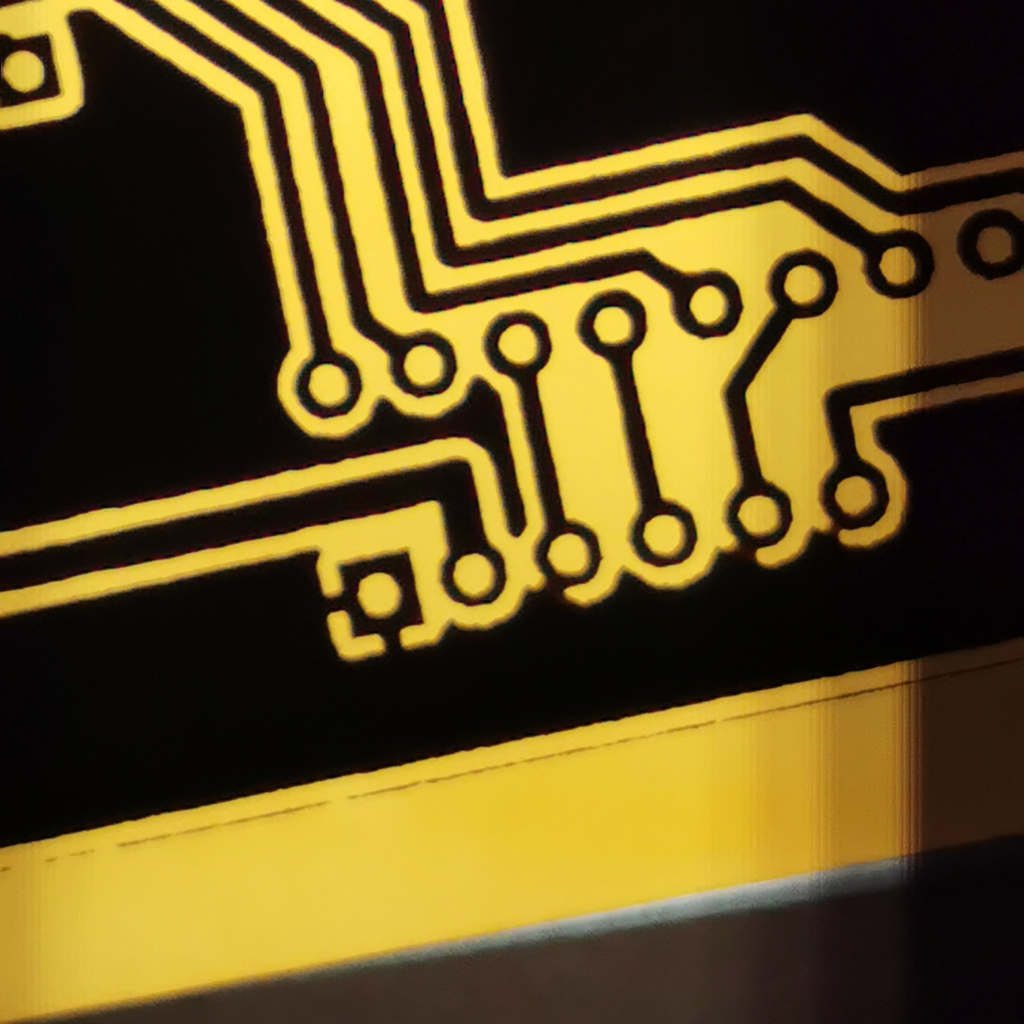
On drying the board, the mask turns almost white. And it’s very thick, great protection for the copper against the Ferric Chloride.
Now at this stage, when all the copper areas are cleaned, we now look towards the mask itself. In particular, we’re looking for any gaps or breaks. We can fill these in with an etch-resist pen, or if you don’t have one of those, a Sharpie. Just make sure you put on a nice thick layer of Sharpie ink so as to resist the Ferric Chloride. You can fill in any holes in the ground plane, or even draw lines for missing traces.
Next step, the etching. So on with the protective gloves and eye-wear for this step!
I’ve put warm water in a basin, then put in the container of Ferric Chloride, it works faster when warm. Be sure it’s a well ventilated area, and be very careful with the Ferric Chloride, it’s very nasty stuff!
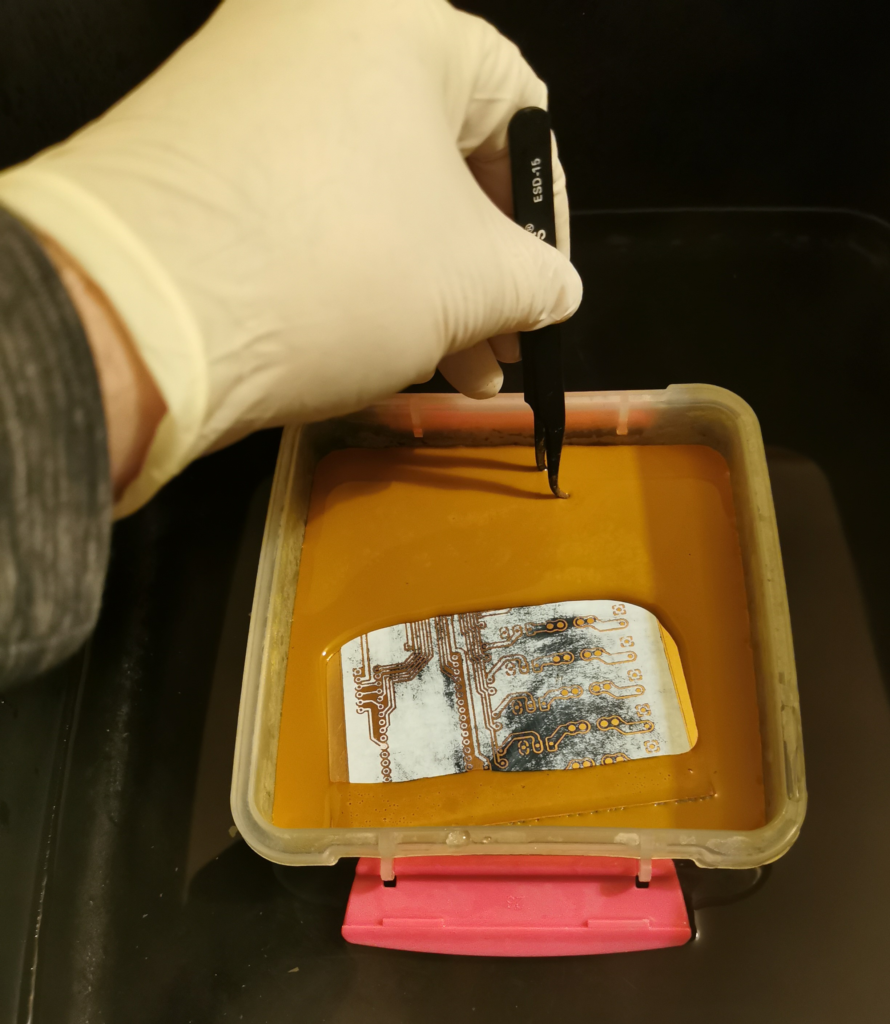
I agitate the board with the tweezers, but not too much, you don’t want that stuff splashing around!
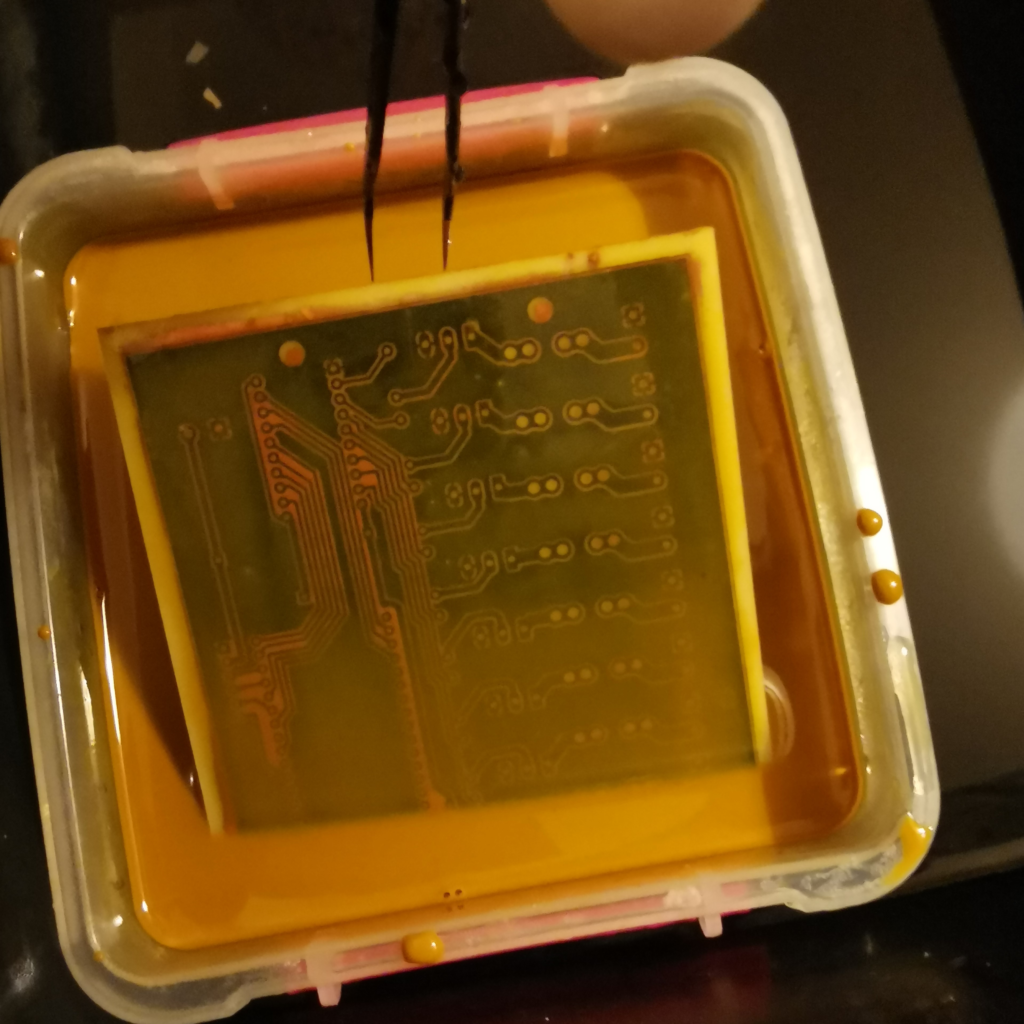
About 5 minutes in, etching is well under way.
Once it looks like it’s done, I take it out, rinse well under the tap, and inspect.
There may be a few small areas still to be done, so back into the Ferric Chloride for a minute or two. The mask is so thick, that the board can take several extra minutes without any damage to the masked areas.
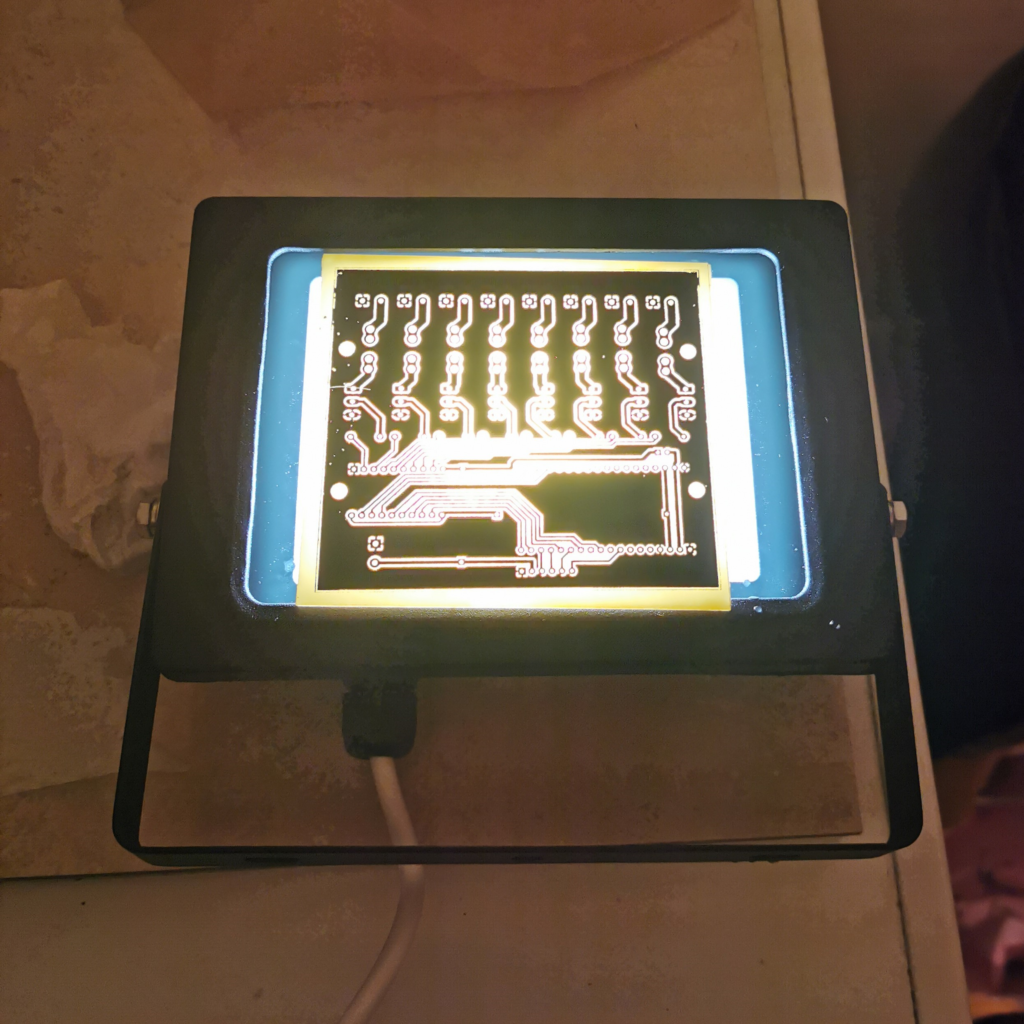
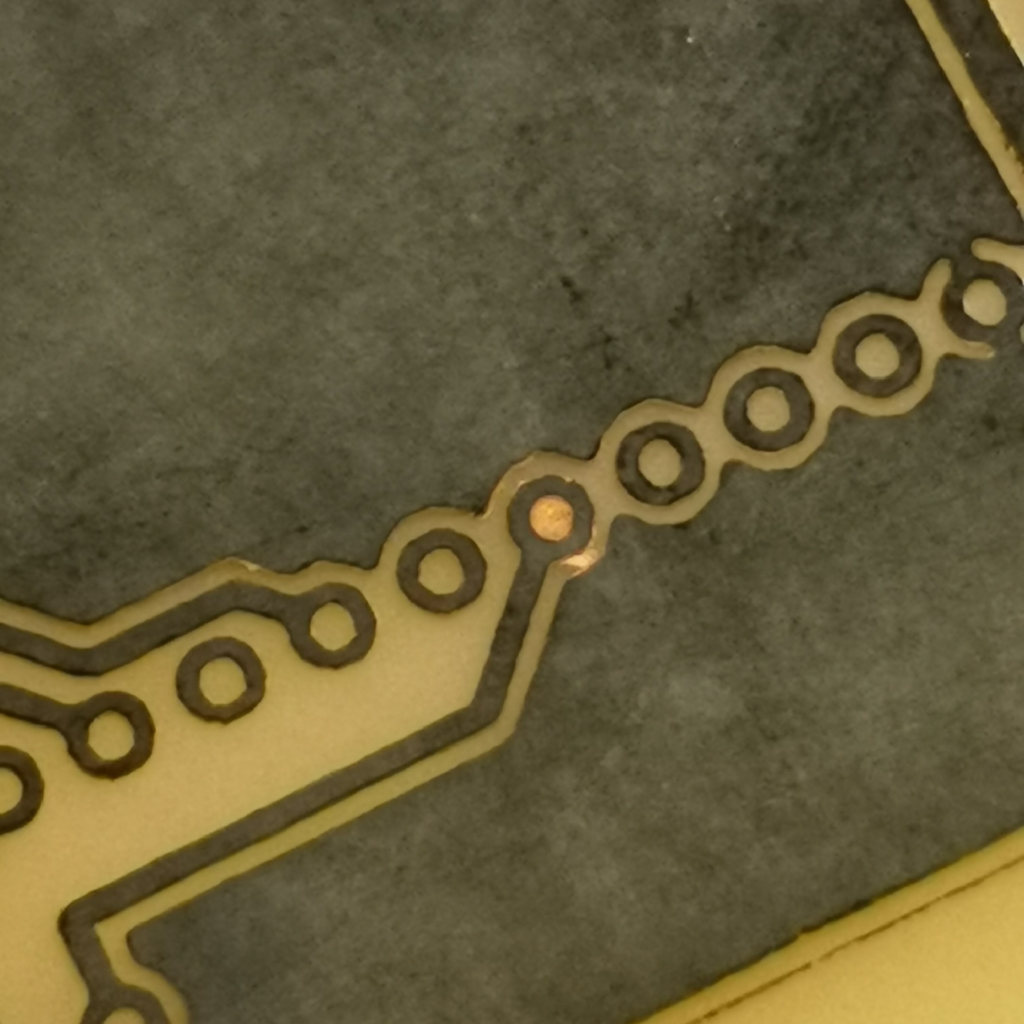
I do a final inspection with a LED flood, it makes it really easy to see any imperfections.
Like these. Looks like I missed these with the toothbrush! Still, I can always scrape these away with the tweezers or a scalpel.

Ready for cleaning. And that’s easily done with something we probably all have easy access to, petrol (gasoline). 🙂
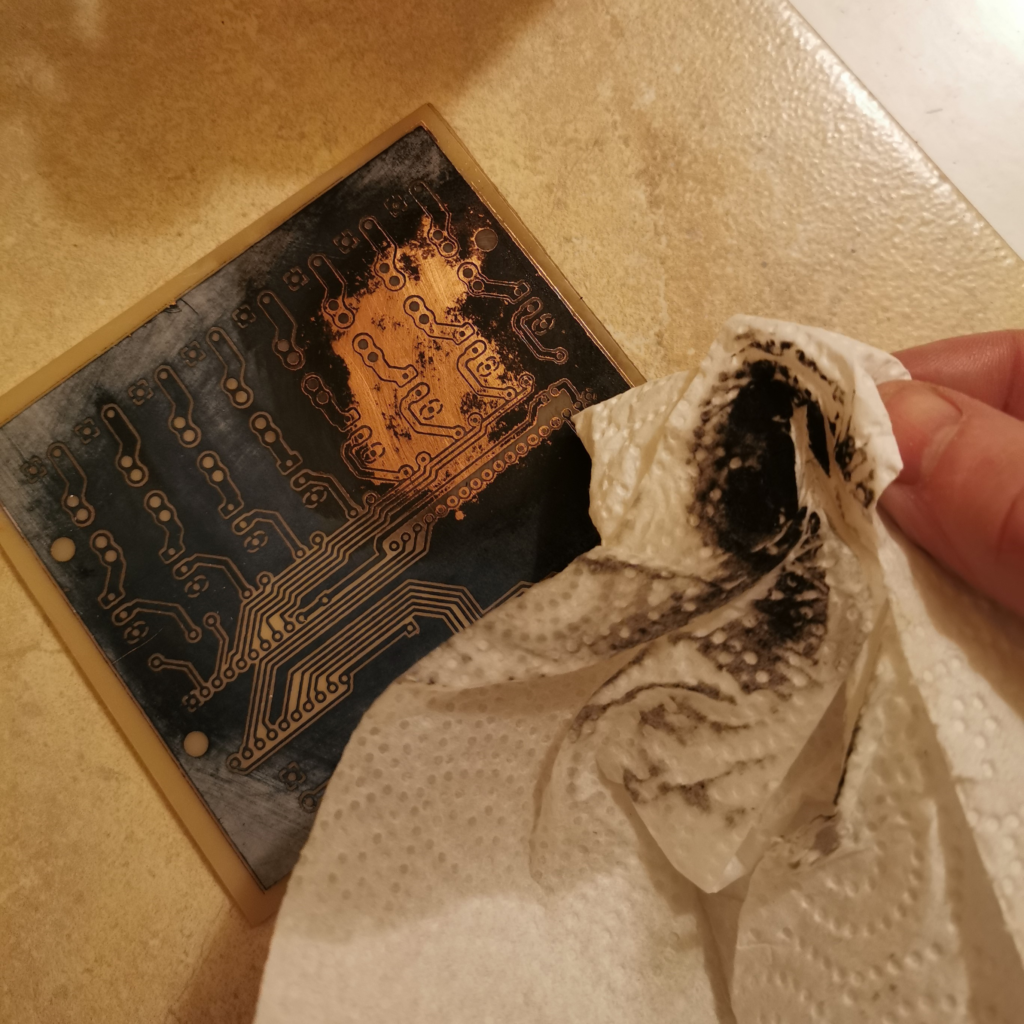
Easy Peasy.

I should have kept the gloves on for that step as well. Ah well.
The next step is optional, just because I happen to have the right chemicals. It’s called liquid tin, again, dangerous stuff. Just look at the warning labels on the bottle.
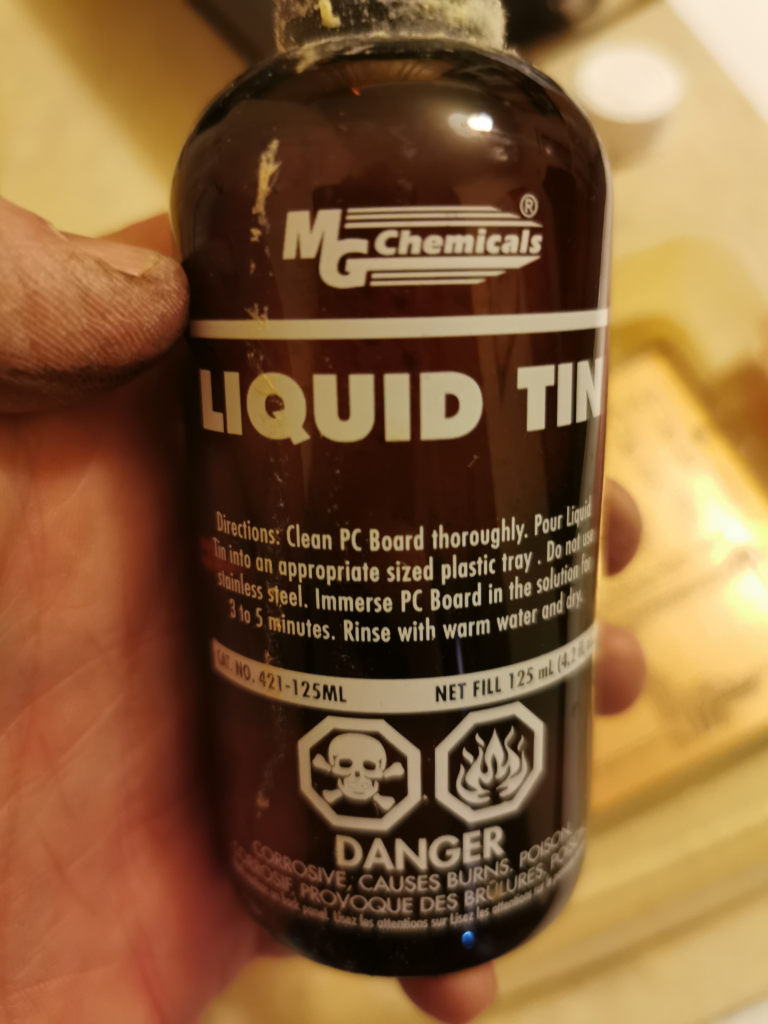
It reacts with copper and creates a protective tin layer. Still just as easy to solder.
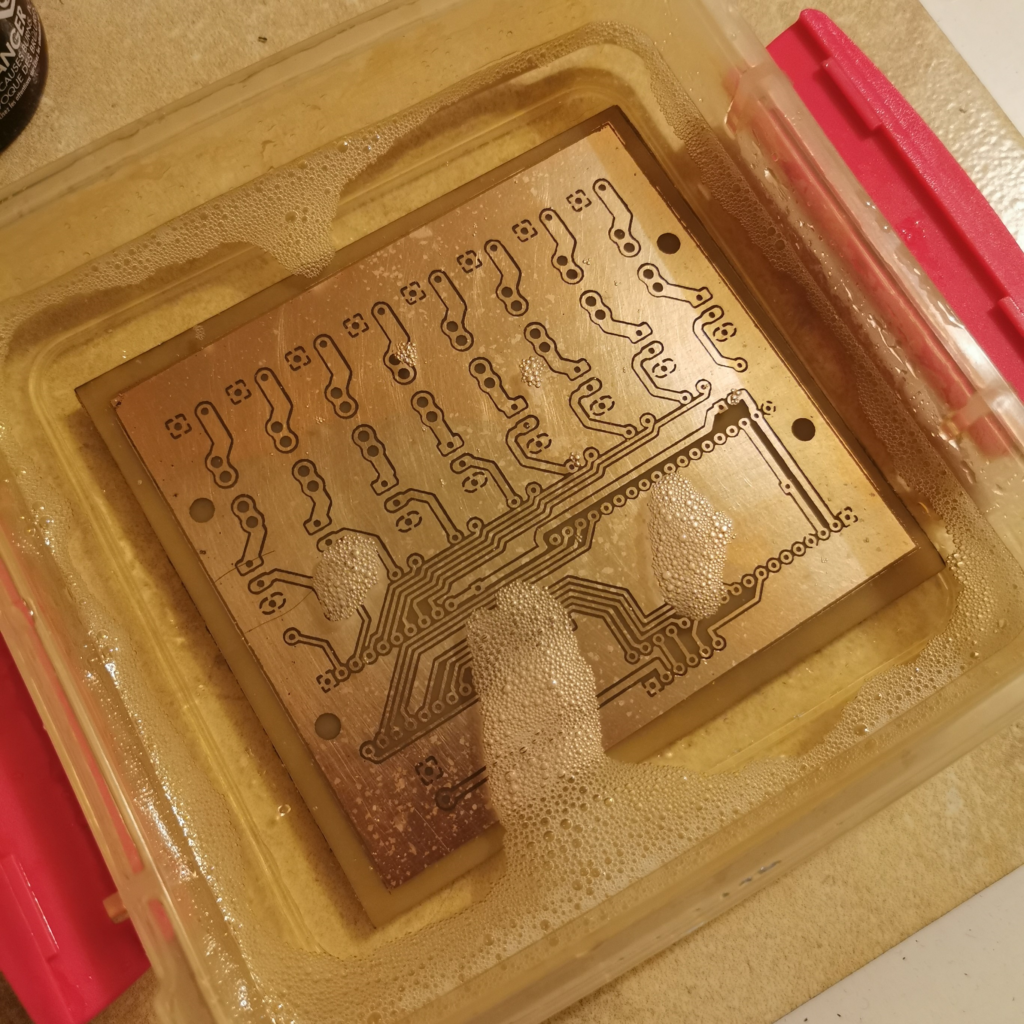
I just drop it into the liquid for about a minute till it changes to a silver colour.
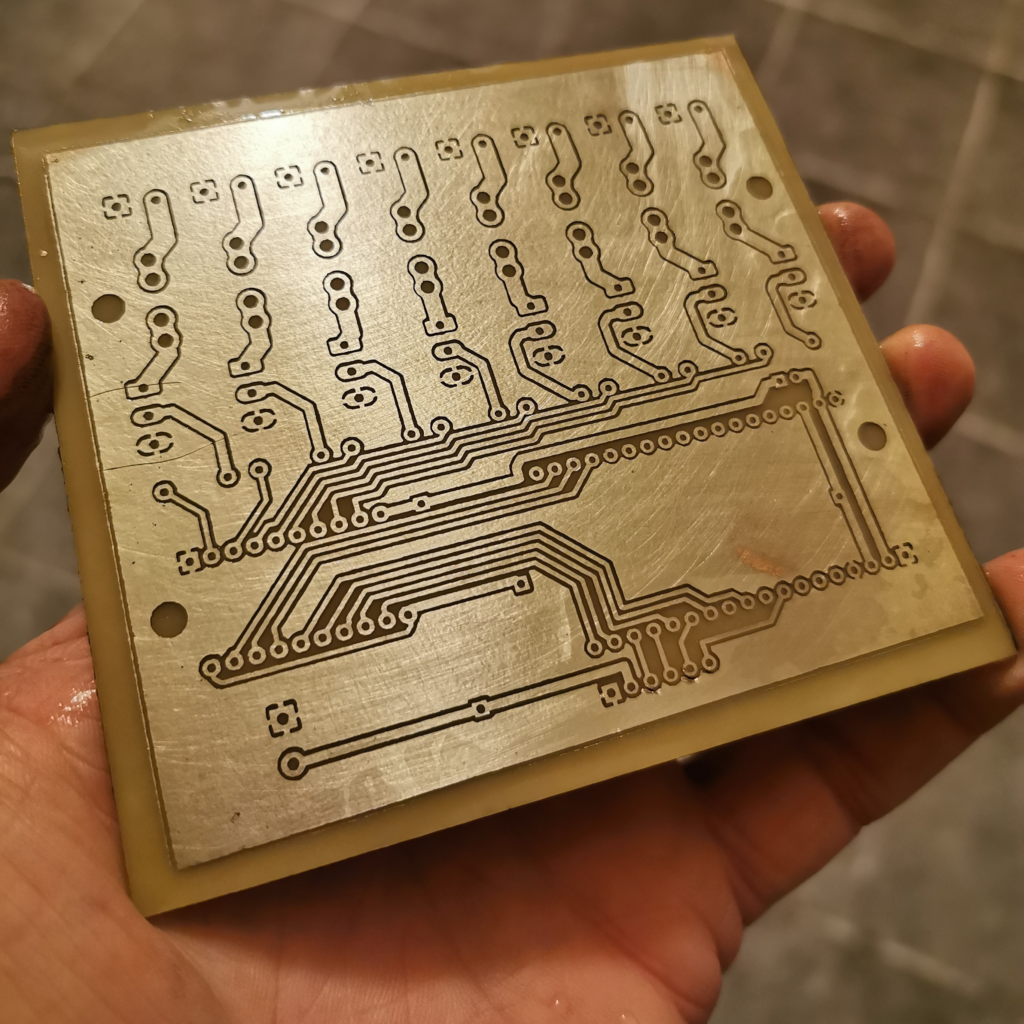
The board is now tinned.
Now for another optional step. The ‘component’ layer. I found that the same technique for creating the mask can also be used to create a pretty good component layer.
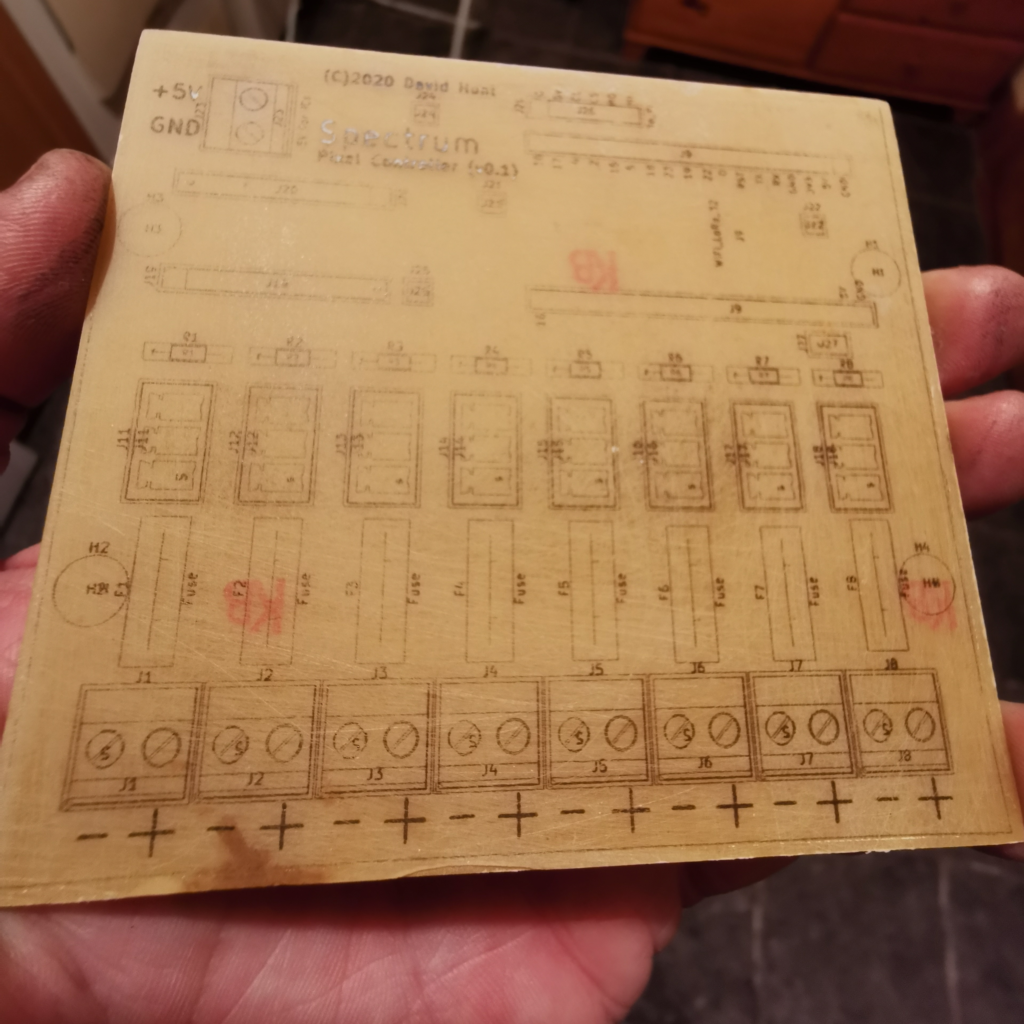
It’s really good to have this on the board, just in case you forget what goes where! 🙂
So that’s the board done, all that’s left to do is to drill all the holes and solder the components in place.
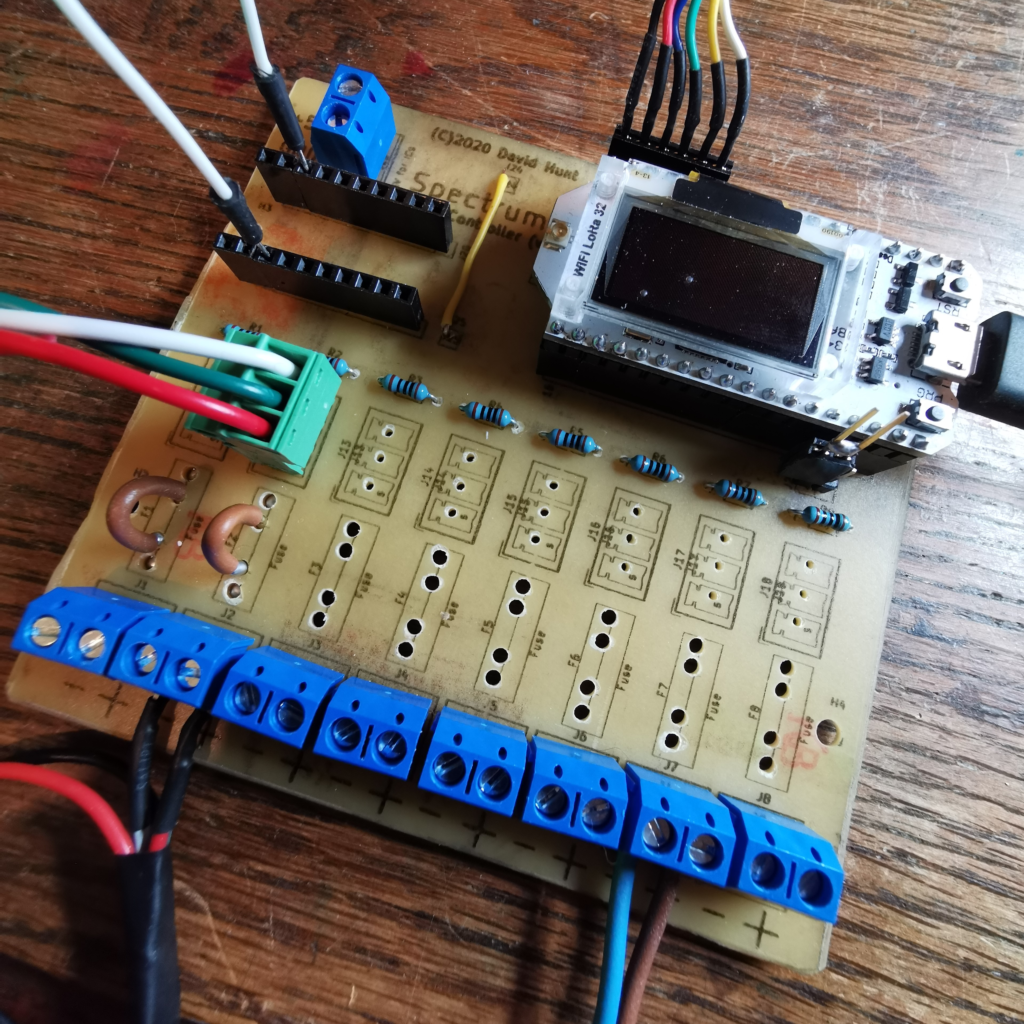
Here’s a partially populated board. All the drill holes were done by hand with a drill. Not the most accurate way to do it, but it worked fine for this project.
Edit: Since writing this article, I’ve produced a video of the process. It follows the same steps as above, but might be interesting in video format.
Nice project. You always learn something new reading these detailed project steps — I had never heard of liquid tin until now. Nice to know about how it creates a protective tin layer on the remaining copper !!
Well done David! I’ll like your articles. Especially about photography hoger het with electronics. Time Laps…..
Gr. Ulrich
Thanks for sharing your experience, easy and clear tutorial!
Right when I needed it 🙂