 Here’s a quick hack to make your night-time time-lapse sequences a bit more interesting. As a general rule of thumb, it’s always good to have a decent foreground in your landscape images. I believe that this also stands true for time-lapse photography, as well as night time time lapse photography. The problem is that it’s dark. Very dark. So, how about we artificially light the foreground during the shoot? But we’d have to have it lit for 2 or 3 hours?
Normally for shooting star fields, to get an interesting foreground we’d “light paint” the foreground with a torch, and through trial an error, we’d get an exposure that looked right. This doesn’t work for time-lapse, as it would be impossible to get consistent exposures for each frame. So, use a stable light source that will last the several hours that you need for the full time-lapse.
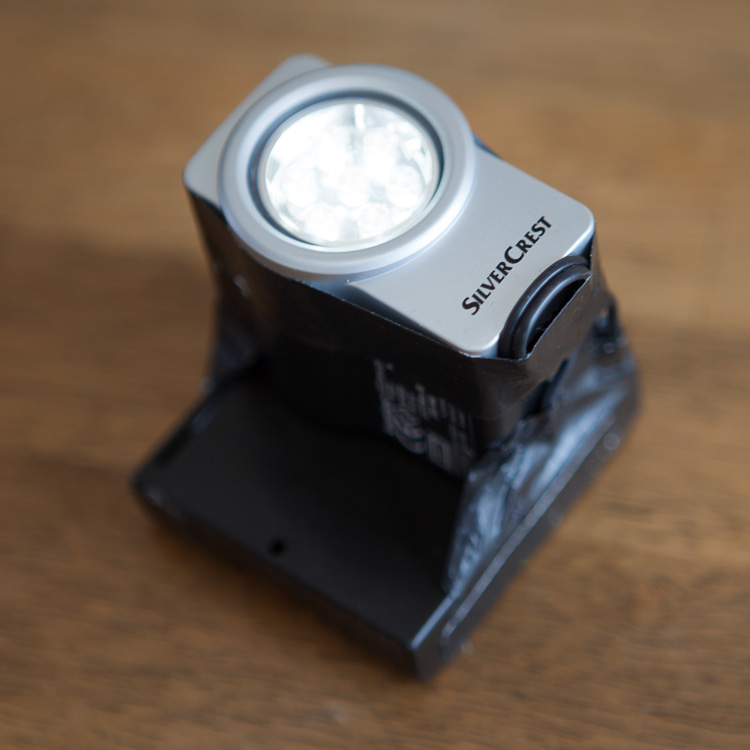
My quick-and-dirty solution was to use a LED light source with a diffuser. I got the LED light in a local supermarket for about €6.
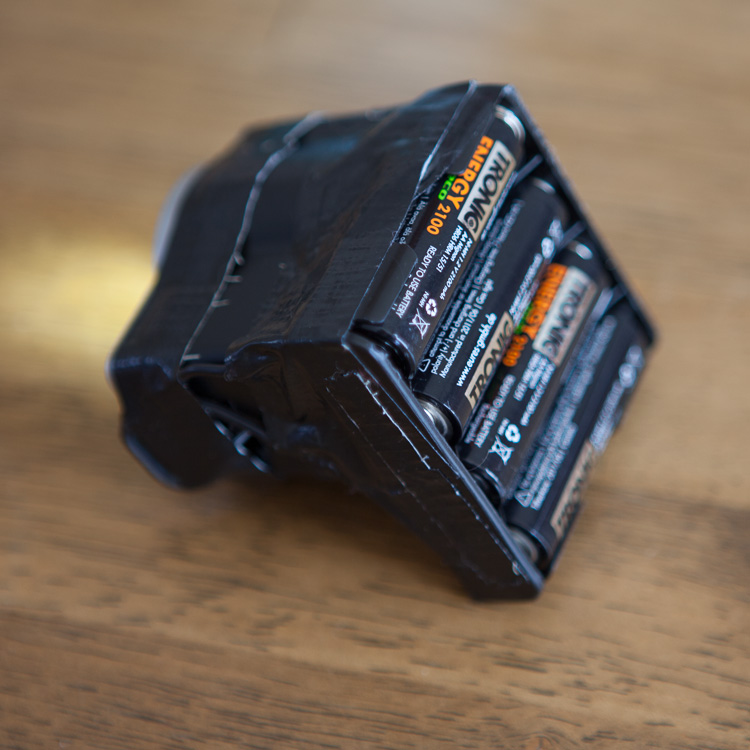
The problem with this unit was that the battery life using 3 x AAA batteries was only about 40mins to an hour. SO I hacked the unit and added 4 x AA batteries, which is good for several hours.
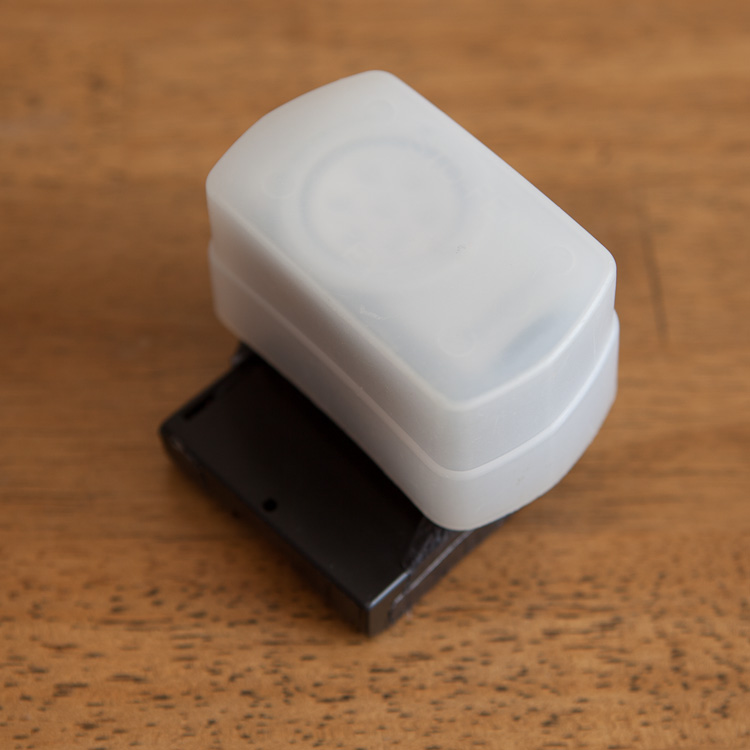
Now the beam out of the LEDs is very narrow, so I added a diffuser to spread out the light over a much wider area, and it also has the advantage of reducing the light somewhat, which is important as we don’t want too much light on the scene, especially since we’re shooting exposures of up to 30 seconds during a time lapse sequence, and we only need a tiny bit of light added into the foreground.
Then when on-location, I like to elevate the light source so that it shines down on the scene, and put it at an angle so it’s not directly behind the camera, but maybe off to the side at 45 degrees. This creates some nice contrast and interest in the foreground portion of the image. The next trick is to balance the light source with the start, so move the light source closer or farther away depending on what I get from a few test exposures. Once I’m happy with that, I’ll erase the CF card and start the time-lapse.
Here’s the setup.
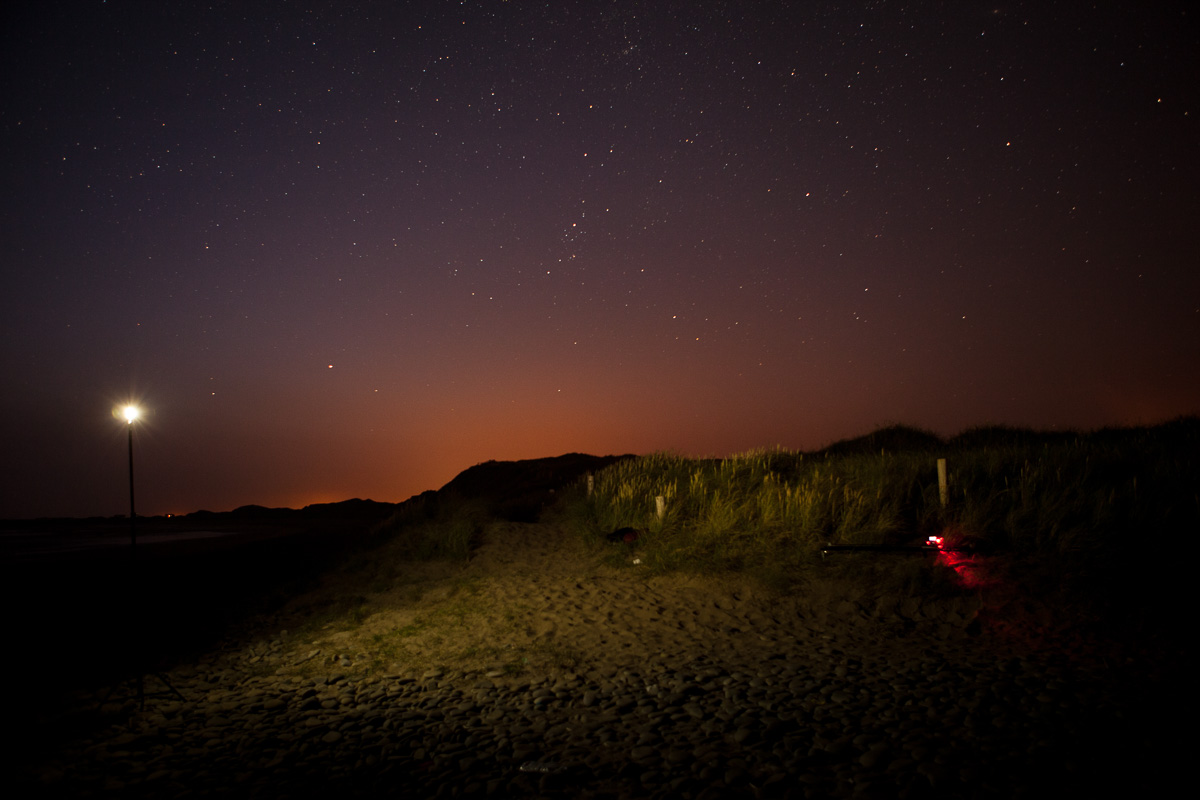
You can see the time-lapse rail on the right of the image, shooting up past the fence post and blades of Ammophila (Marram Grass or Beach Grass) in the foreground. The light source is on a 2.8metre light stand on the right.
And here’s the resulting footage from the above setup. Unfortunately the clouds came across right in the middle. Still, that happens a lot in Ireland…
[embedplusvideo height=”337″ width=”550″ editlink=”http://bit.ly/1b9uIh8″ standard=”http://www.youtube.com/v/wHMEpGhHLzc?fs=1&hd=1″ vars=”ytid=wHMEpGhHLzc&width=550&height=337&start=&stop=&rs=w&hd=1&autoplay=0&react=1&chapters=¬es=” id=”ep9657″ /]
This solution is good for trees, buildings (as long as they’re not too far away), etc. Please do drop a comment below if you’ve used a similar technique, and maybe even leave a link to the results! 🙂
Grrr. you really inspire me…
I’ve built your rig… and I’ve made some improvements along the way. I have limit switches to stop at the ends and I have a direction control can move along the rail both ways..
I’ll send you some pics in 10 days or so when it’s complete!!! But thanks for building a great rig..