 Here’s a new revisison of a type of device I’ve been playing with for a long while, a DSLR Timeplapse Controller. This one is ESP8266 based, and creates a hotspot to allow you to set up the timelapse parameters, and easily run a timelapse from your smartphone.
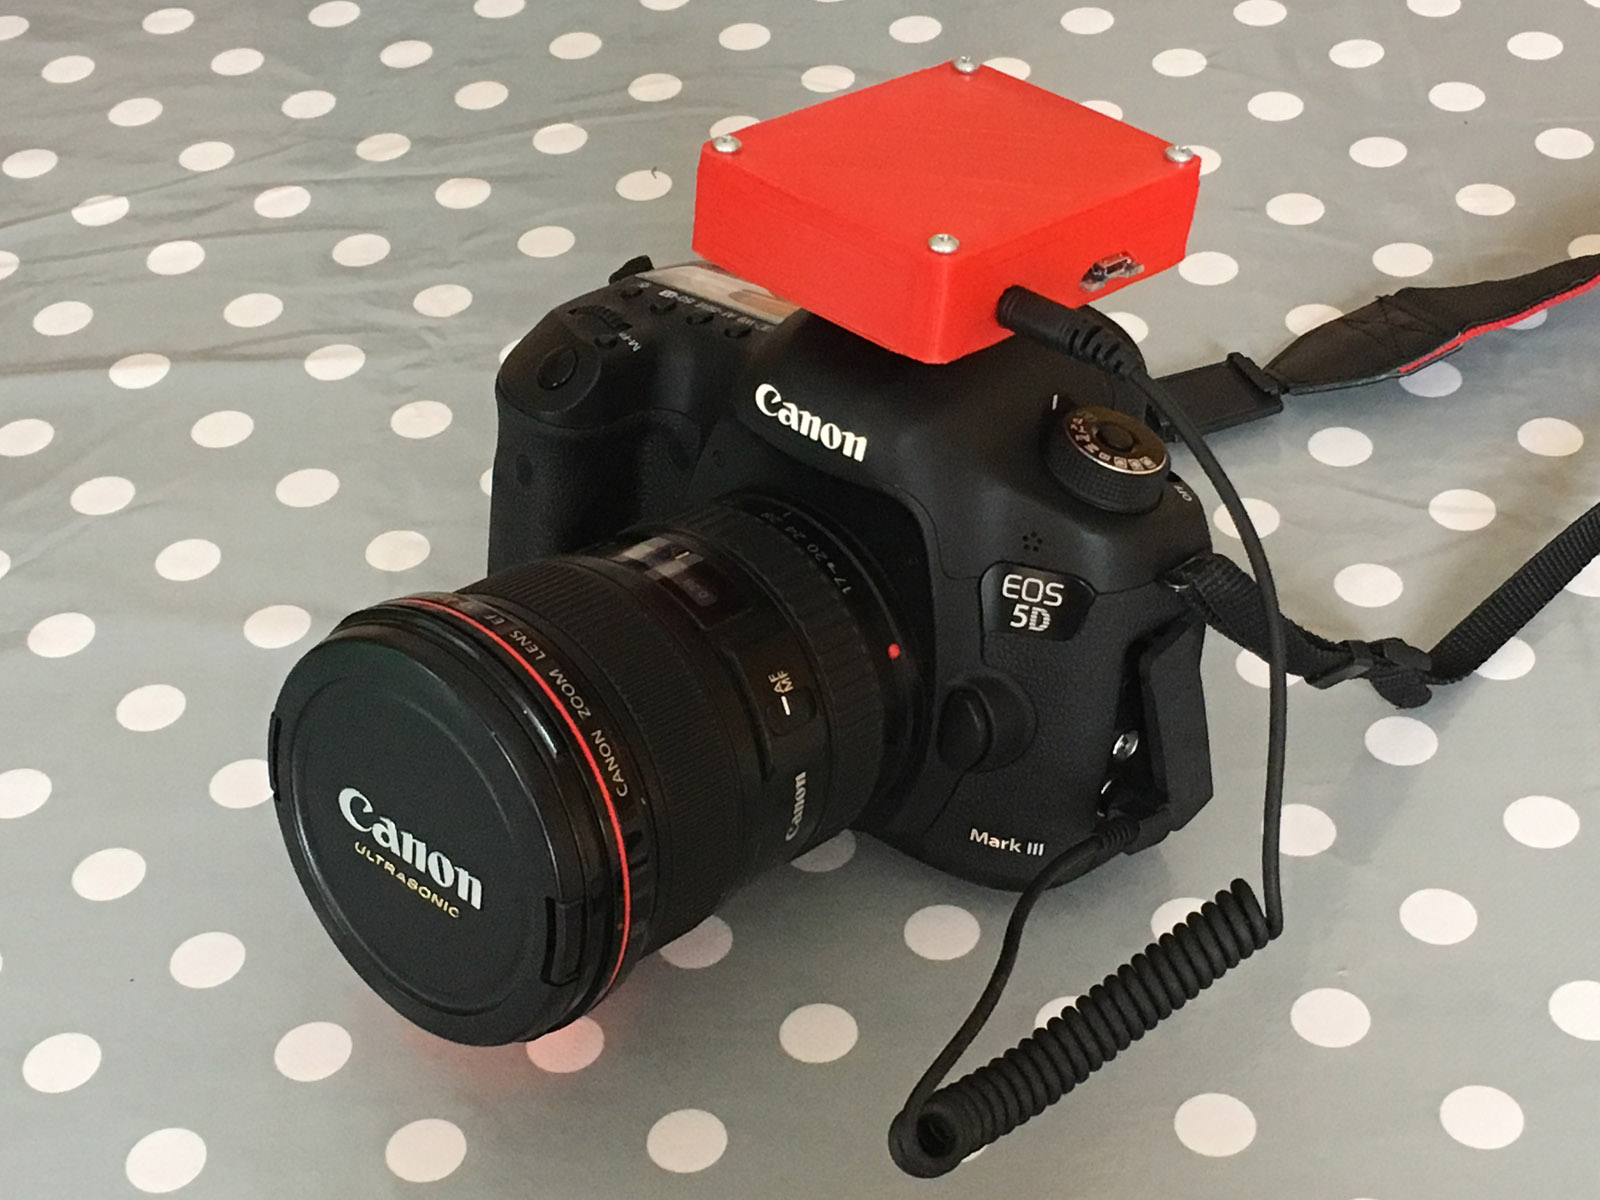
As per the thumbnail above, here the full setup of the controller mounted on the DSLR:
It’s features are as follows:
- Hotspot allowing smartphone interface for timelapse parameters
- 18650 cell with recharge circuit, rechargeable via microUSB connector
- 2.5mm stereo connector for DSLR shutter release cable
- 3D printed case including hot-shoe mount
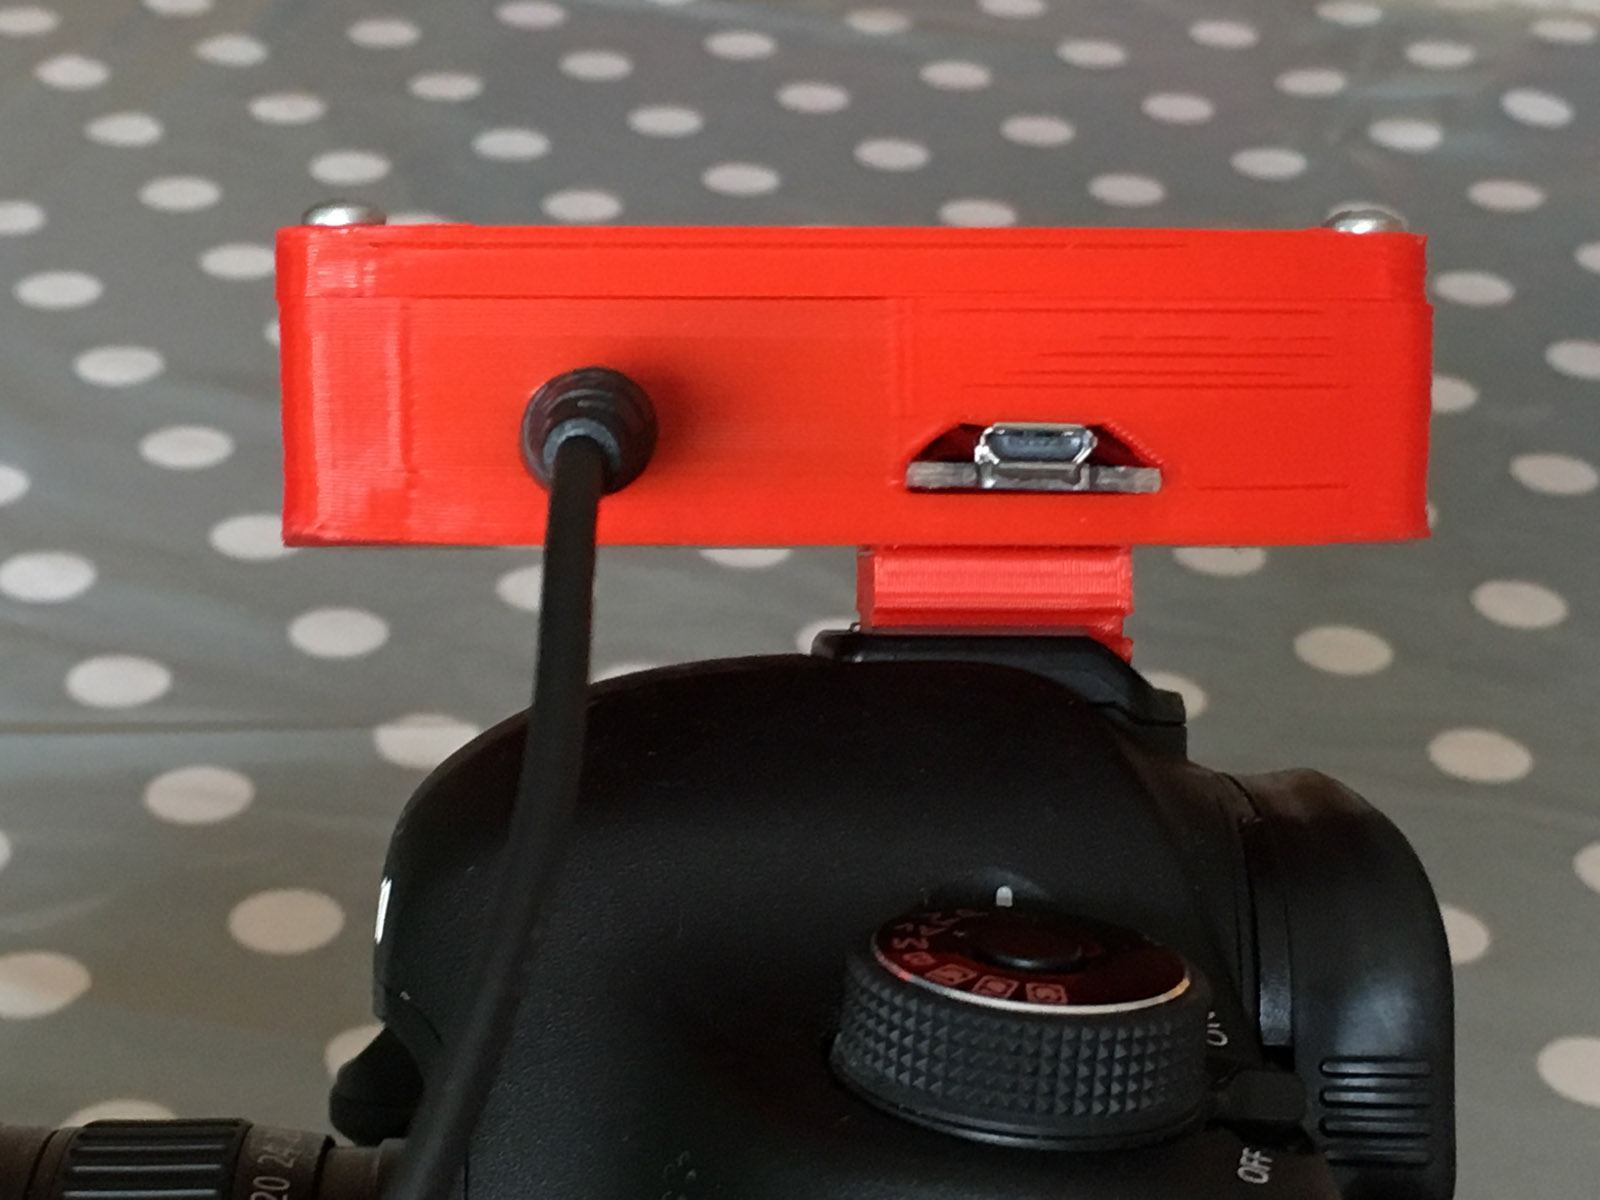
In the following image you can see the shutter release cable inserted into the 2.5mm jack socket in the left, and the micro-USB connector for recharging the internal 18650 Li-ion Cell. The shutter release cables are easily available from eBay.
Here’s a bottom view of the case, with it’s hot-shoe adapter. The 3D models don’t include the holes to save printing time, they’re just drilled afterwards.
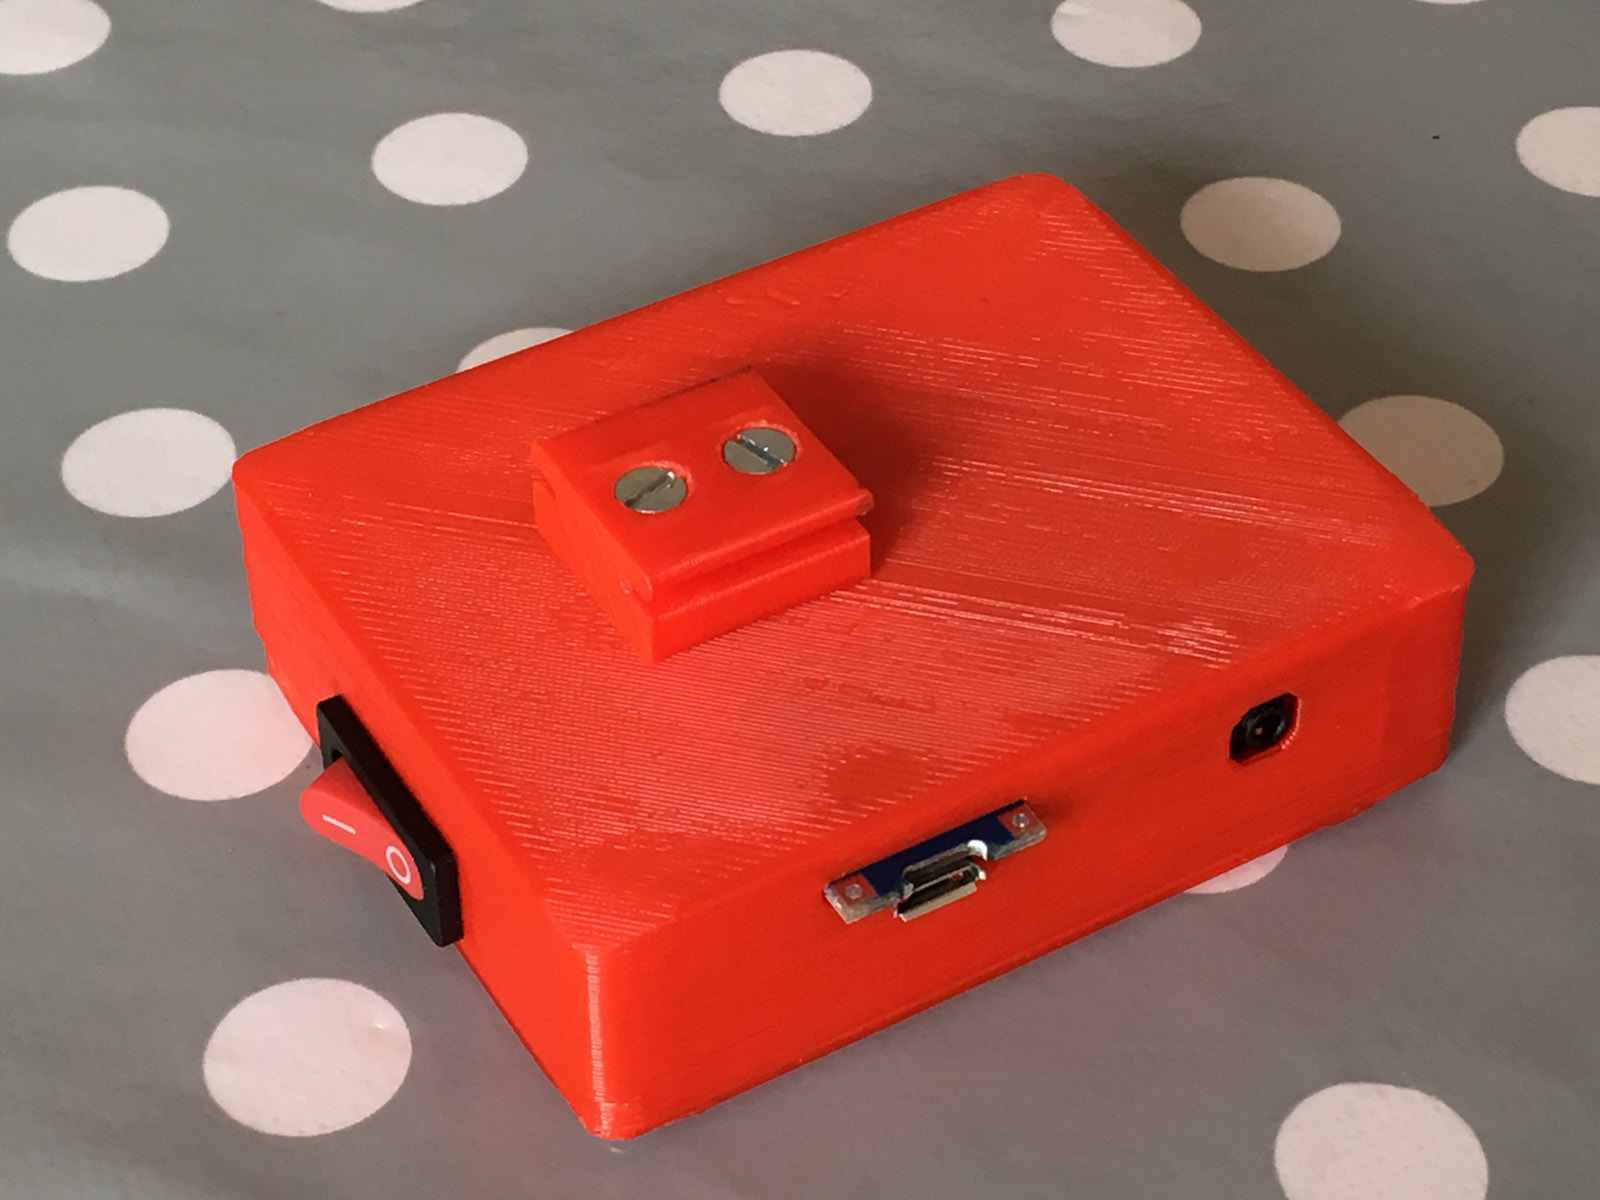
Another view of the hot-shoe adapter.

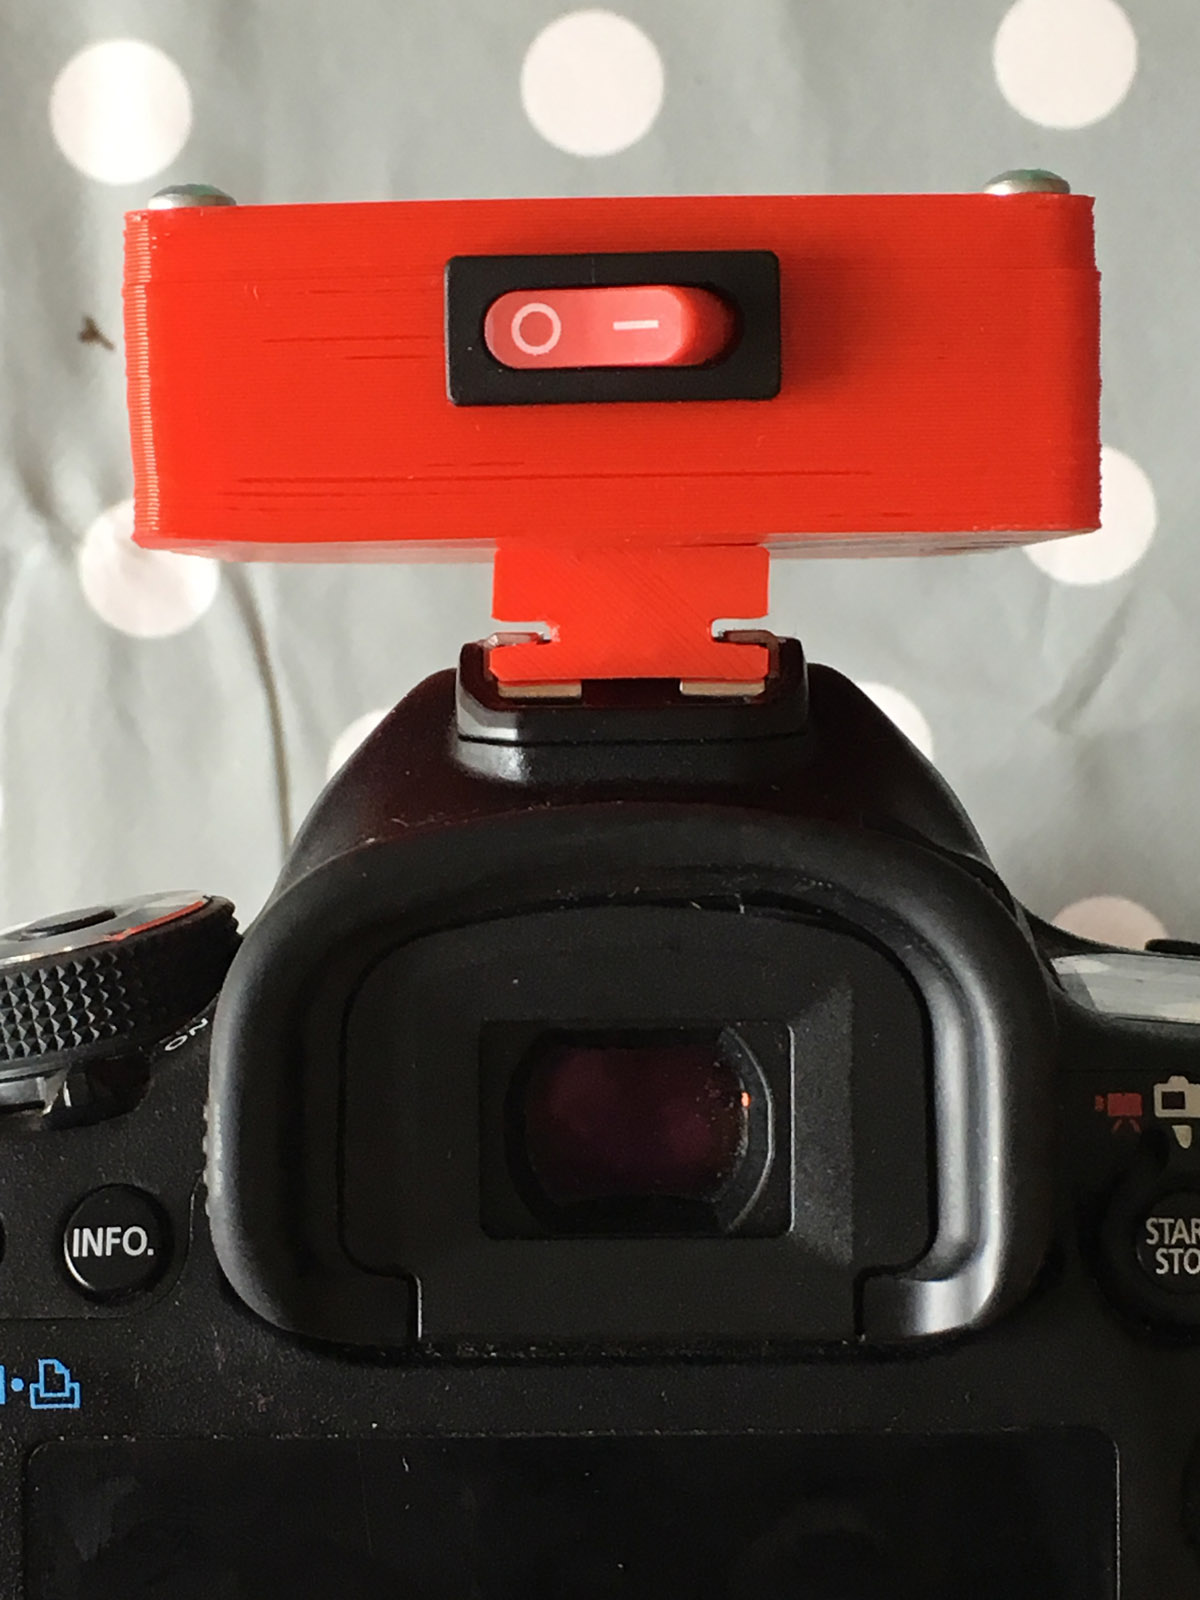
And one with the controller mounted on the DSLR.
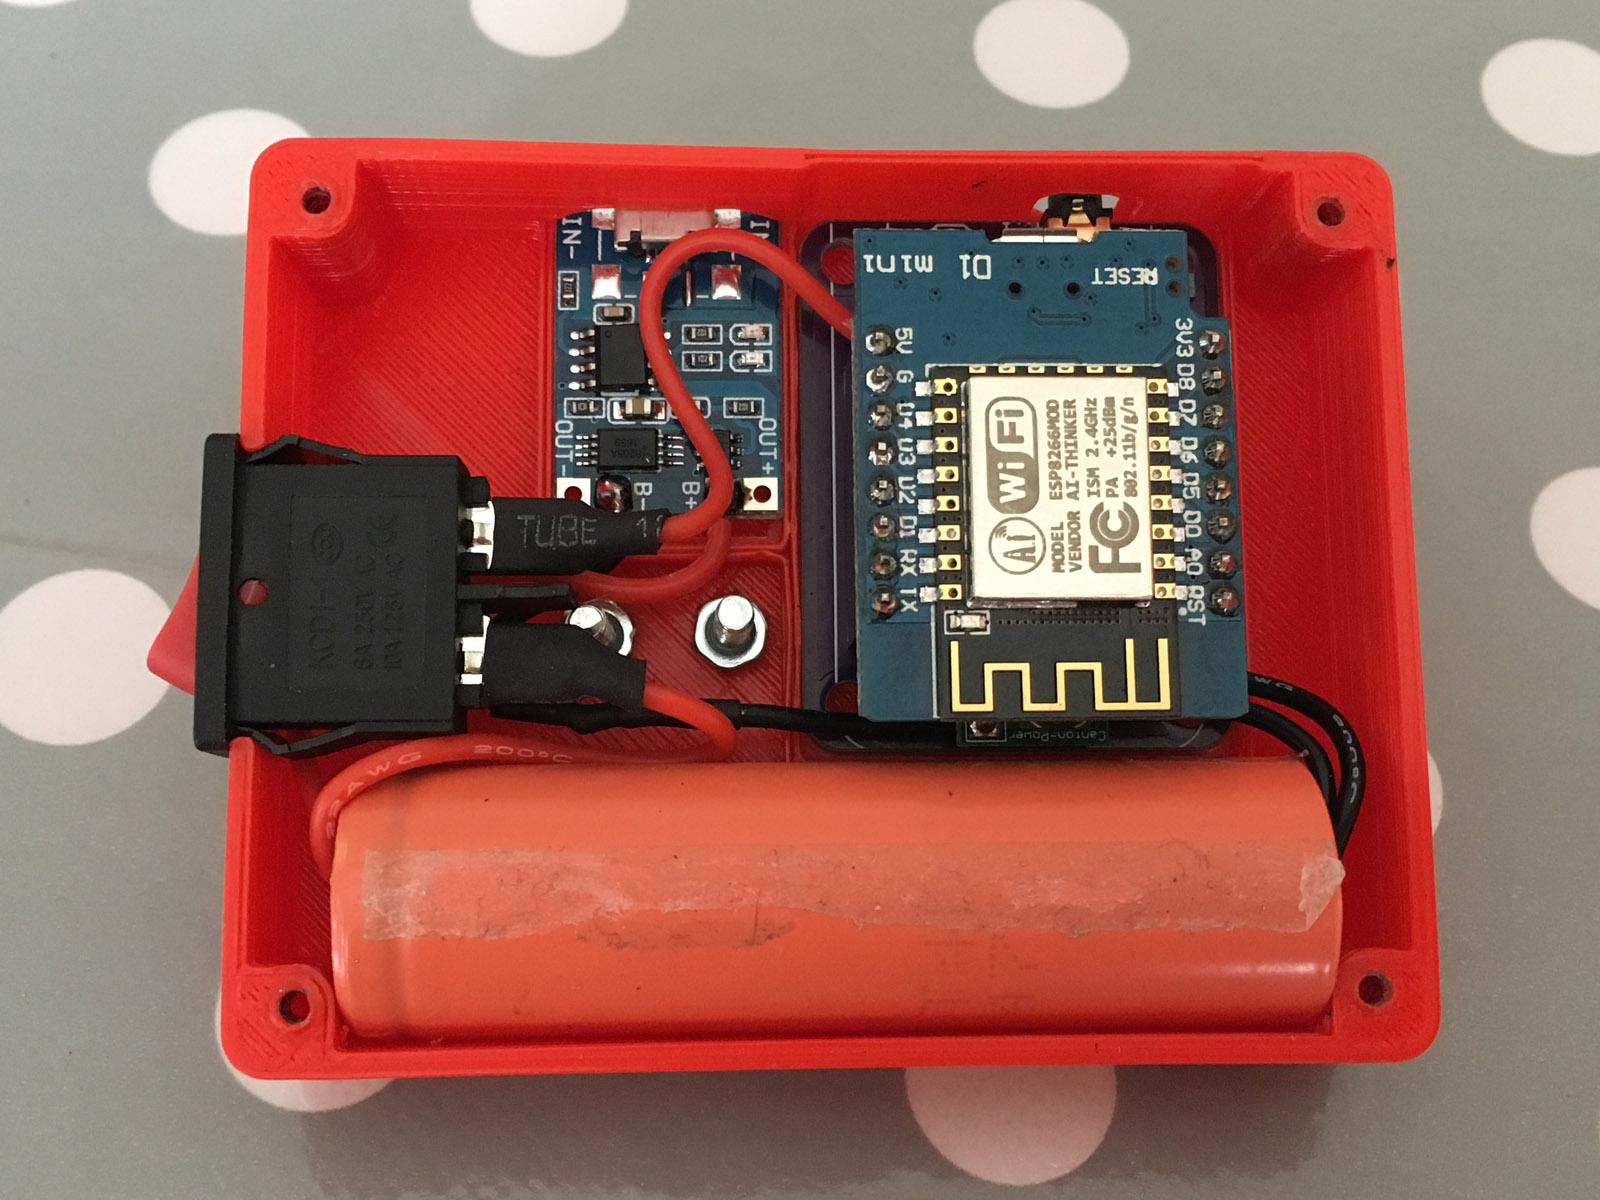
Once we take off the top cover we can see the contents.
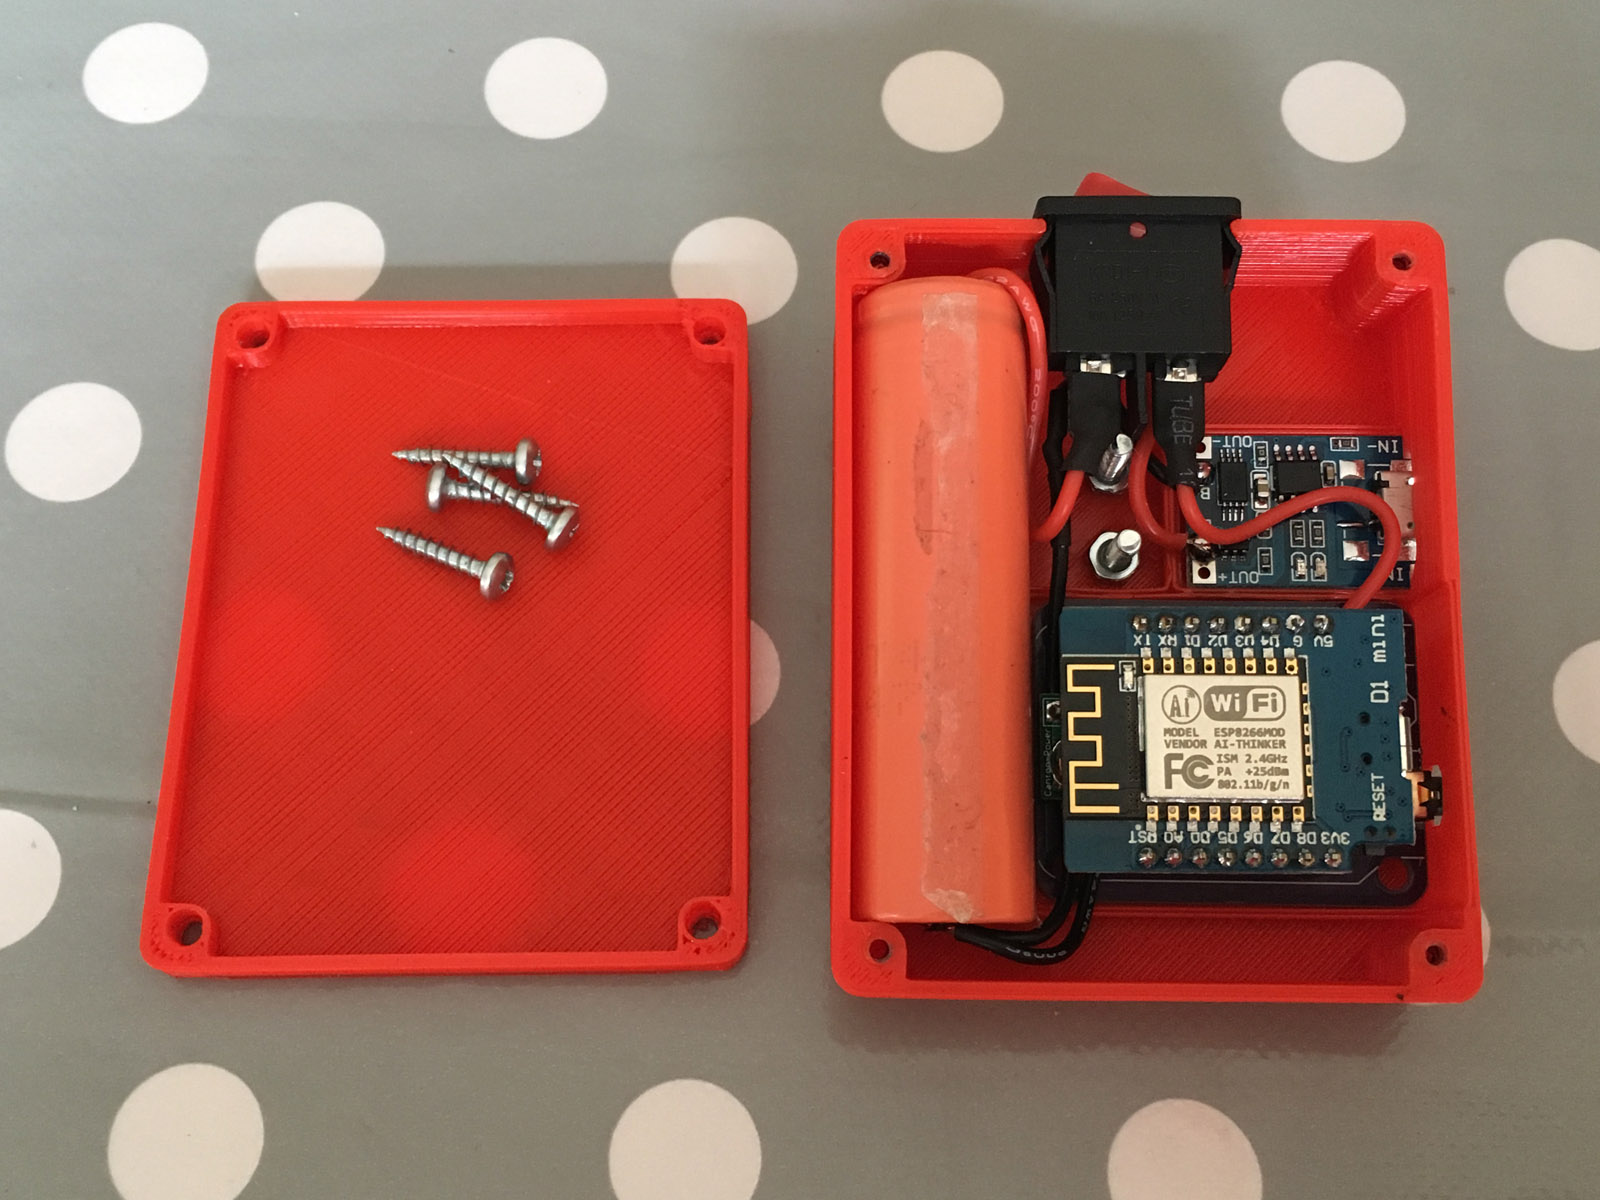
From left to right, top to bottom, we have:
- Power switch
- 3.7v Cell Lithium battery charging module
- WeMOS D1 Mini plus controller board underneath (detailed later)
- 18650 Cell recovered from an old laptop battery.
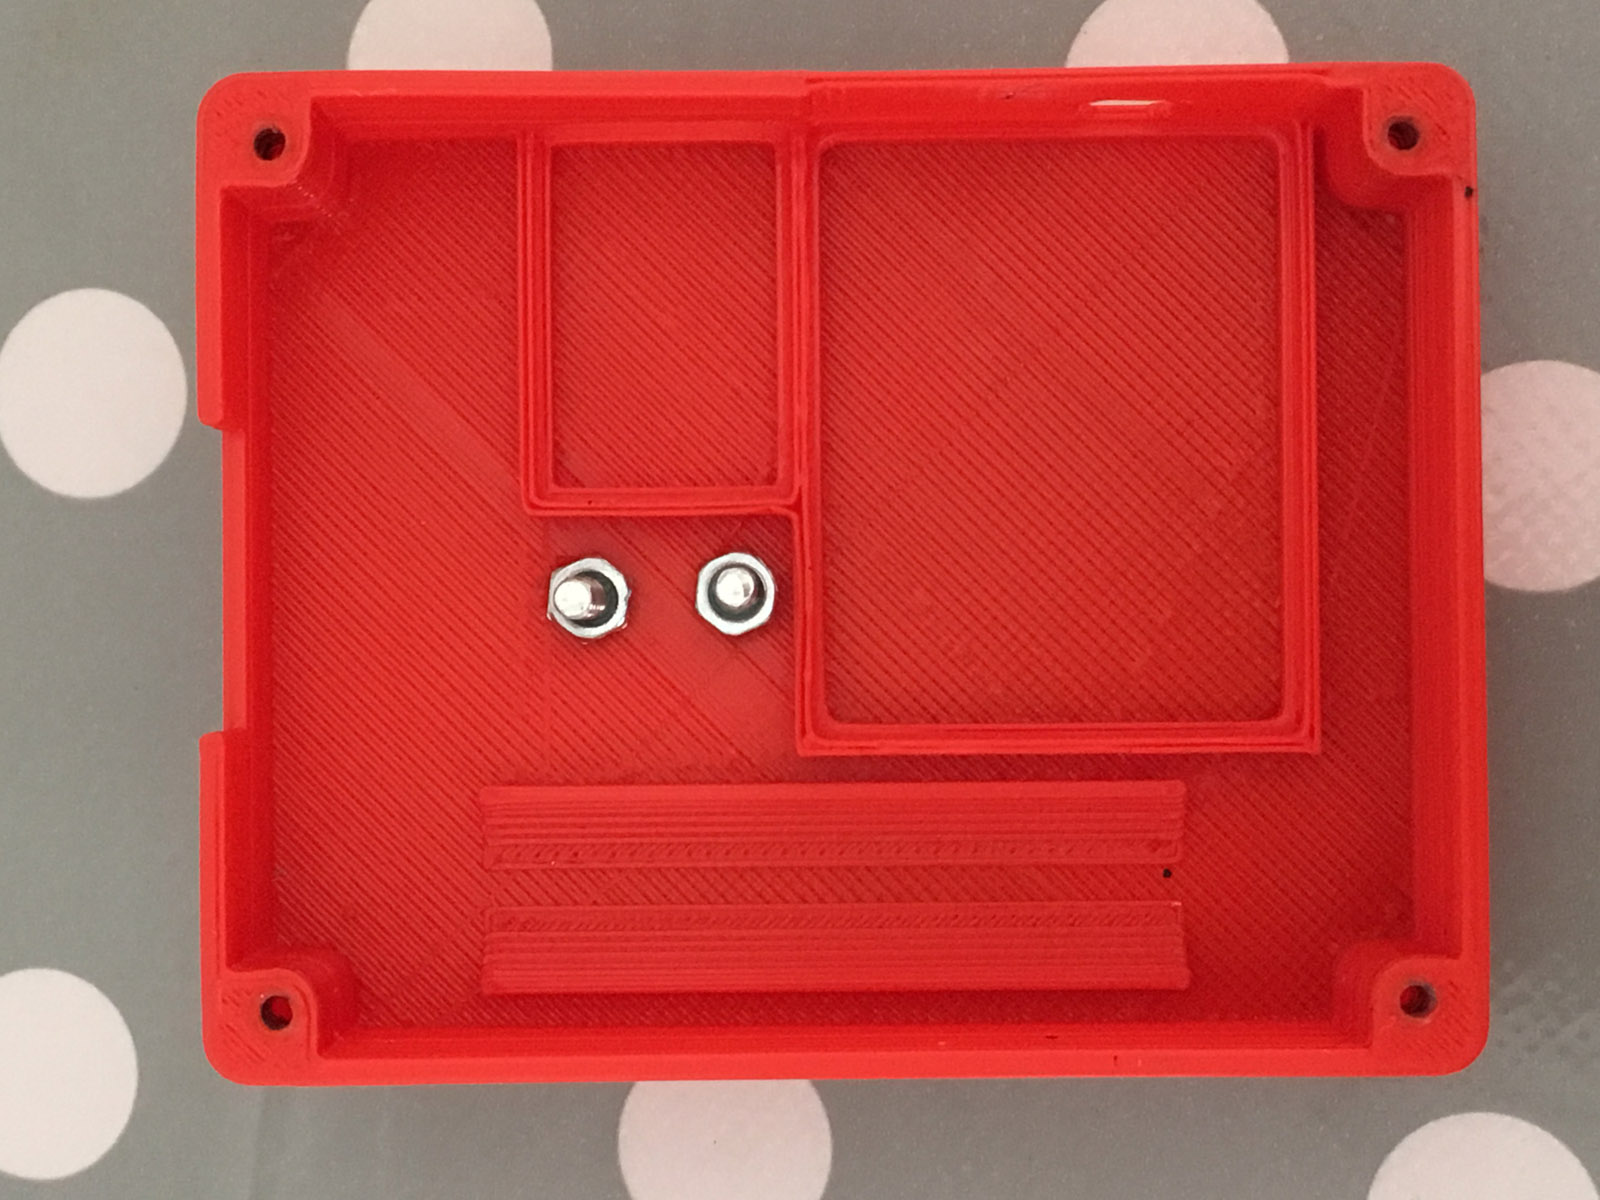
Empty case with divisions to keep the controller boards in place once the case is closed.
Circuit diagram :). Seriously, that’s all that’s involved in the wiring.
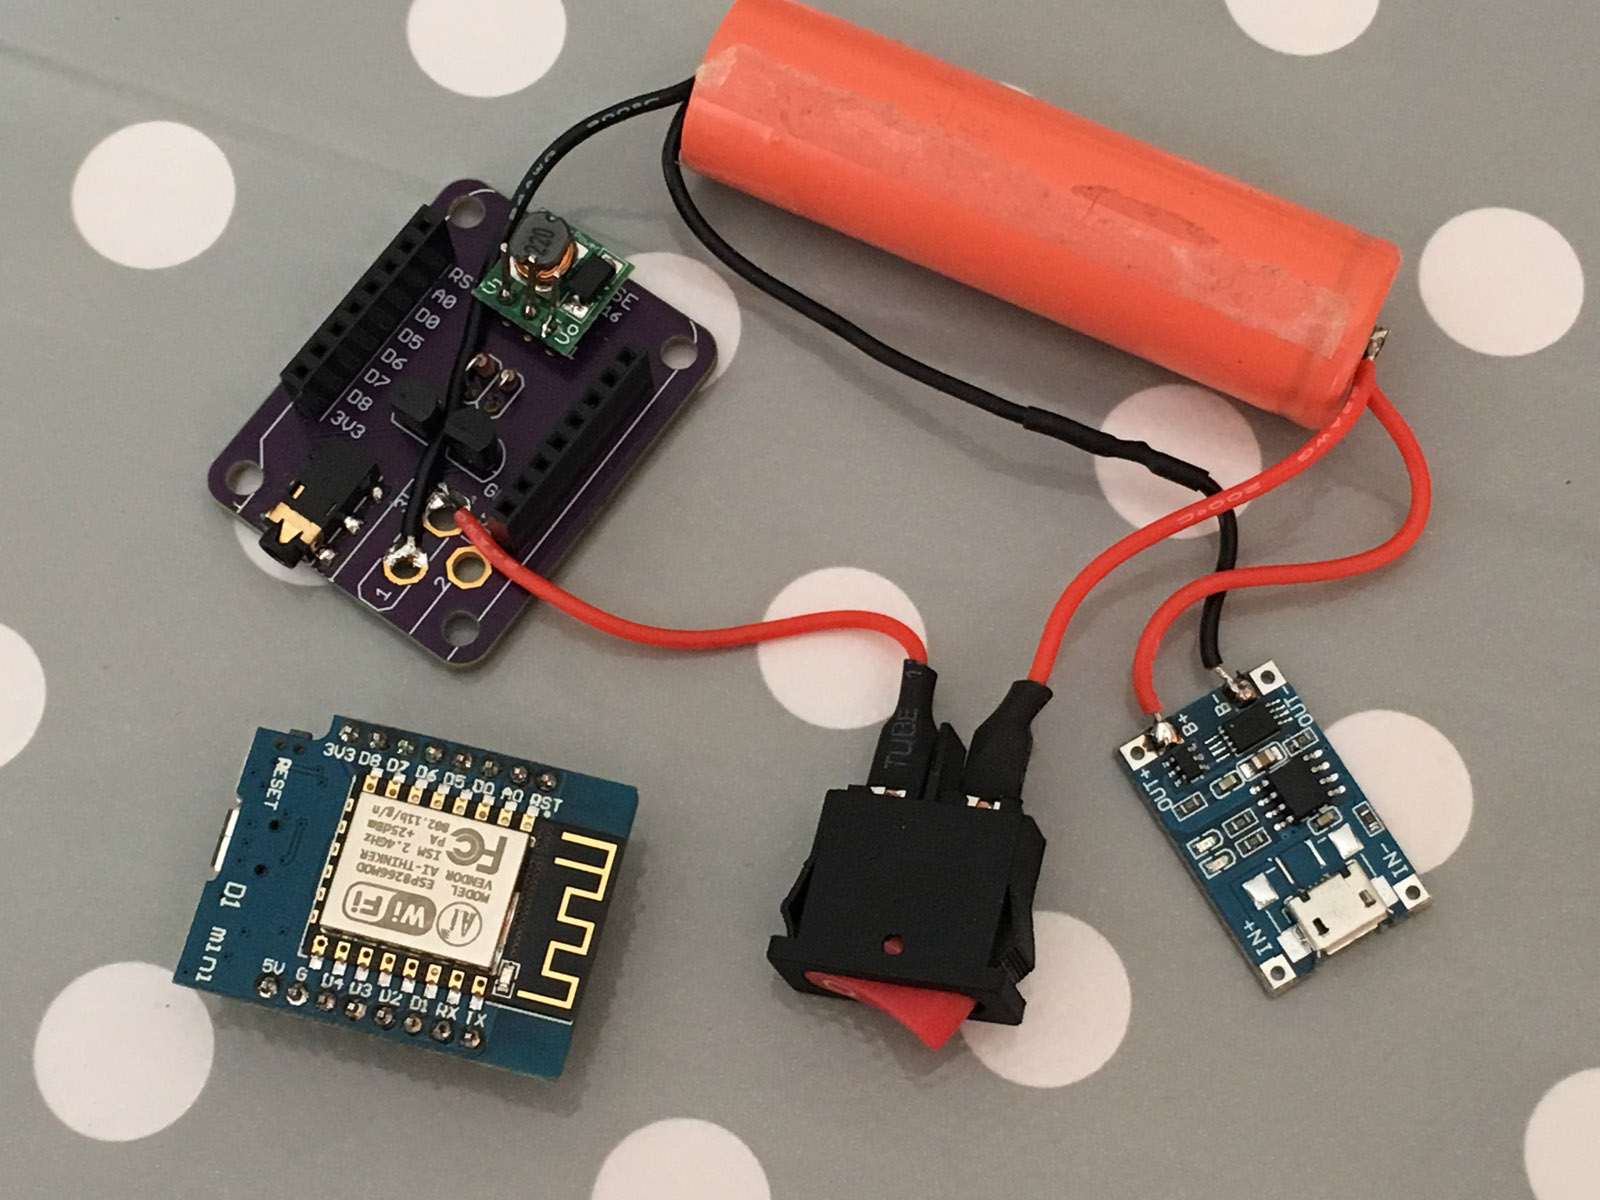
And now onto the controller board.
The parts are as follows. Some of the links require quantities greater than needed, but I like to have a few spares lying around. 🙂
| Component | Quantity | Source 1 | Source 2 |
| Controller PCB | 1 | OSHPark | |
| DC-DC converter | 1 | AliExpress | |
| 2k2 Resistor | 2 | Adafruit | AliExpress |
| NPN Transistor | 2 | Adafruit | AliExpress |
| 8-way pin header | 2 | AliExpress | |
| 2.5mm Stereo Socket | 2 | AliExpress |
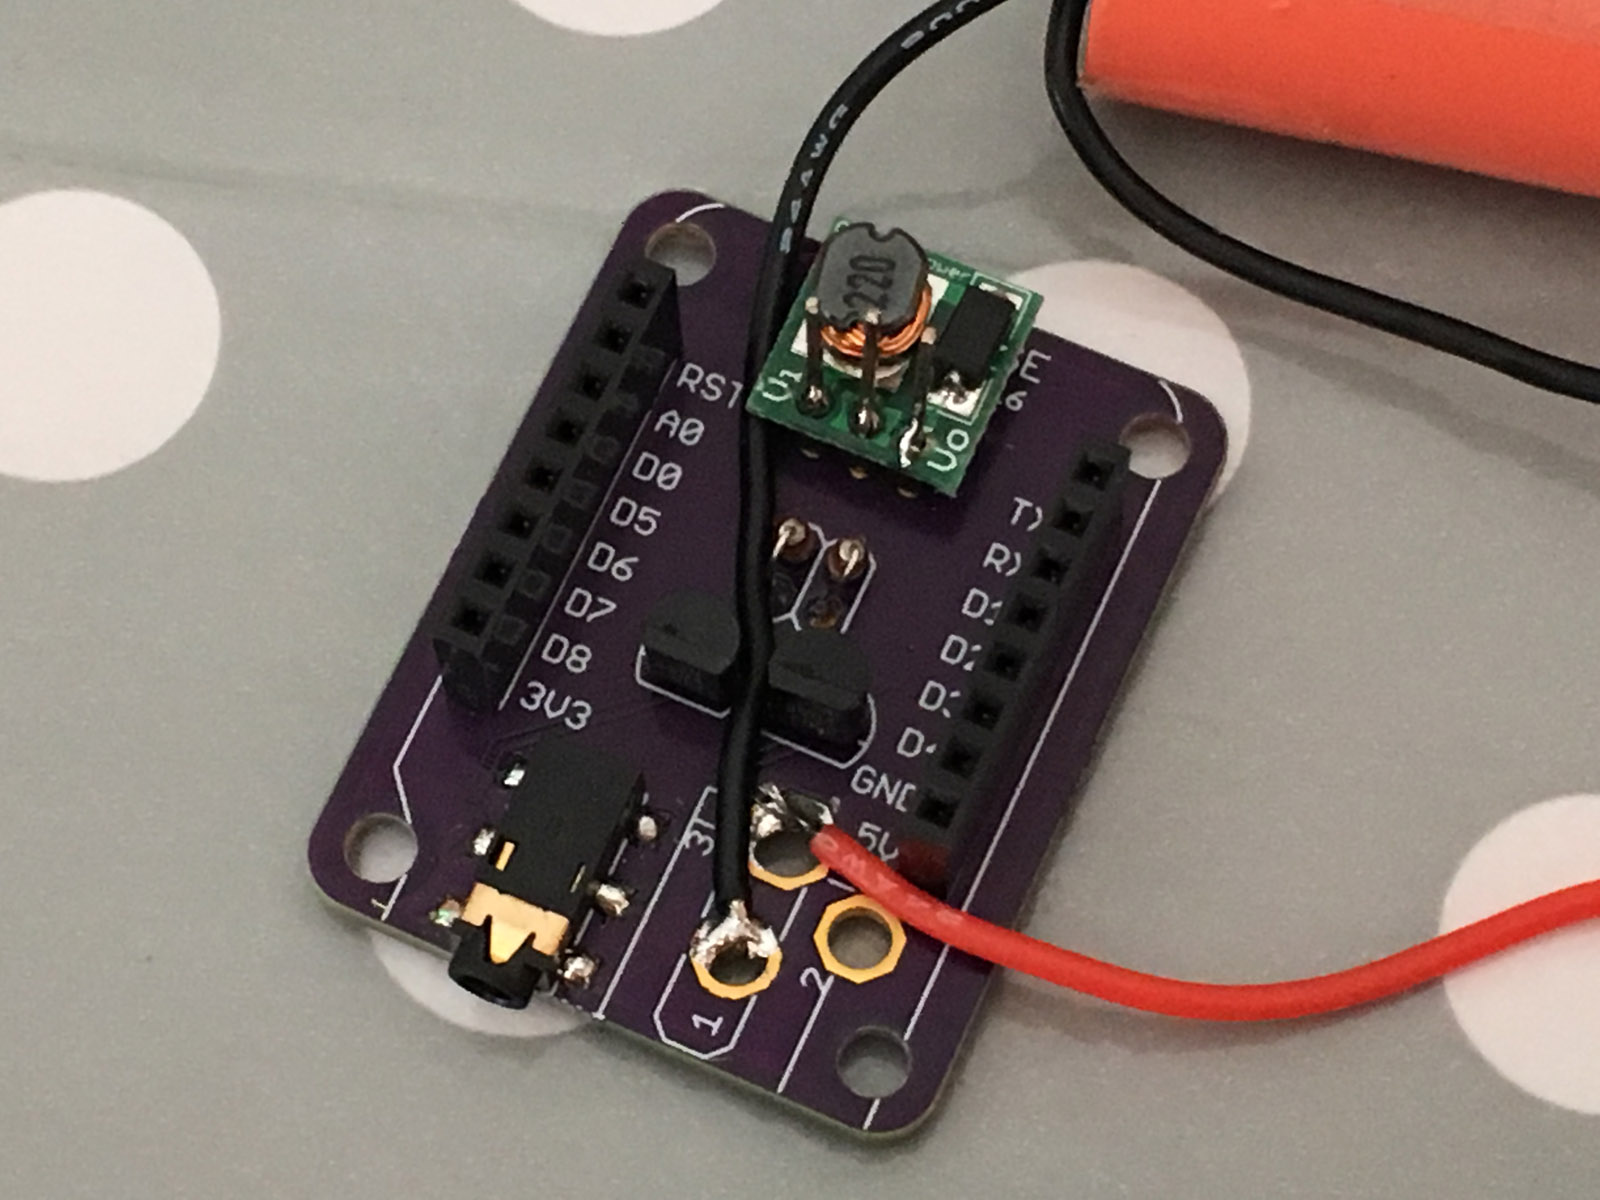
The DC-DC converter is a 0.9-5V input, 5V output which stabilises the incoming battery voltage to a stable 5V for the WeMOS D1 Mini controller board. In the following picture, you an see the openlapse v2.2 controller board (purple) with the DC-DC converter mounted at the back (green). The two transistors and two resistors are the switches that toggle the shutter release camera inputs for focus and shutter.
I did a teardown of a previous iteration of the build (not 3D printed or hot-shoe mountable) but it shows the basic concept.
[embedyt] https://www.youtube.com/watch?v=tuTpxwlBxhg[/embedyt]
The models for the 3D printed parts are available here on GitHub.
The code for the ESP8266 based WeMos D1 Mini is available here, and a pre-built binary is available here. It’s the same software as my openlapse motorised timelapse rail project, this is just a simplified version without the motor driver, rail, etc. If you just want to flash the binary, I covered that in a previous blog post here.
You can see an example of the software in use in the video below. This covers the full openlapse rail system, but the bit you’re interested in for the hot-shoe mounted controller is the software demo, which starts at about 40 seconds in:
[embedyt] https://www.youtube.com/watch?v=wTwSO-uDZFE[/embedyt]
One thought on “3D-printed DSLR Timelapse Controller”
Comments are closed.