 I got a new (to me) car and, while I love it, the sound system is pretty crap. So I decided to investigate what could be done to improve it. Research showed me that the Mazda 6 has two options when it comes to the default sound system, one is a standard 4-speaker setup, and the other is an 11-speaker Bose sound sytem.
As luck would have it, the original owner did NOT feel the need to install the Bose system, so I inherited the crappy 4-speaker system. I needed to do something about that. The first thing was research on speakers, amps, subwoofers, etc. But while that is all well-and-good, there can be a vast improvement by replacing the existing speakers.
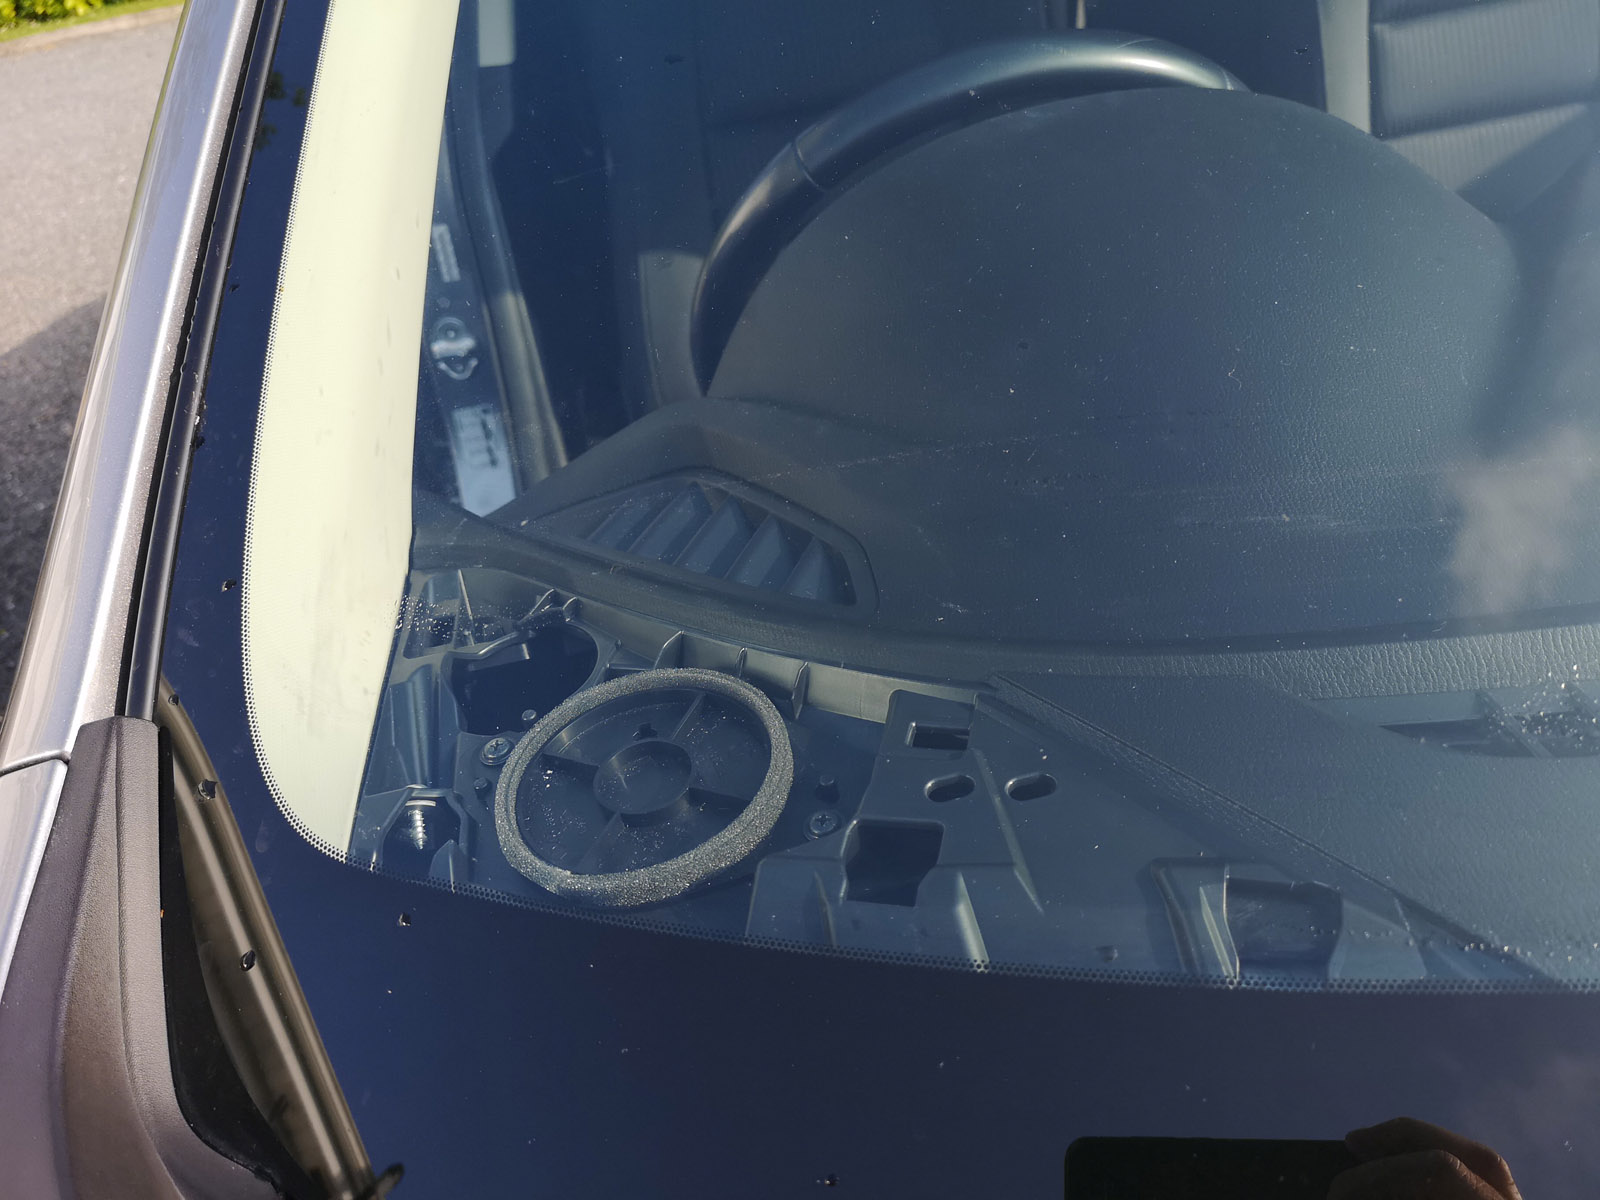
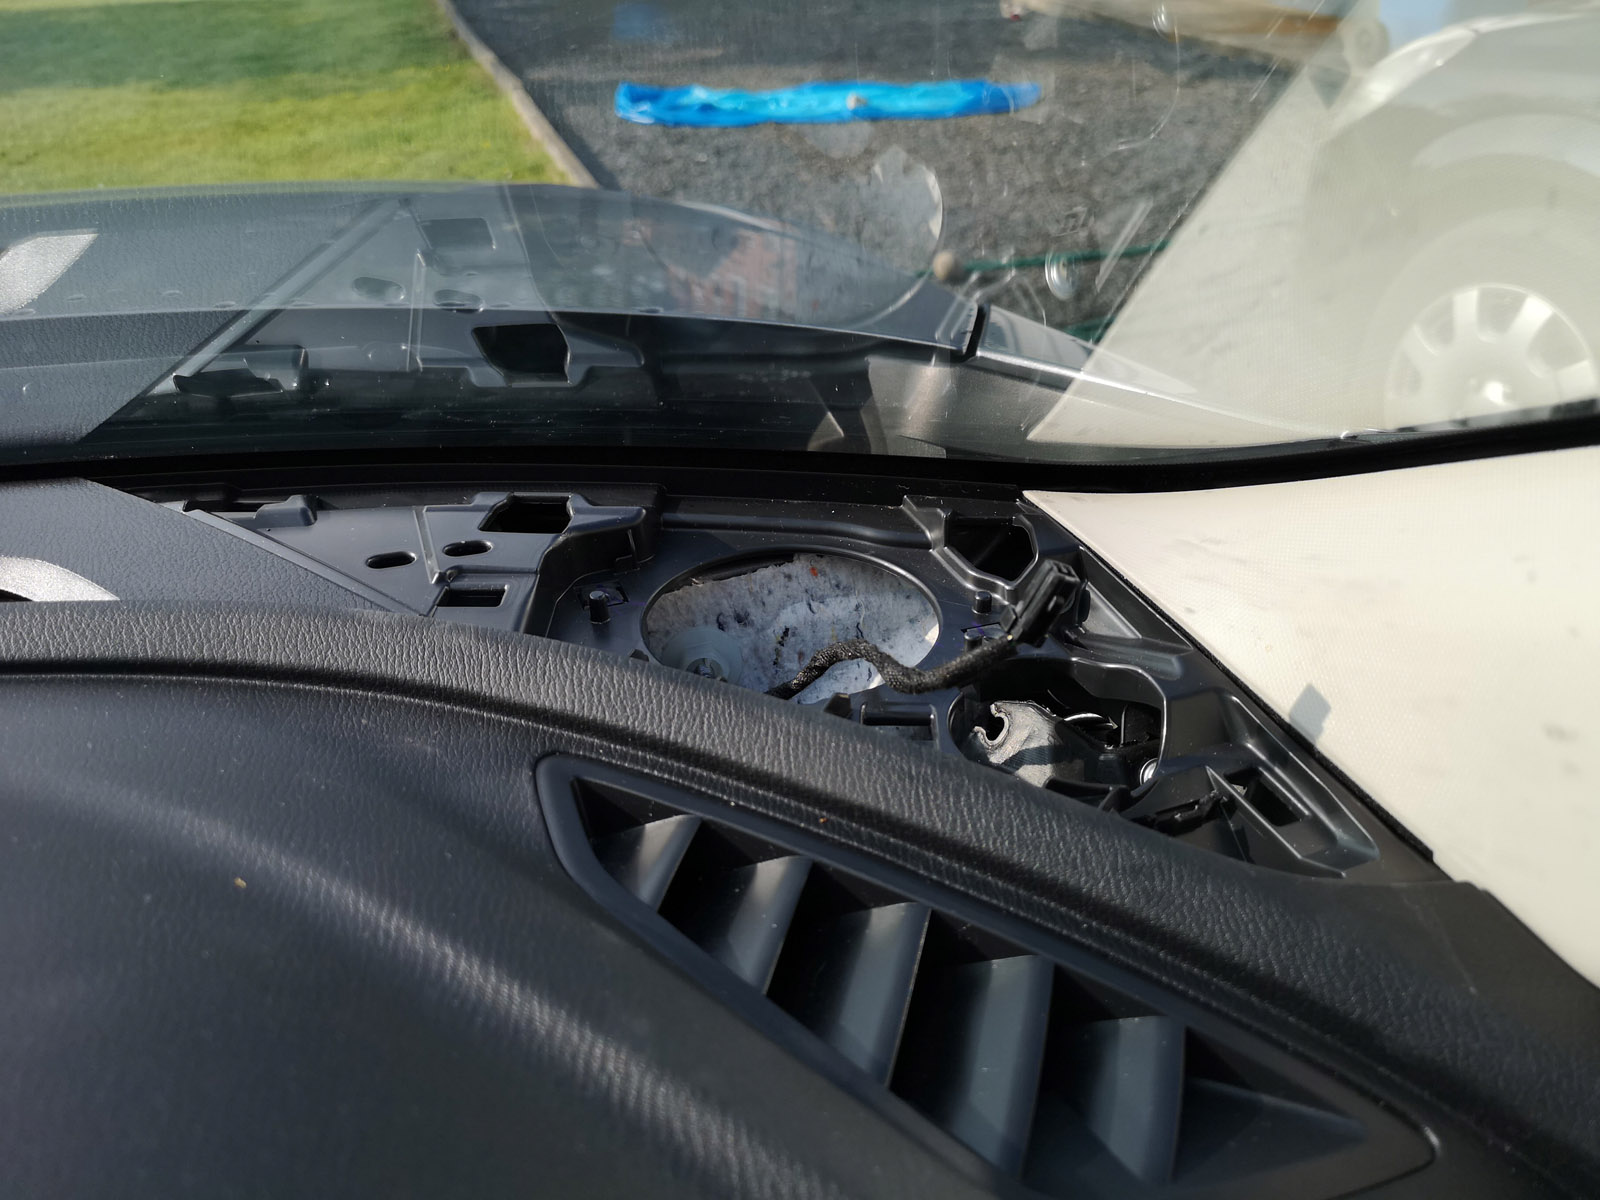
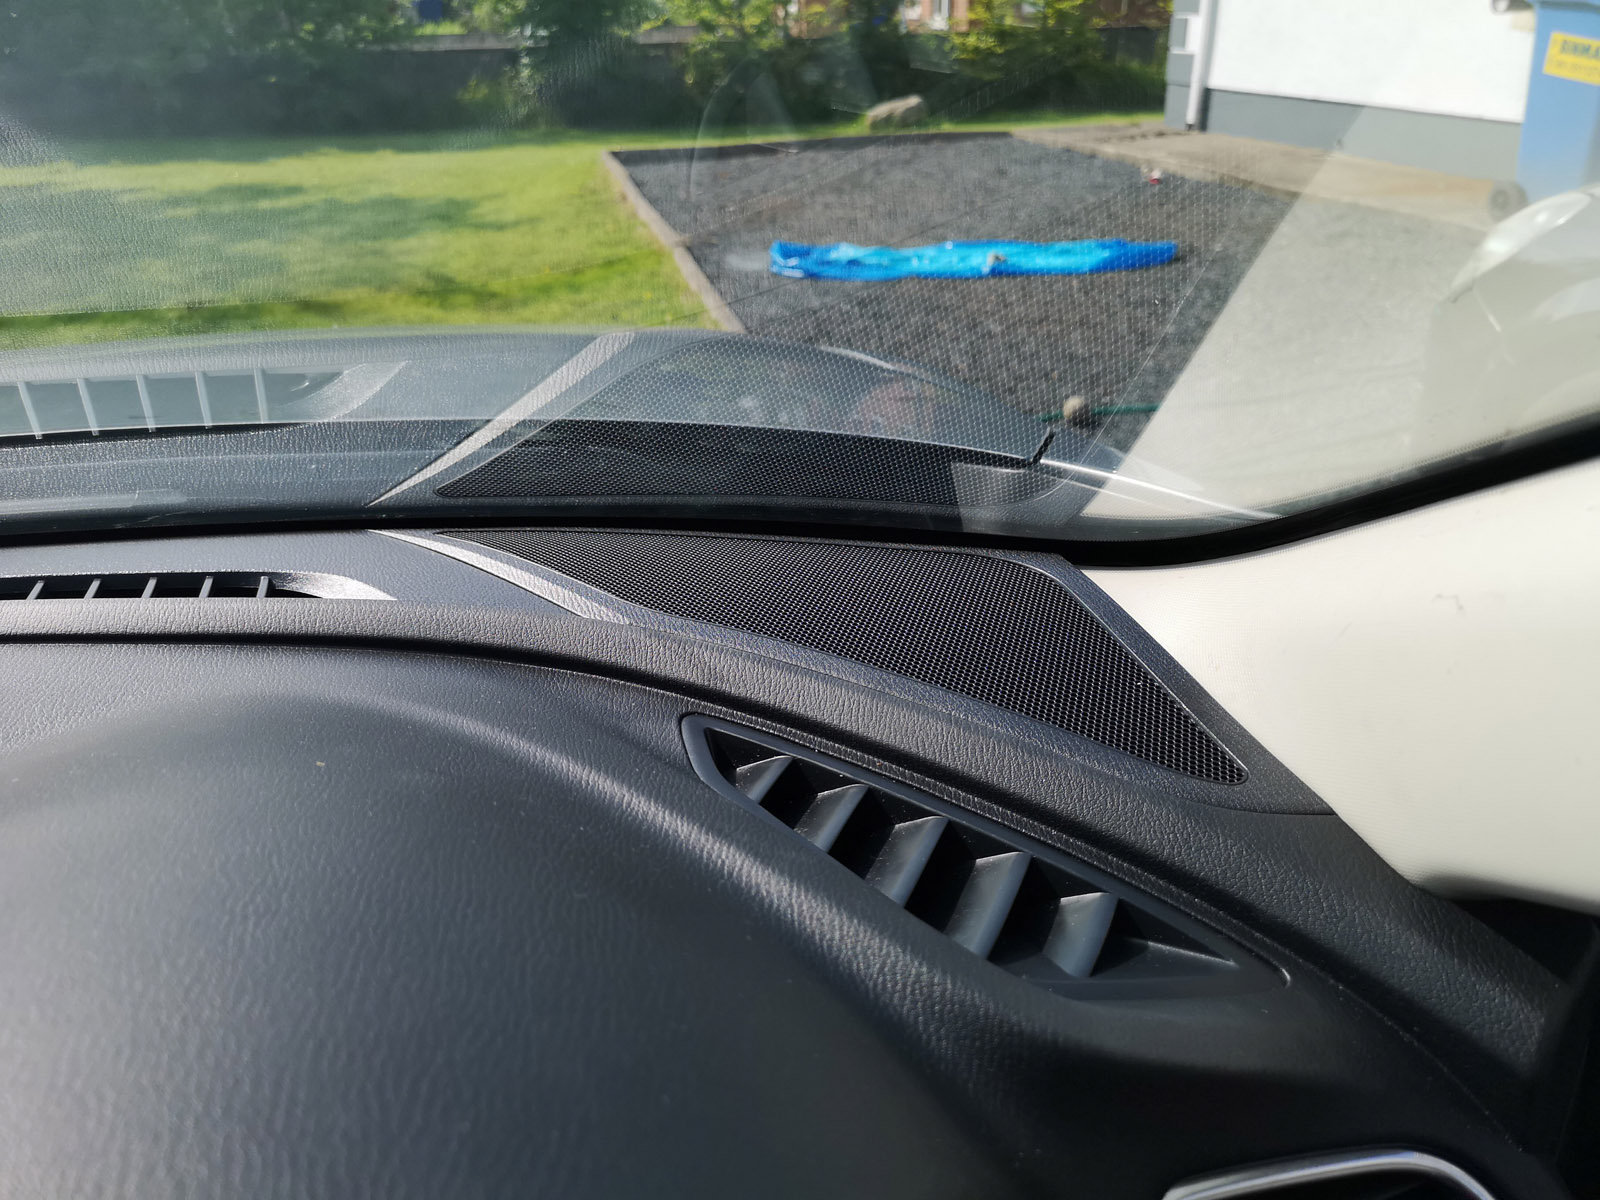
Also, while I was investigating, I popped off a couple of panels on the front dash, and it seems the manufacturers have taken an interesting short cut in allowing the ability to interchange the 4-speaker and 11-speaker sound systems, they’ve pre-wired the car for both. So when I popped off the grille on the dash, I found 3.5″ plastic inserts where the speakers should be, but with a connector already there. Excellent. No need to wire the additional speakers.
Here’s a view from outside the car.
And another from inside.

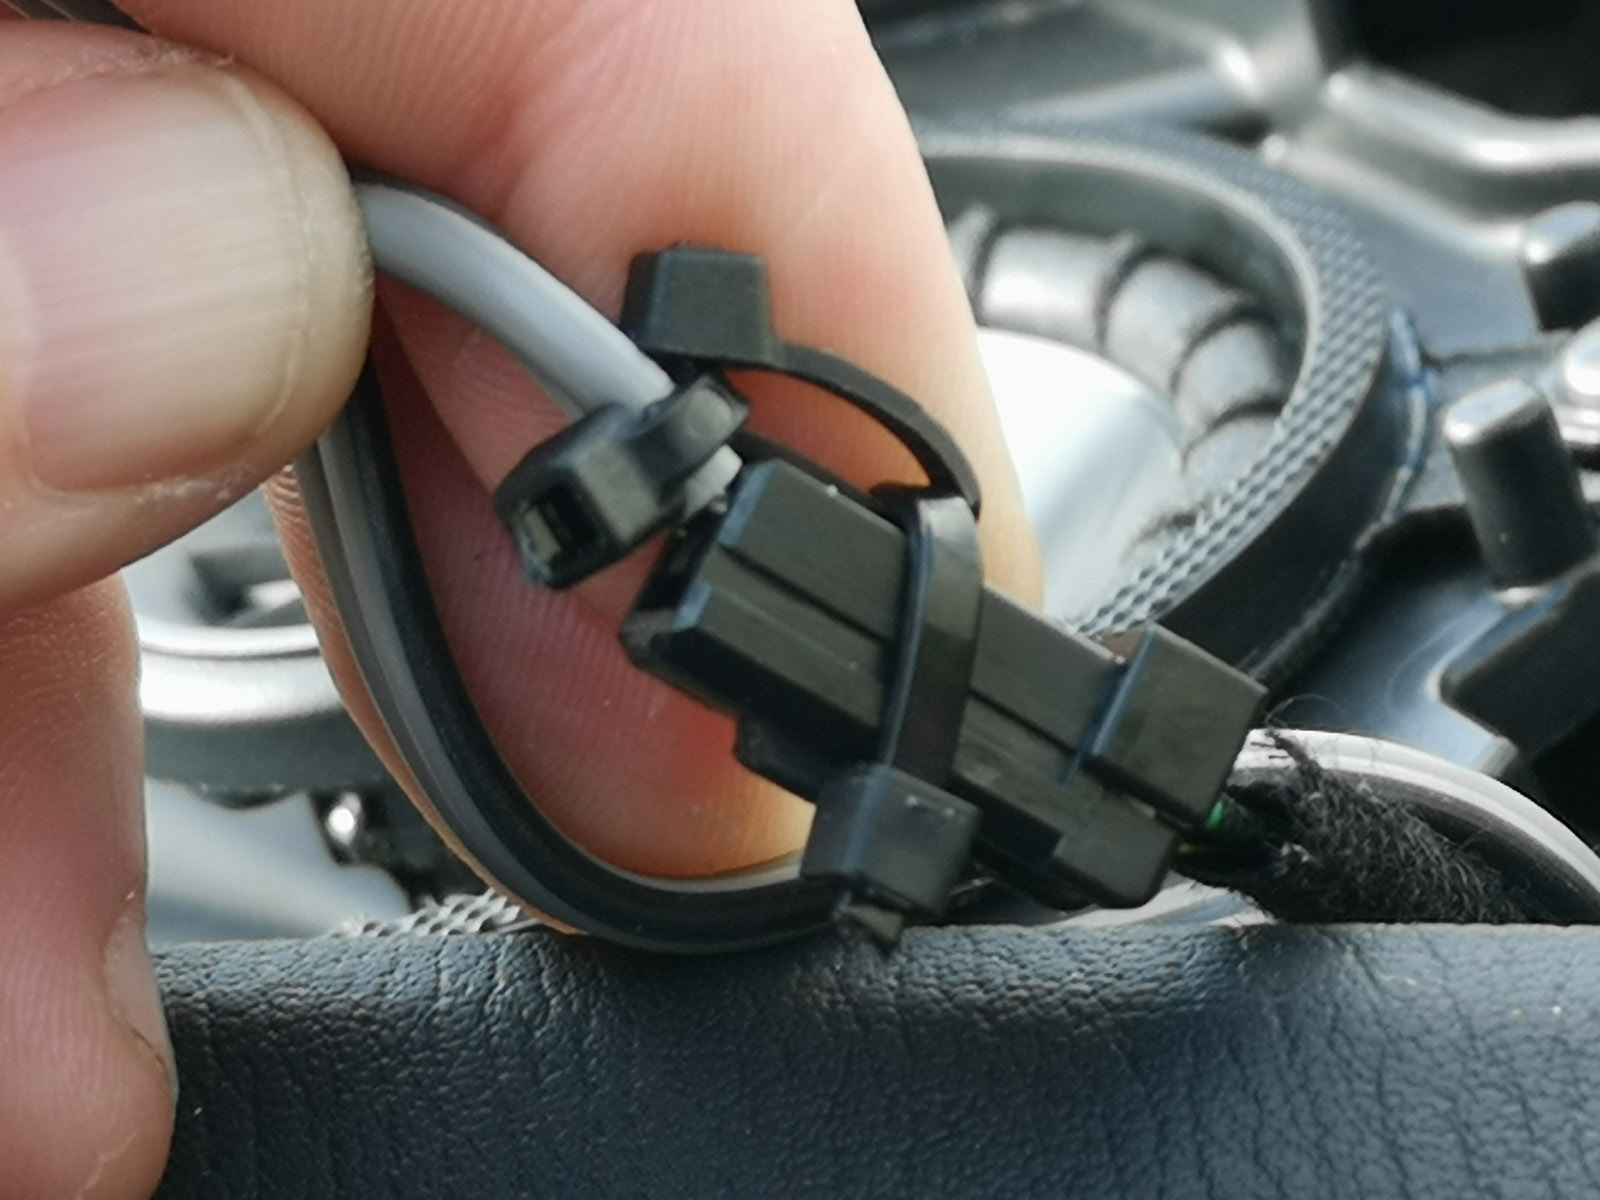
I took out the two screws holding this insert in place, and a connector can be seen attached to it.
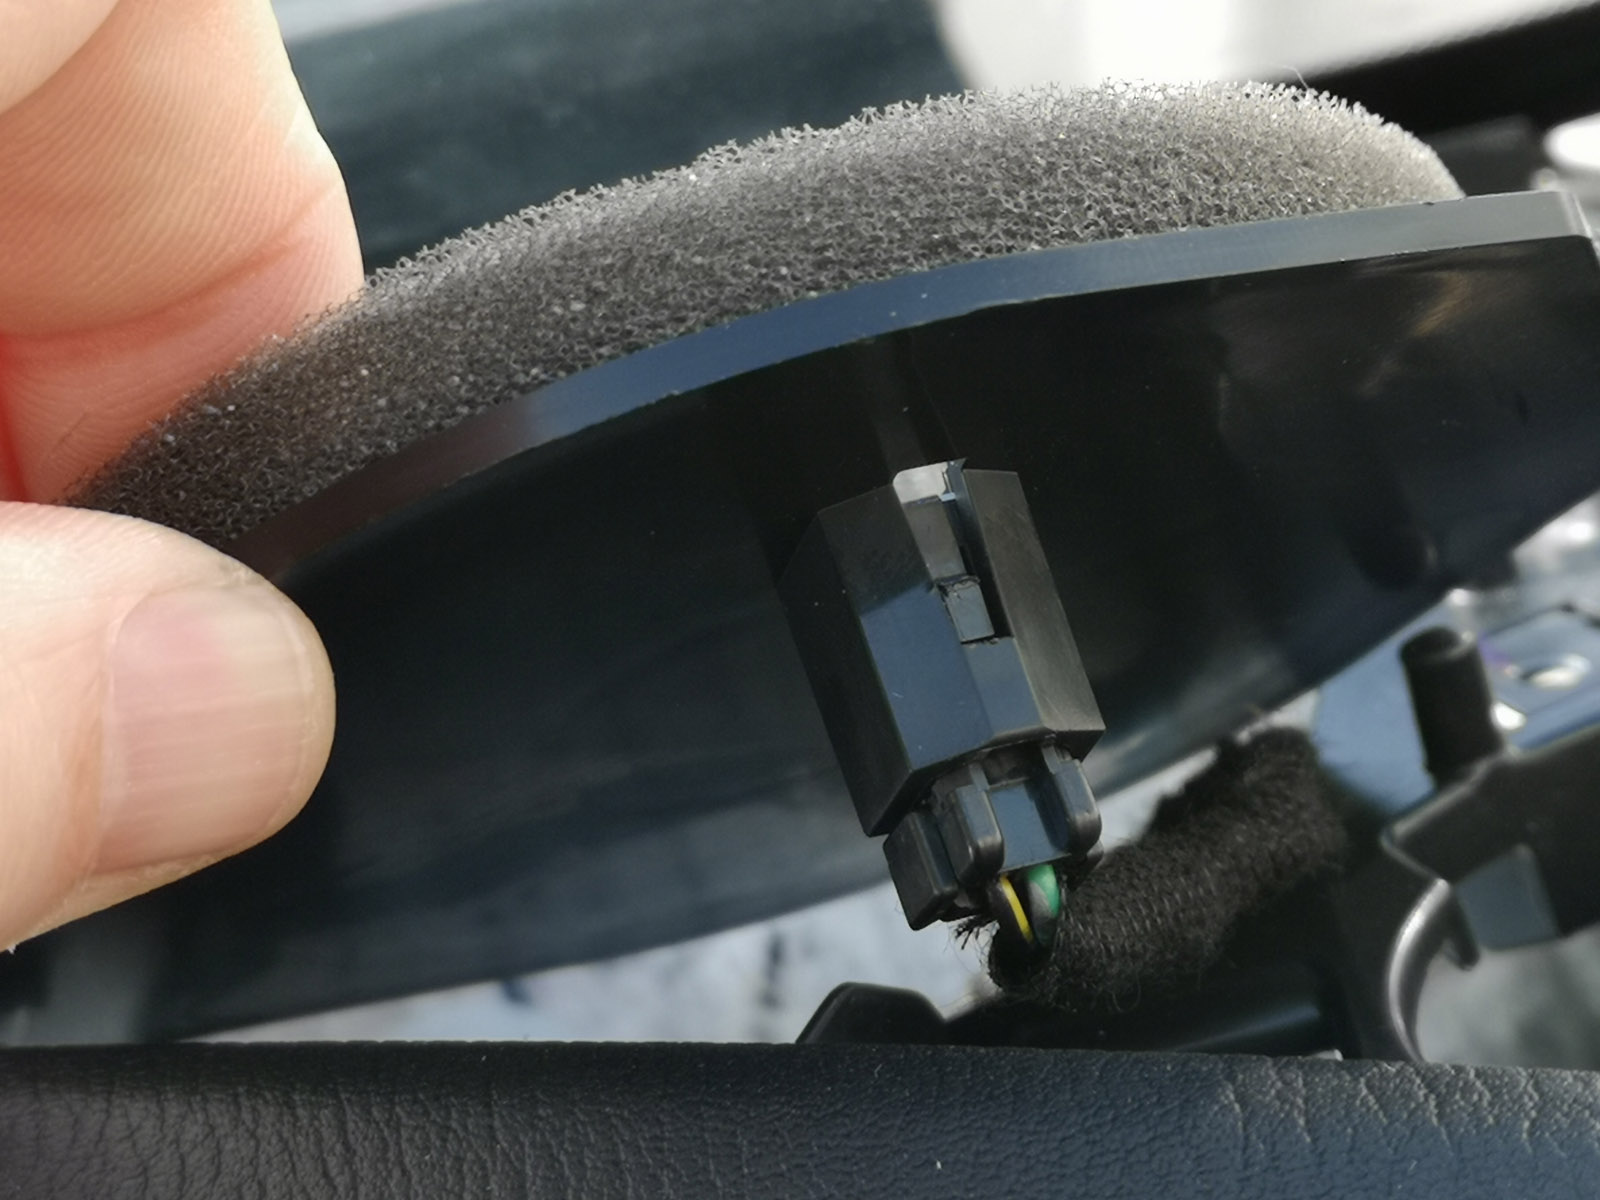
By pressing on the tab at the centre of the connector with a small screwdriver (centre of picture), it can be pulled out.
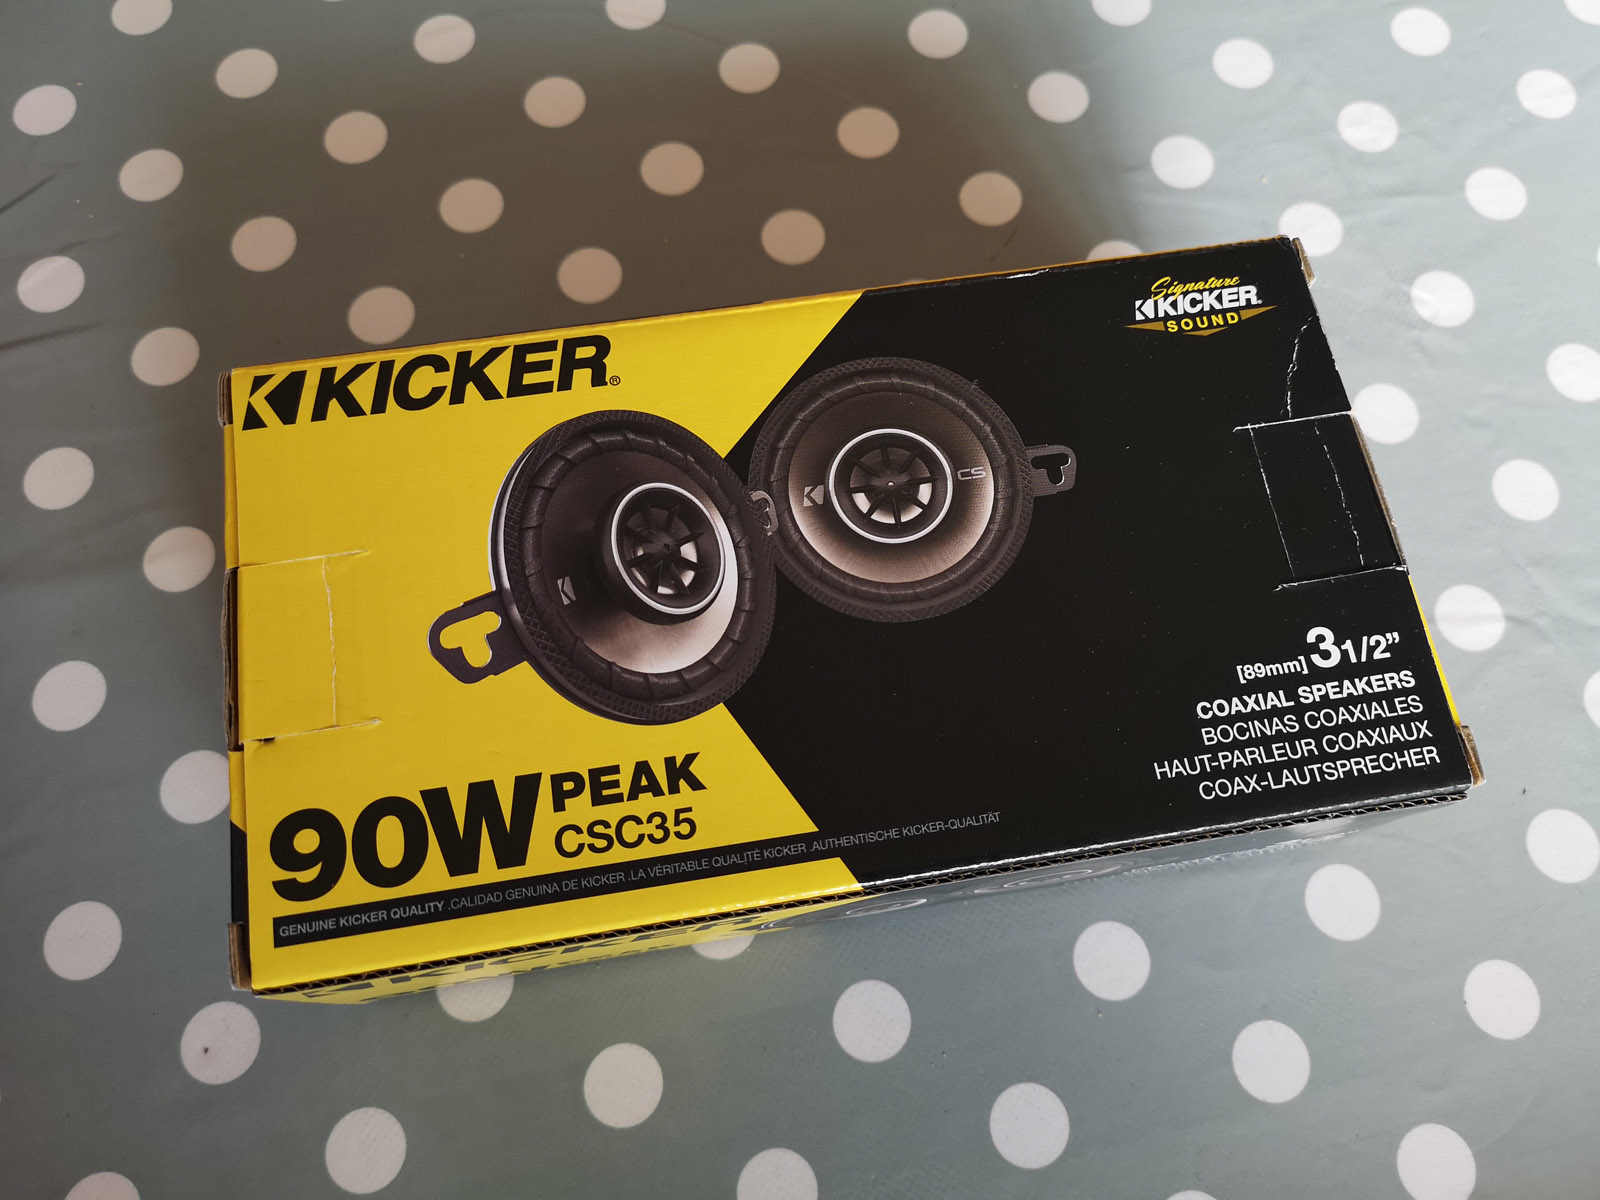
So I ordered 6 speakers, two 89mm (3.5″) for the dash, and four 165mm (6 3/4″) for the four doors. The front doors needed 165mm adapter mounts, so I ordered a couple of those as well. These are specific to the car.
The first to arrive were the 3.5″. So I’ll throw in a few pictures of that installation here, and leave the 165mm installs for a later post when they arrive. They’re in two different orders of two, so will probably arrive at different times.
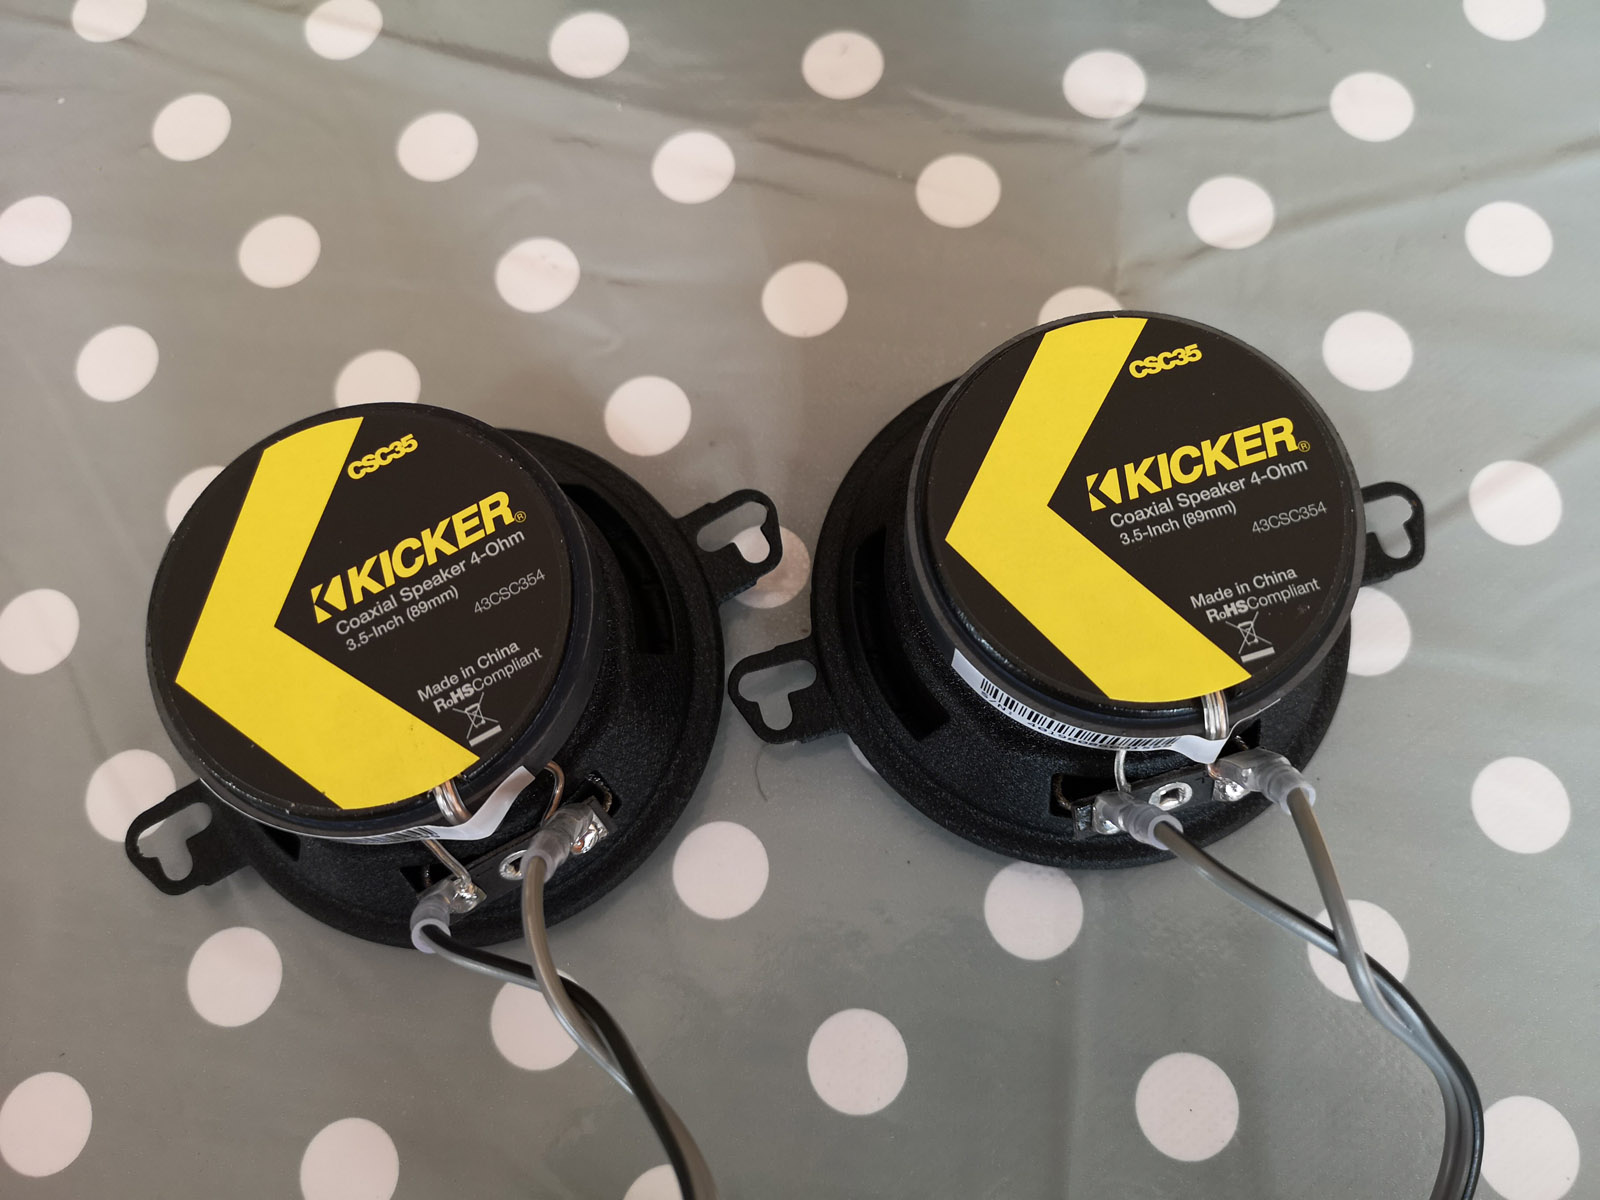
The speaker brand I decided on was Kicker, which seem to have a pretty good reputation in car audio.
And while it says 90W peak, that’s 30W rms, great for such a small speaker. Seeing as they’re going to be on the same channel as the 165mm, I’ll also add in a bass blocker when they arrive, but for now I’m going to mount them straight in there. A bass blocker is simply a non-polar capacitor that blocks lower frequencies. A 45uF np cap will start attenuating at 1kHz with a nice roll off towards the lower frequencies. So when I push a decent amount of power into the 165mm speakers, the power into the 89mm’s will be attenuated, protecting them from distorting or blowing.
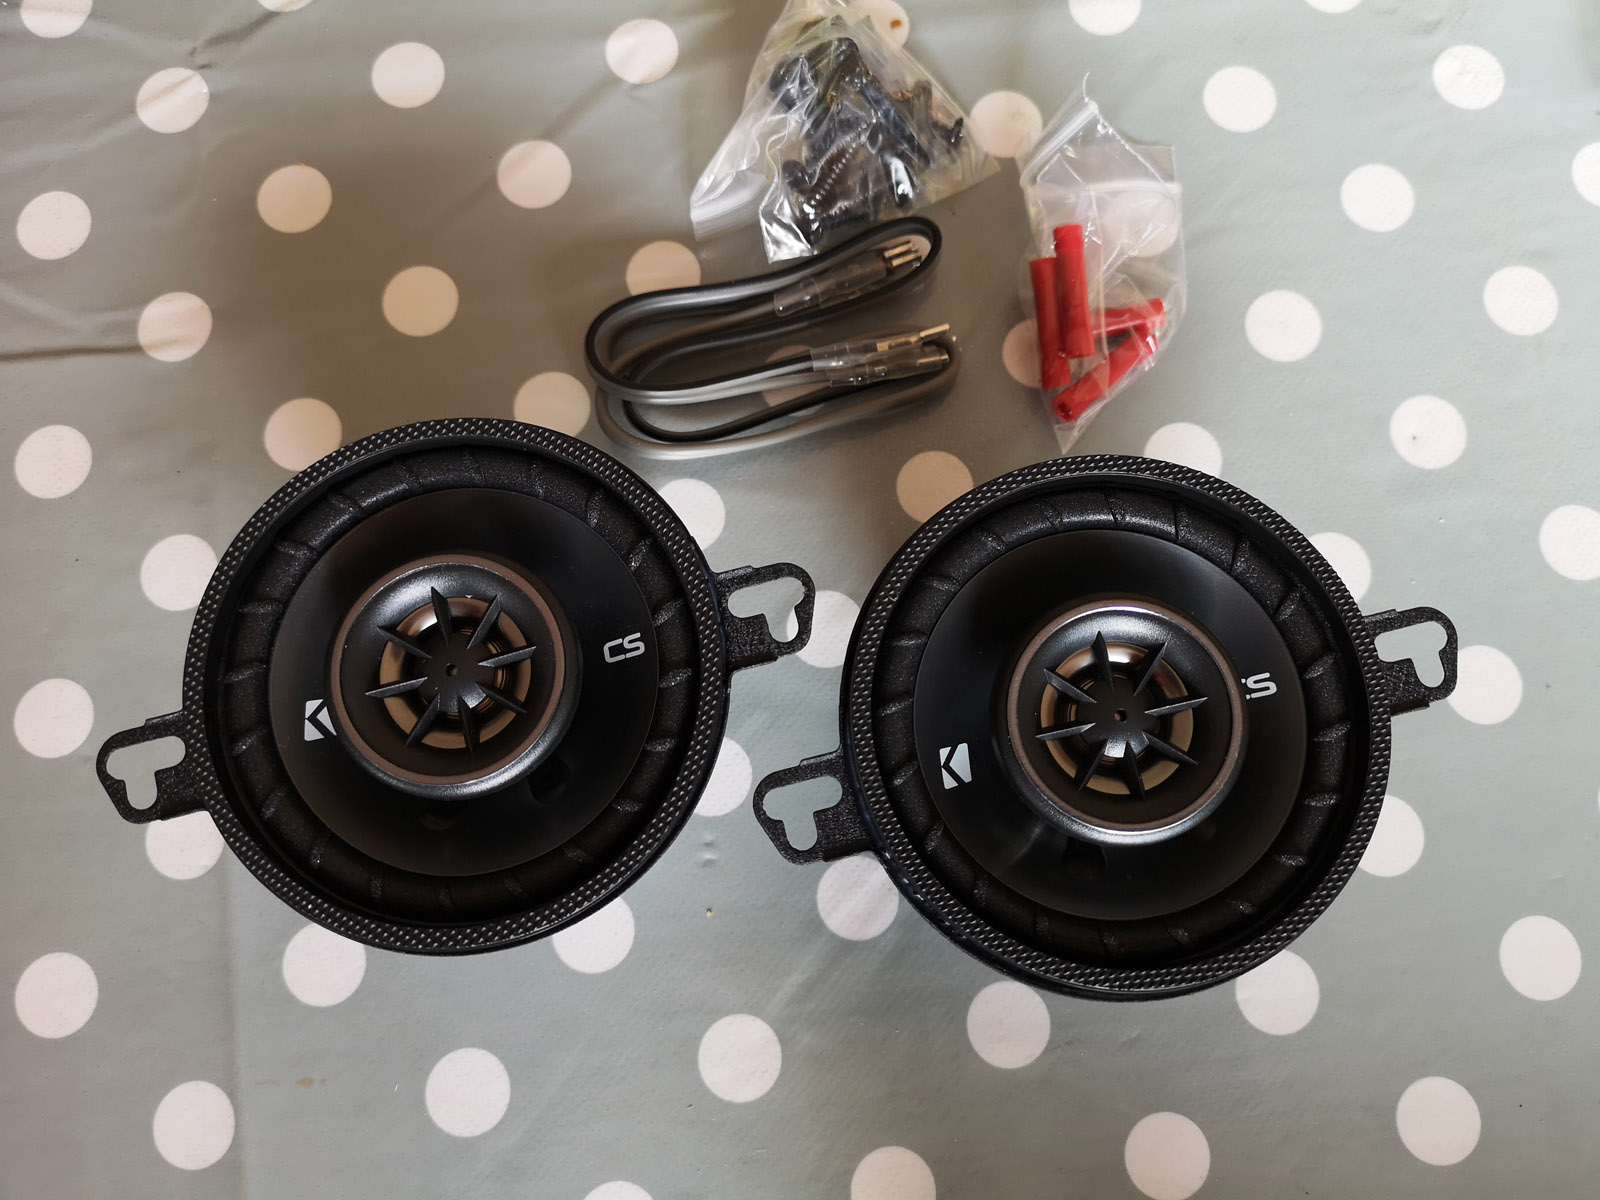
They’re really nice looking speakers, it’s a shame they’ll be hidden behind the grille on the dash. 🙂
So, now for the installation. I’d already taken out the grille and plasic insert, so I can just drop the speakers straight in.
And, thankfully, they do drop straight in. A touch tight, but when screwed down, they’re perfect.
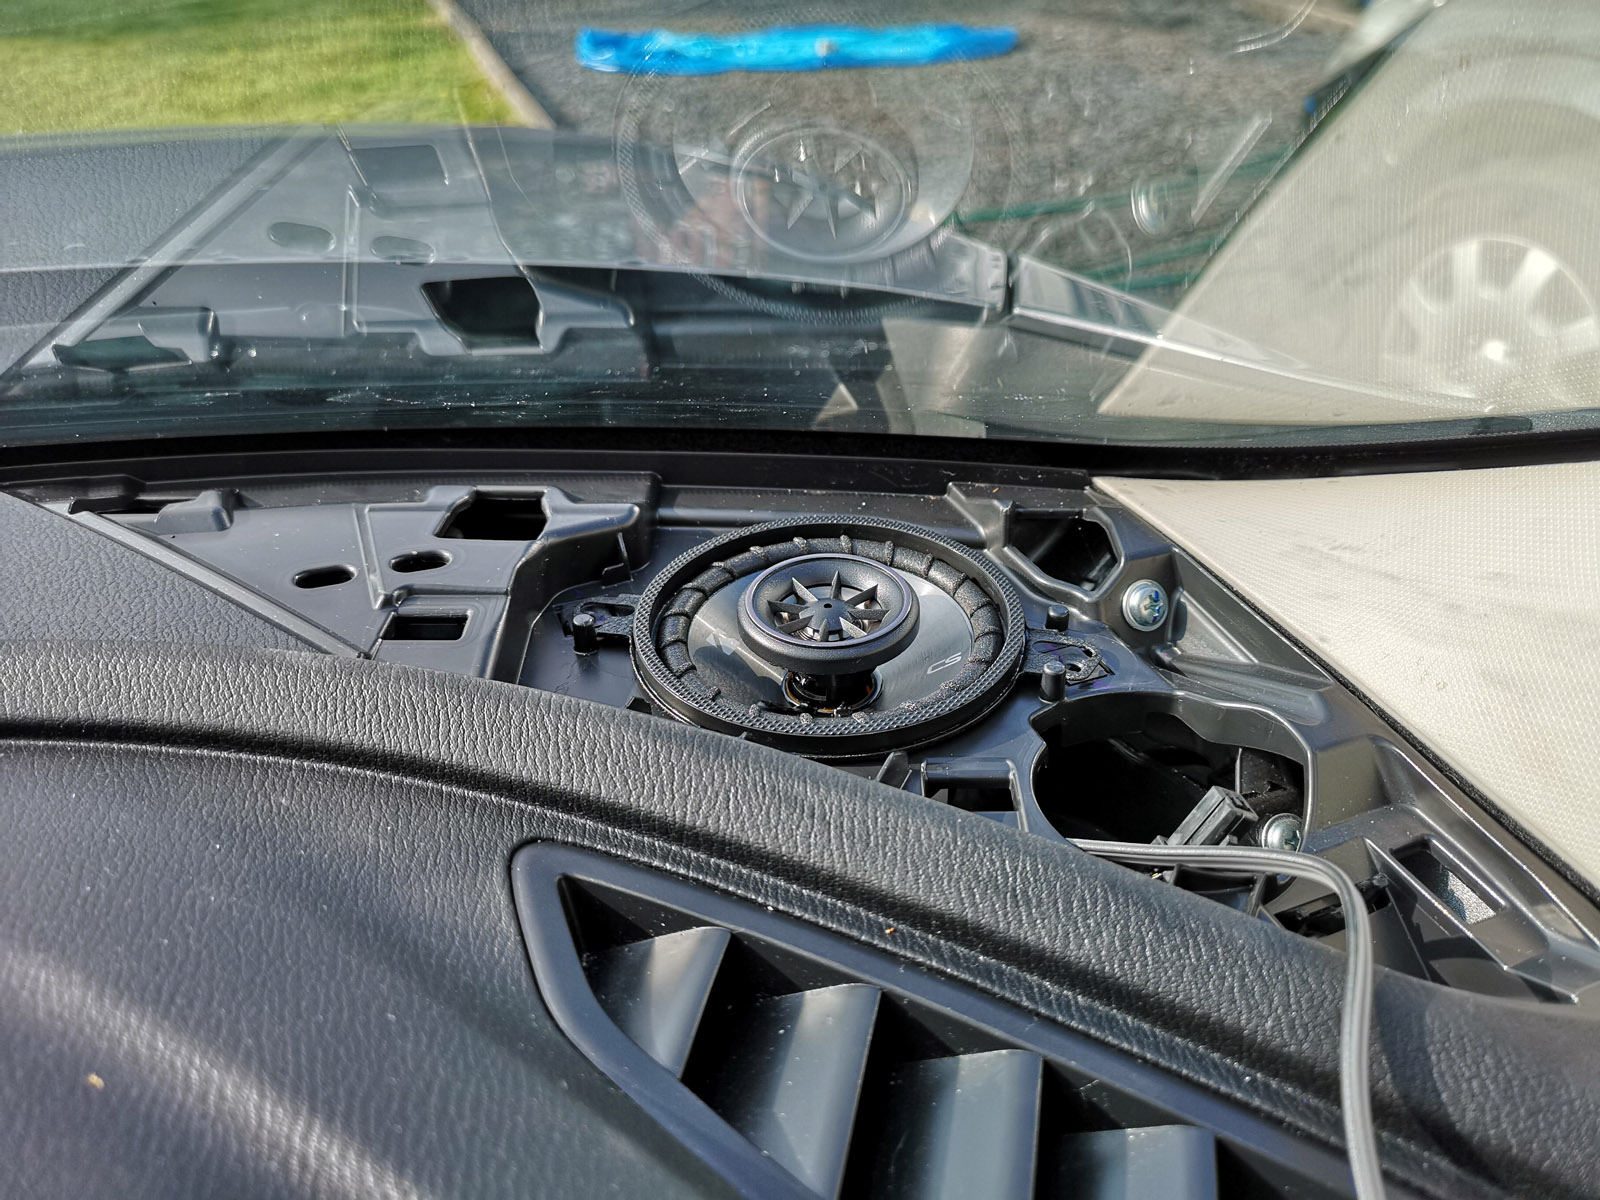
The speakers came with about 20mm of speaker cable with connectors for the speakers on one end and tinned bare wire on the other. This tinned bare wire is thick enough and strong enough to go straight into the car connectors, and are tight enough to stay in once inserted, but I added an extra precaution of a few cable ties to ensure they don’t come out.
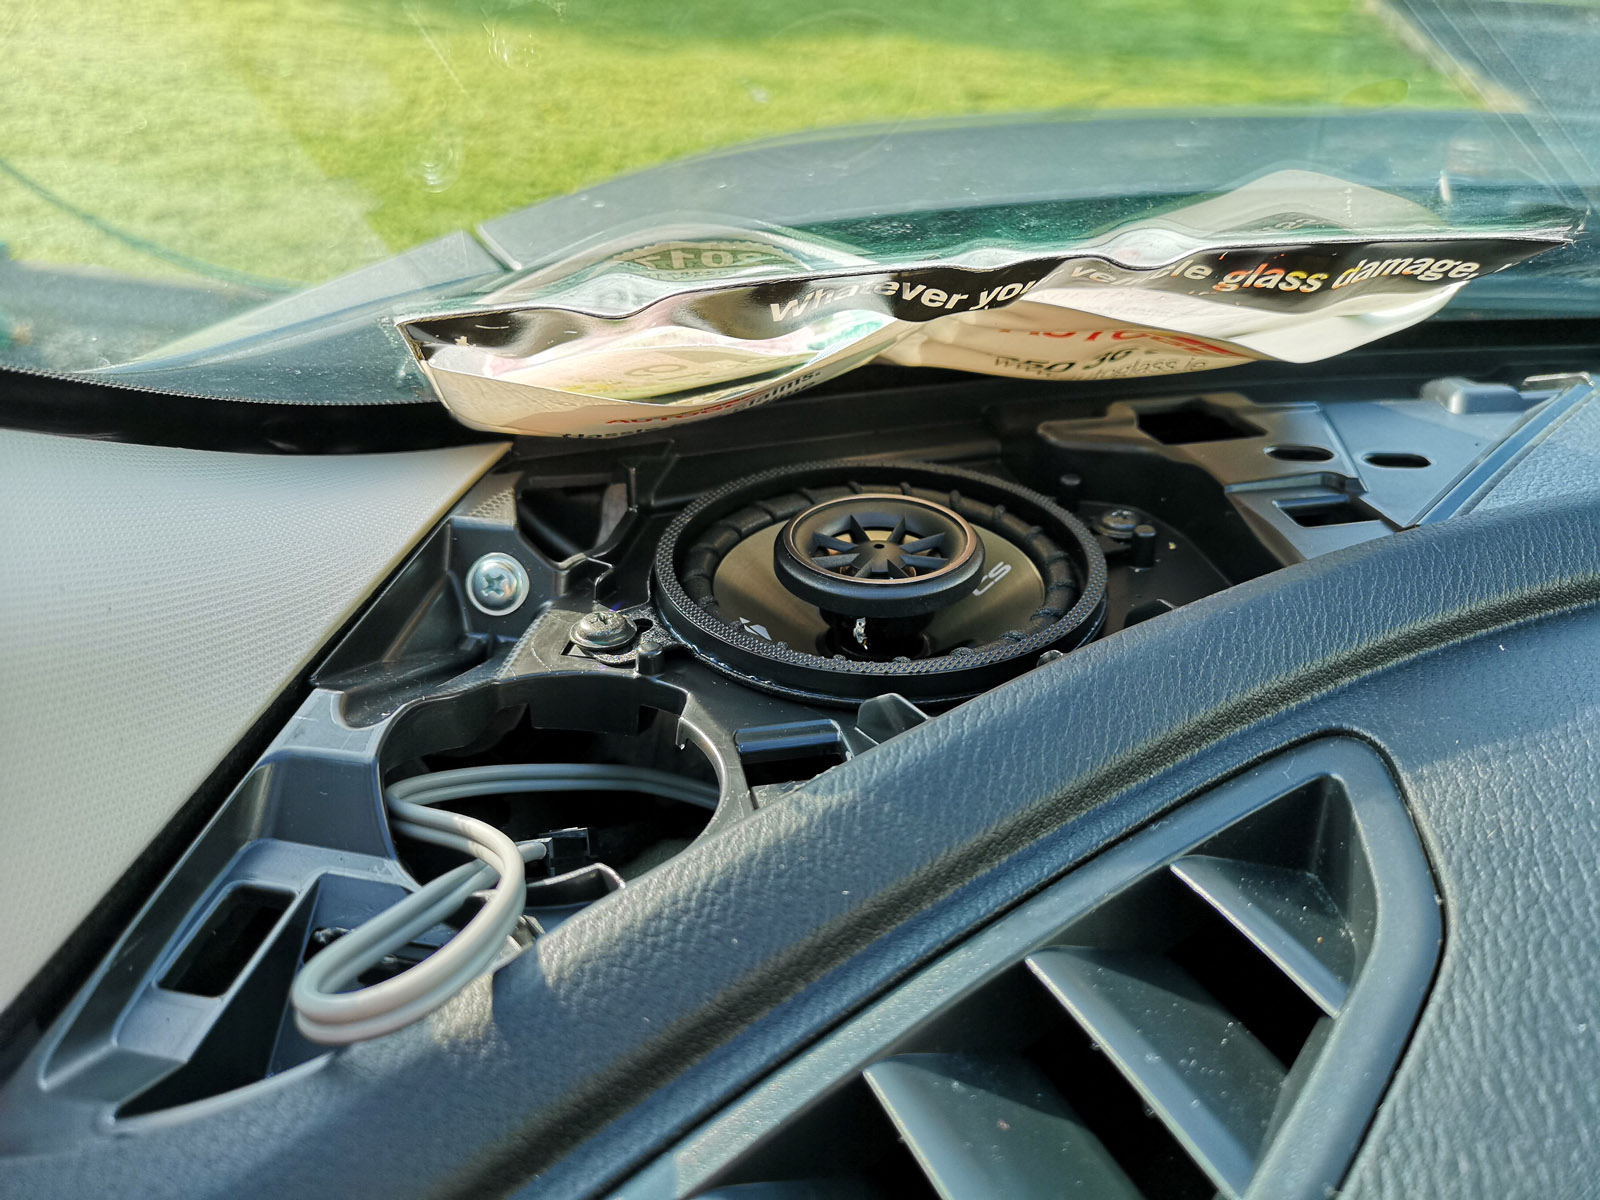
And once I’d tucked away the cables, I replaced the grilles.
So the two Kicker 89mm have been installed in the car dash board. This small change alone makes an enormous difference to the sound quality. Much richer high-end frequency response. and the bass from them isn’t bad either. 🙂
The next installment will hopefully cover the door speaker replacement. They’re Kicker 165mm, 100W rms each. Then maybe I’ll think about an amp to drive them properly, and then maybe a sub… 😉
It’s still a Mazda.