 Here’s Part Two in a series of articles where I upgrade my car’s audio system. See previous article here. This time we’re going to take a look at upgrading the 165mm speakers in the four doors, and adding bass blockers to the 89mm speakers added in the last article.
So first was to pull off the door panels. There’s lots of YouTube videos on how to do this for a wide variety of cars and, sure enough, there was one for my model of the Mazda 6.
Once the door was off, we can see the speakers we want to replace.
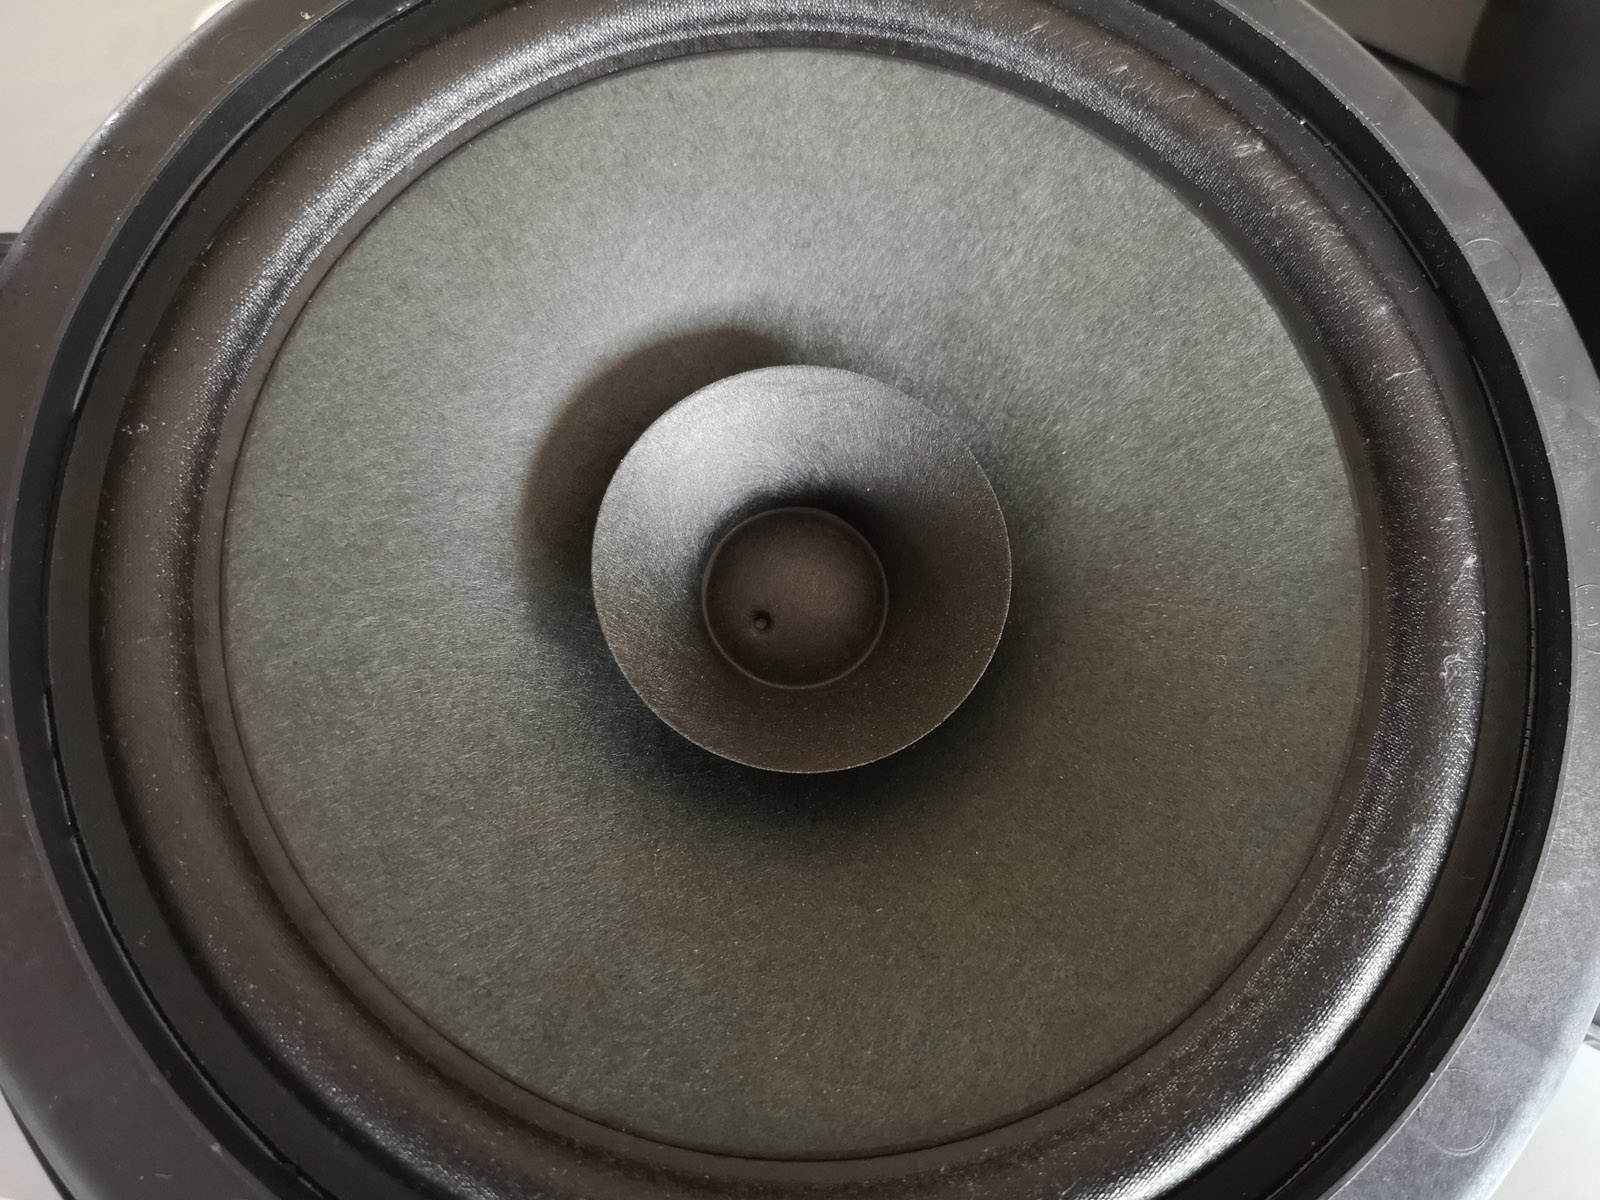
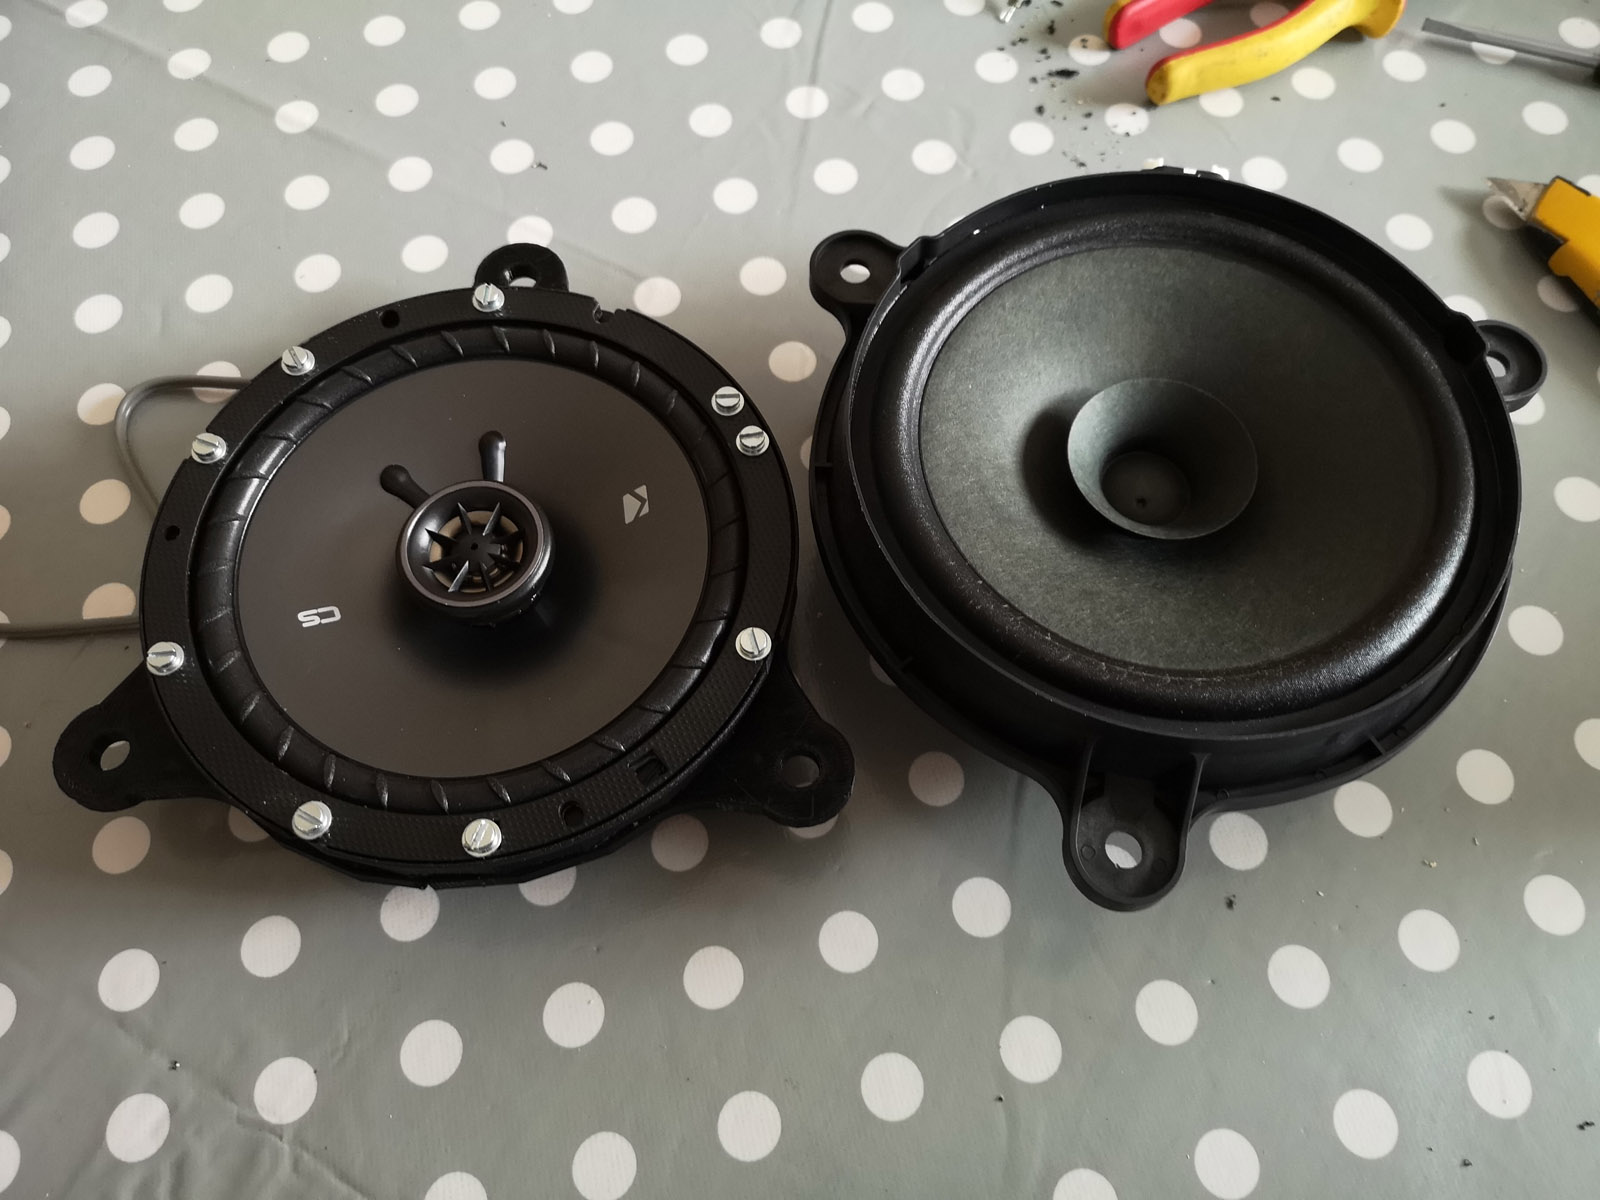
All paper. Pretty crap. So I undid the four bolts and pulled it out. Here’s a pic of a comparison view of the standard versus what I’m replacing it with.
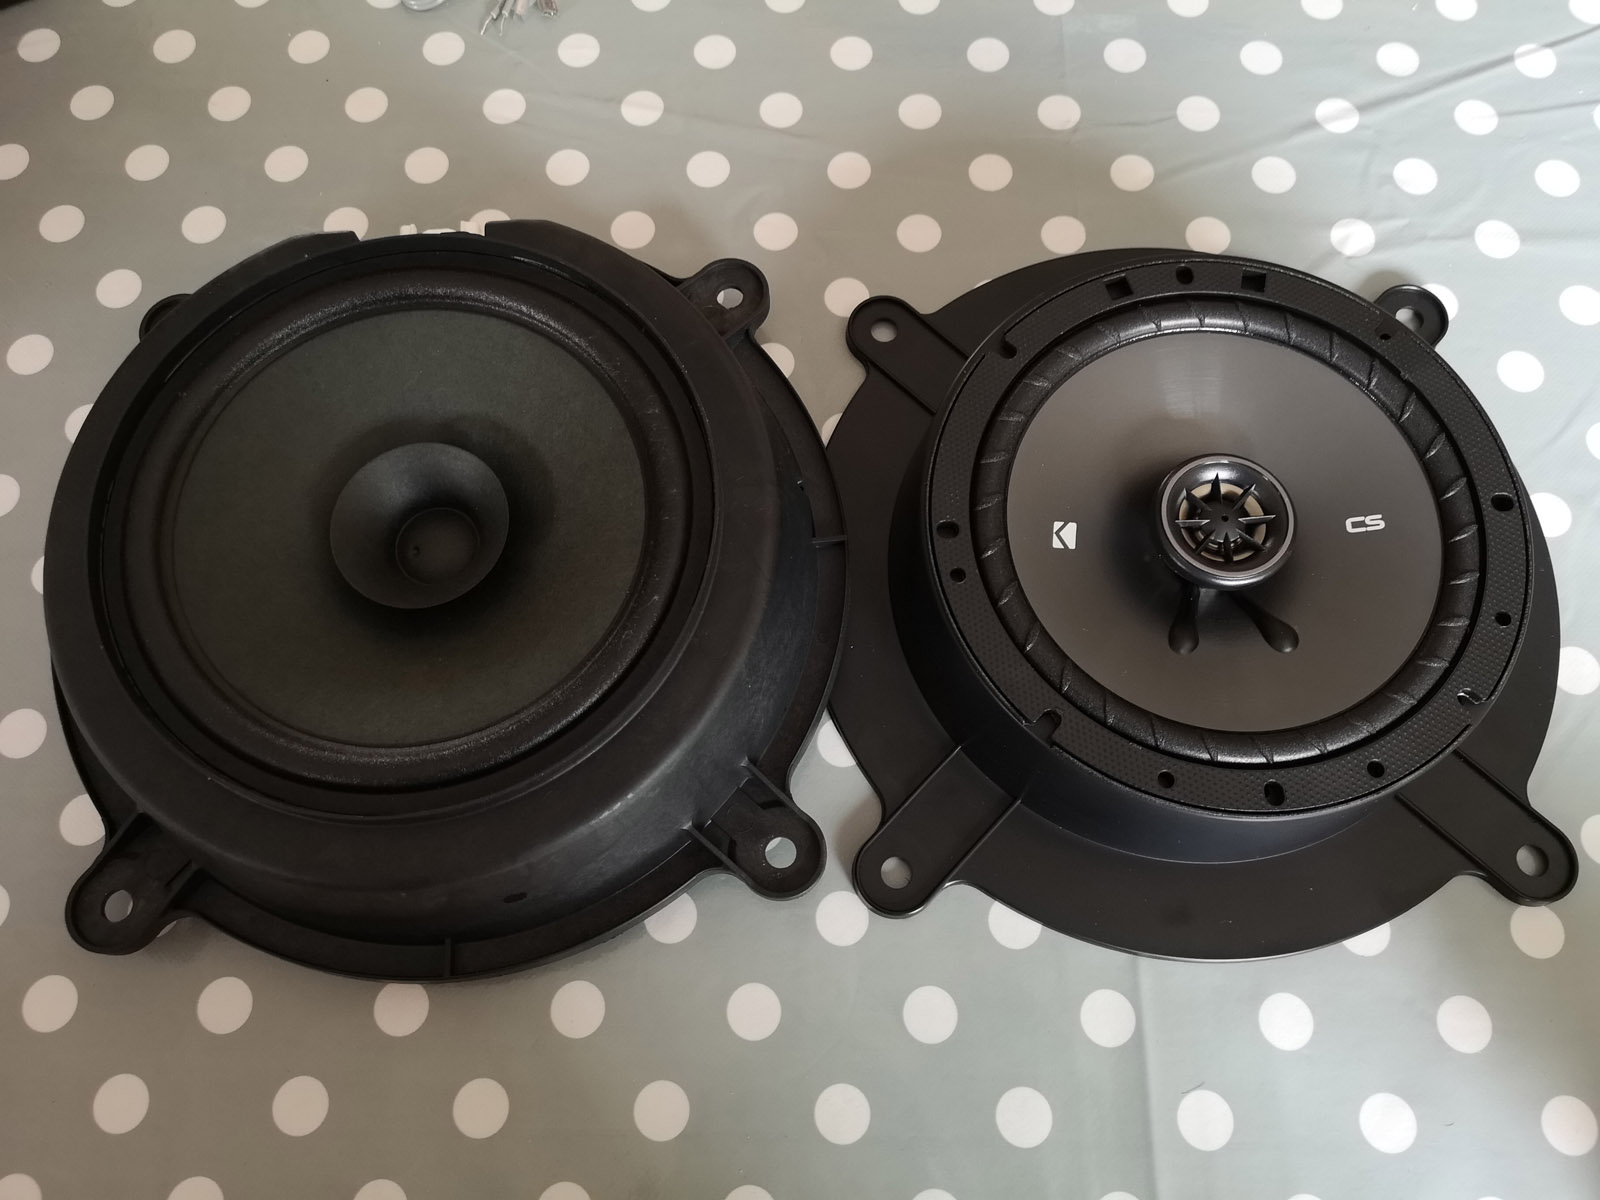
Also in that picture you can see the mounting adapter that I got on eBay which is specifically to mount 165mm speakers in the Mazda6 front doors. There are many different types of adapter available for different car types.
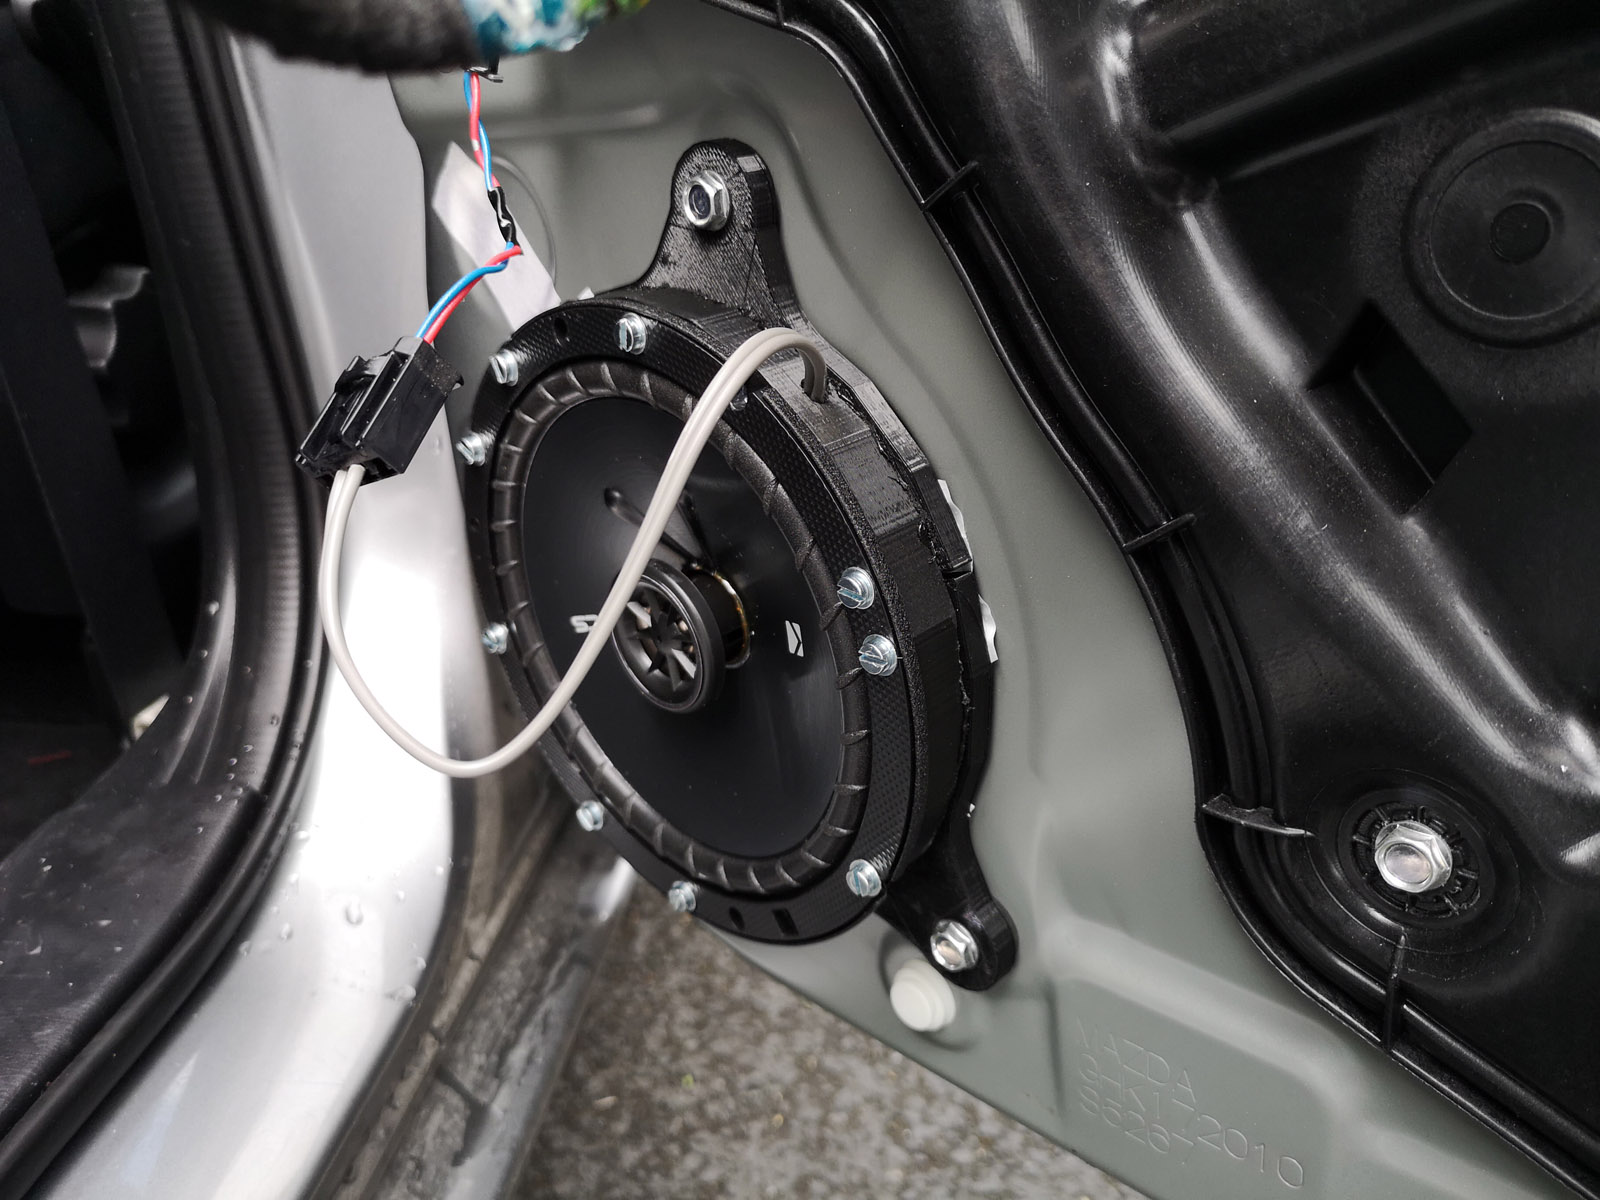
It was very straightforward to mount this in the car, it fit perfectly. One thing I had to be careful of was the size of the screws used to attache the speaker to the adapter. It’s quite easy to break the screw recepticles on the adapter, and then the speaker may be prone to vibration. I ended up using 8 smaller screws more suited to the adapter rather then the larger ones supplied with the speaker.
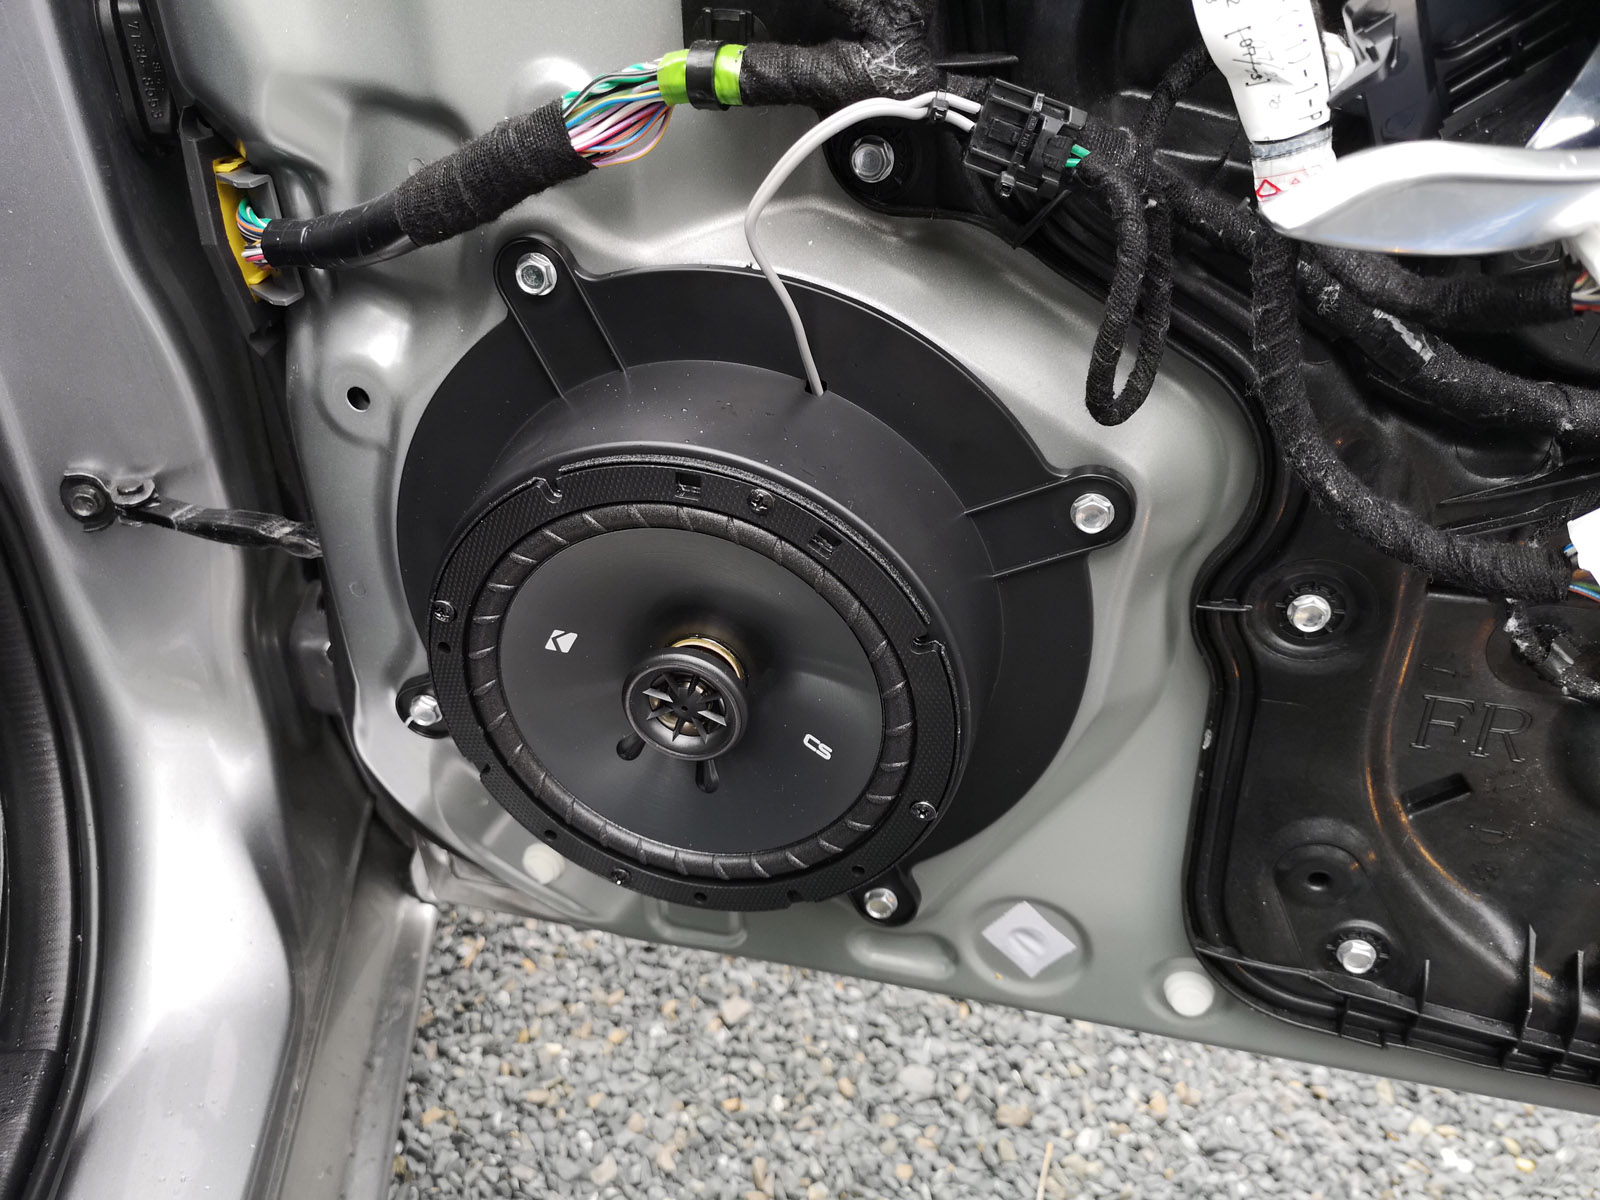
Care was take to ensure the correct polarity of the wires into the speaker. Once the wires were connected, I used cable ties to secure the wires in place.
It’s worth noting that if you plan to remove your door panels, a lot of modern cars use clips that quite fragile, and can easily break when the panel is removed. There’s about 10 on each door panel, so the chances are you’ll break at least two or three of them when you pull the panel off.
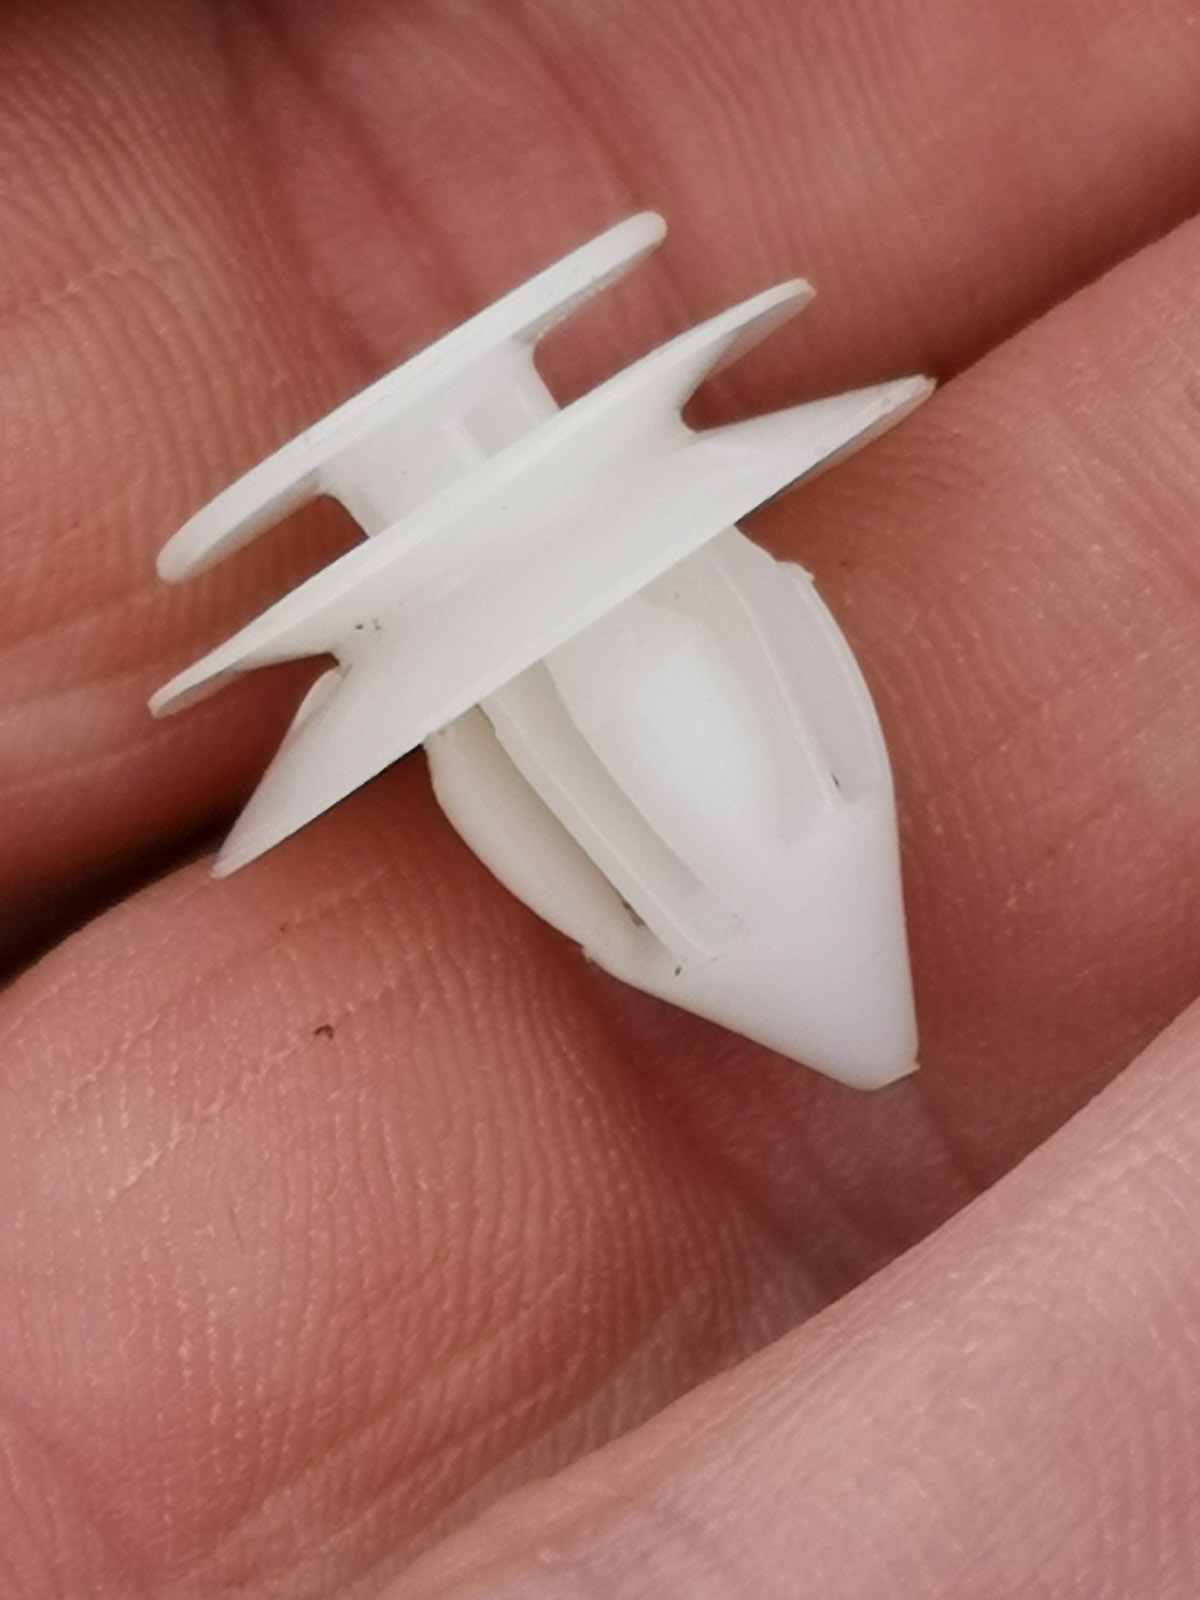
Luckily these are easily available on eBay. Ordering from China is very cheap (but slow), so I ordered 20 from an eBay seller in the UK.
Luckily, when I was taking off my panels, any clips I broke were still somewhat usable, so I can wait for the replacements without the panels falling off the car! 🙂
I did the other side front door next, which was also straightforward to install with the adapter.
However, when I pulled off the rear door panel I was expecting the speaker to mount straight onto the door, but there was a different shaped mounting. I hadn’t seen any mention on-line of adapters for these speakers, so instead of guessing, I decided to 3D-print my own adapters.
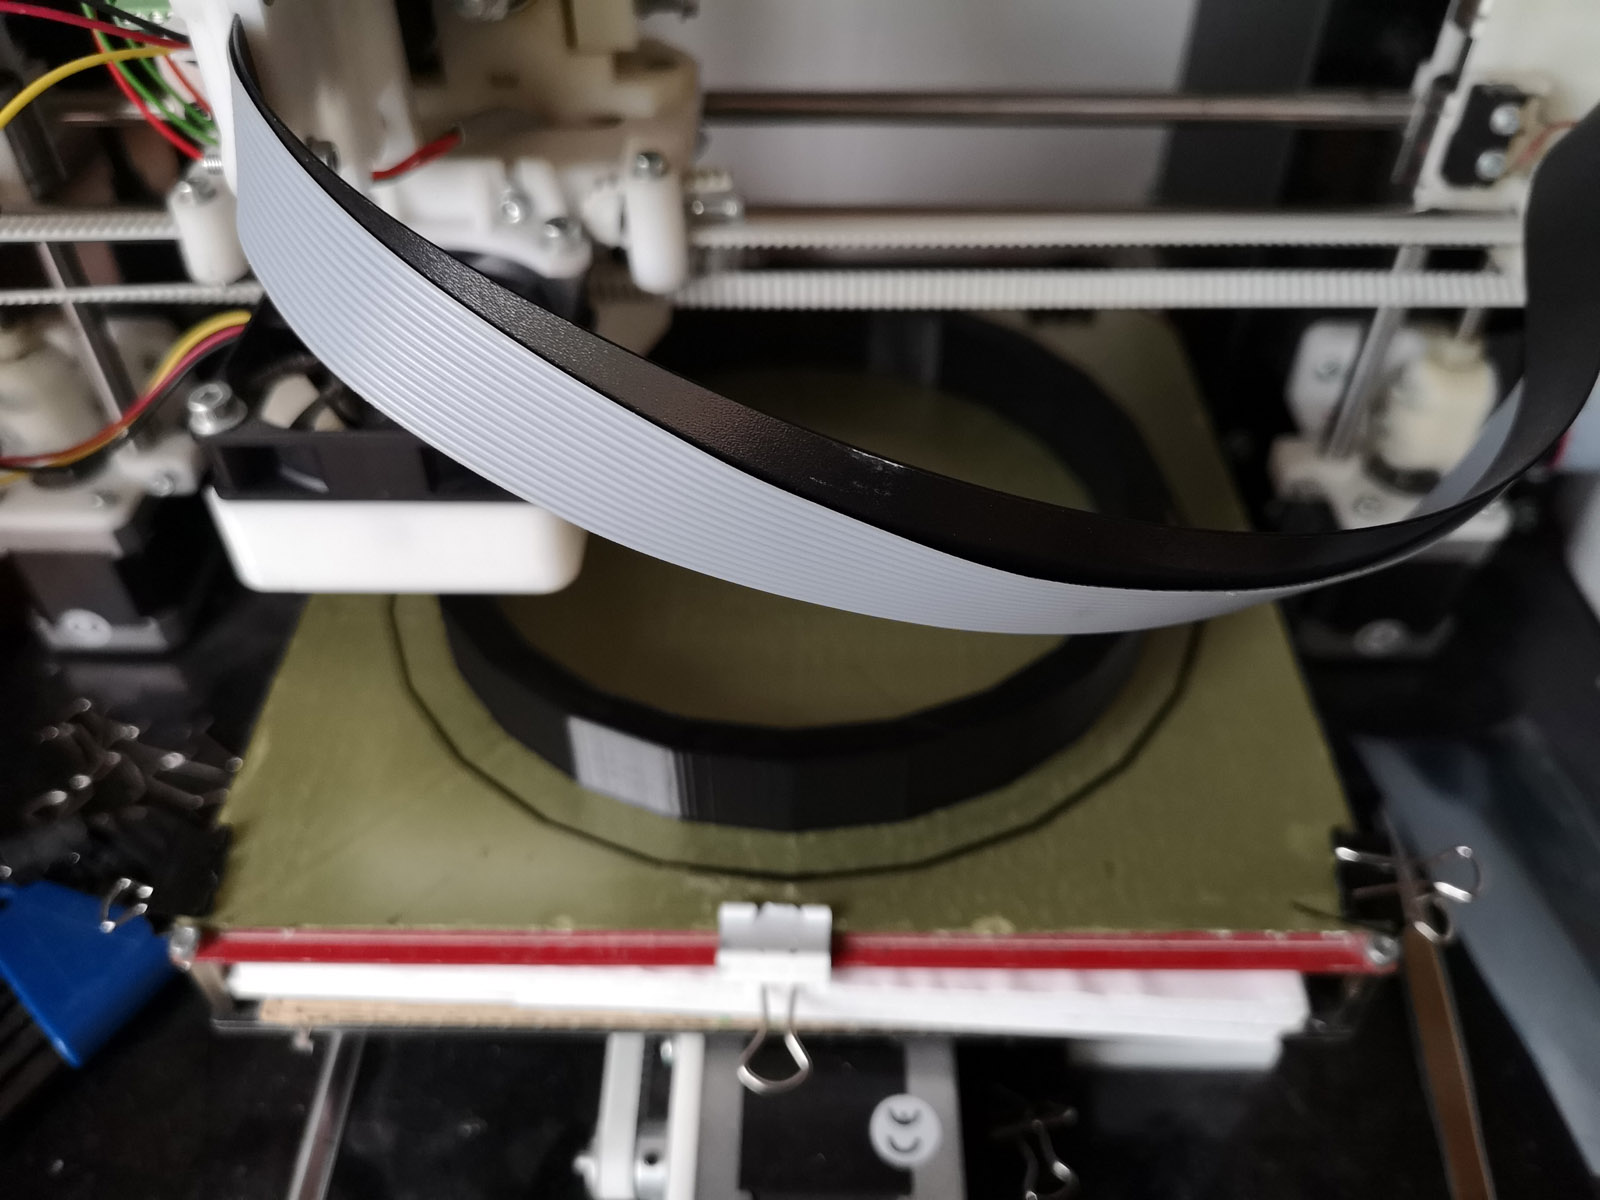
The mount was too big to be printed all in one go, as my print bed is 200mm by 200mm, so I split it into 4 parts. First the ring. 175mm by 15mm tall.
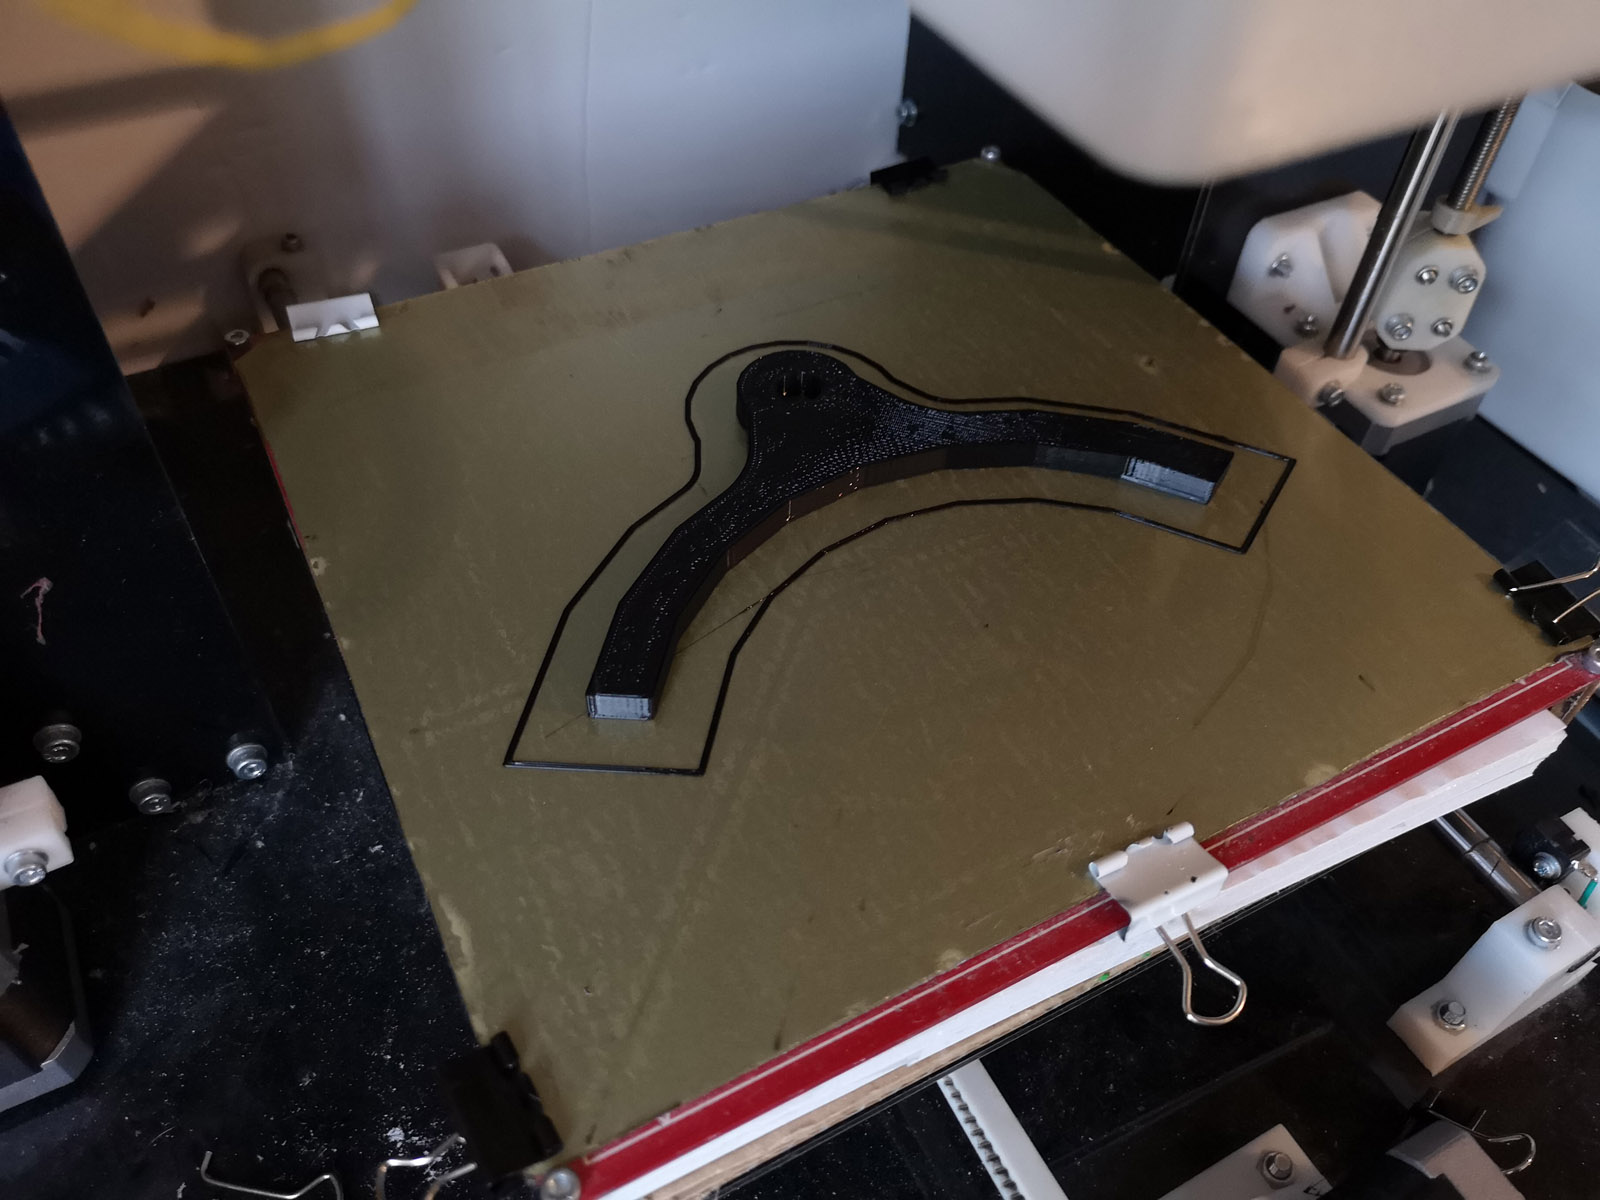
next, I printed three 1/3 segment sections, each with a bolt hold. (the front door had 4 bolts, the rear door had 3).
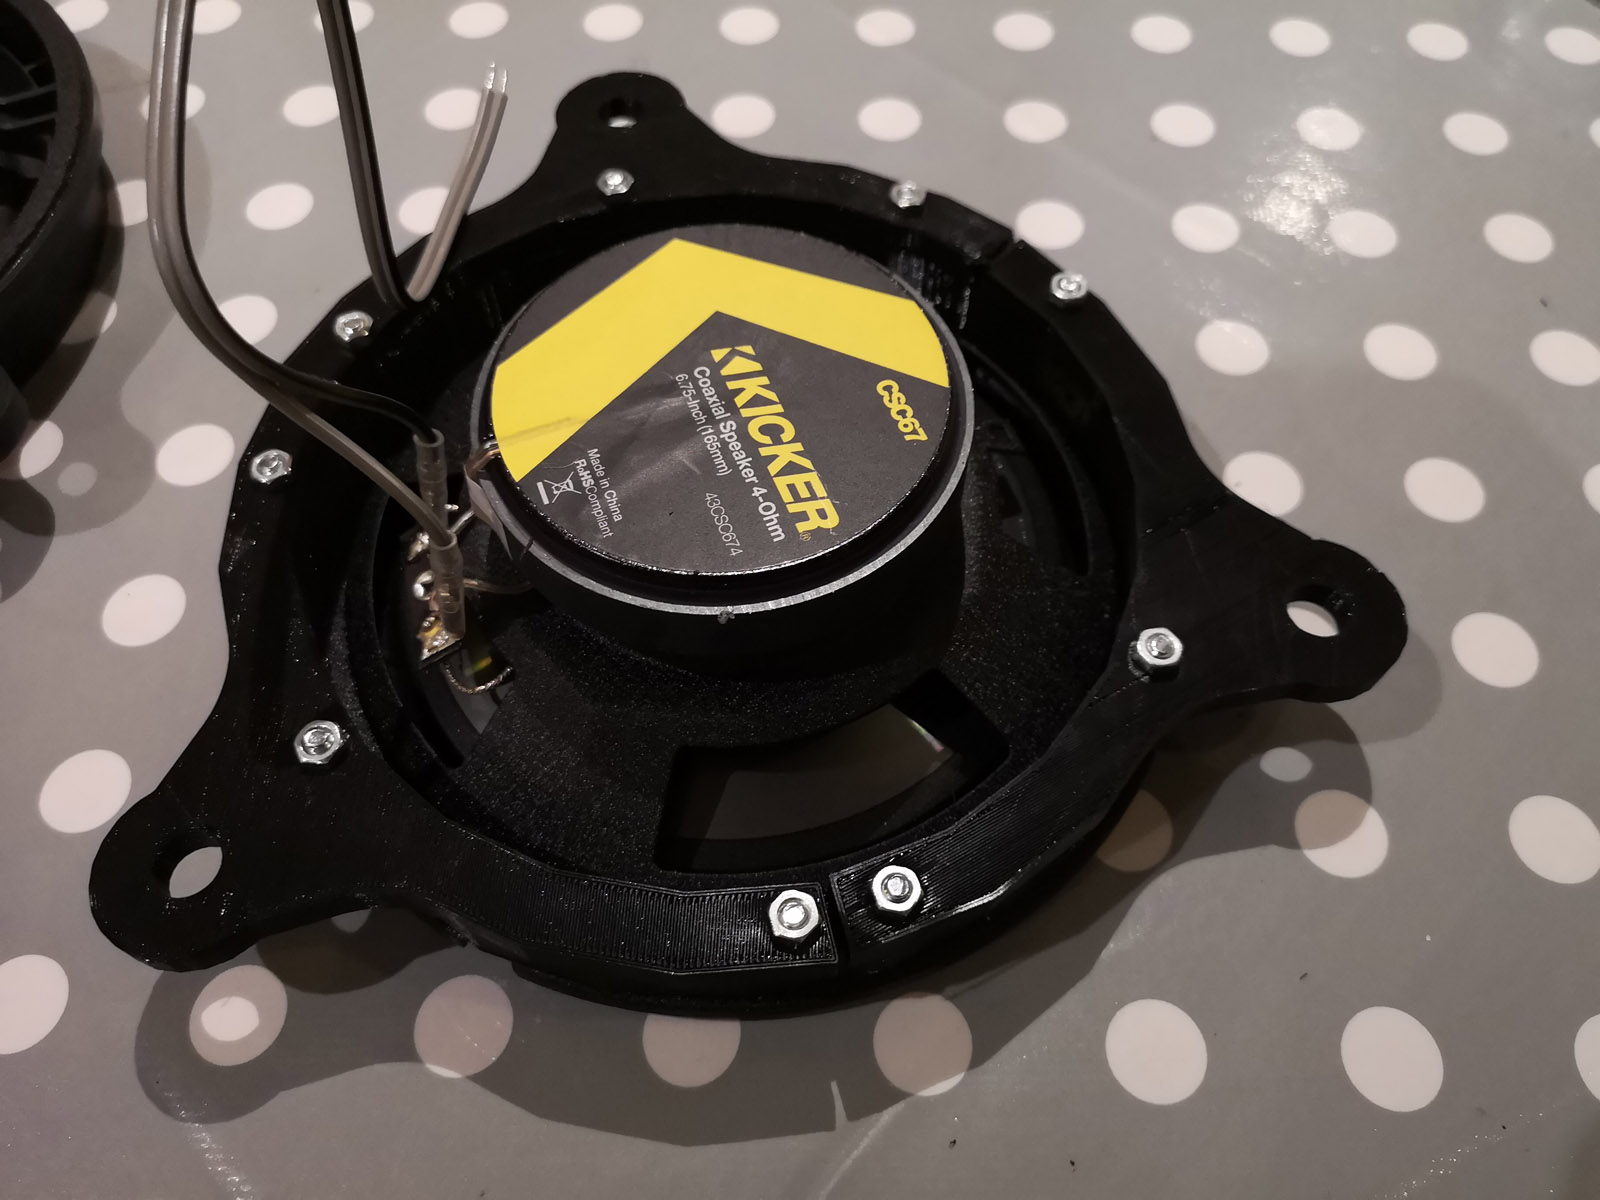
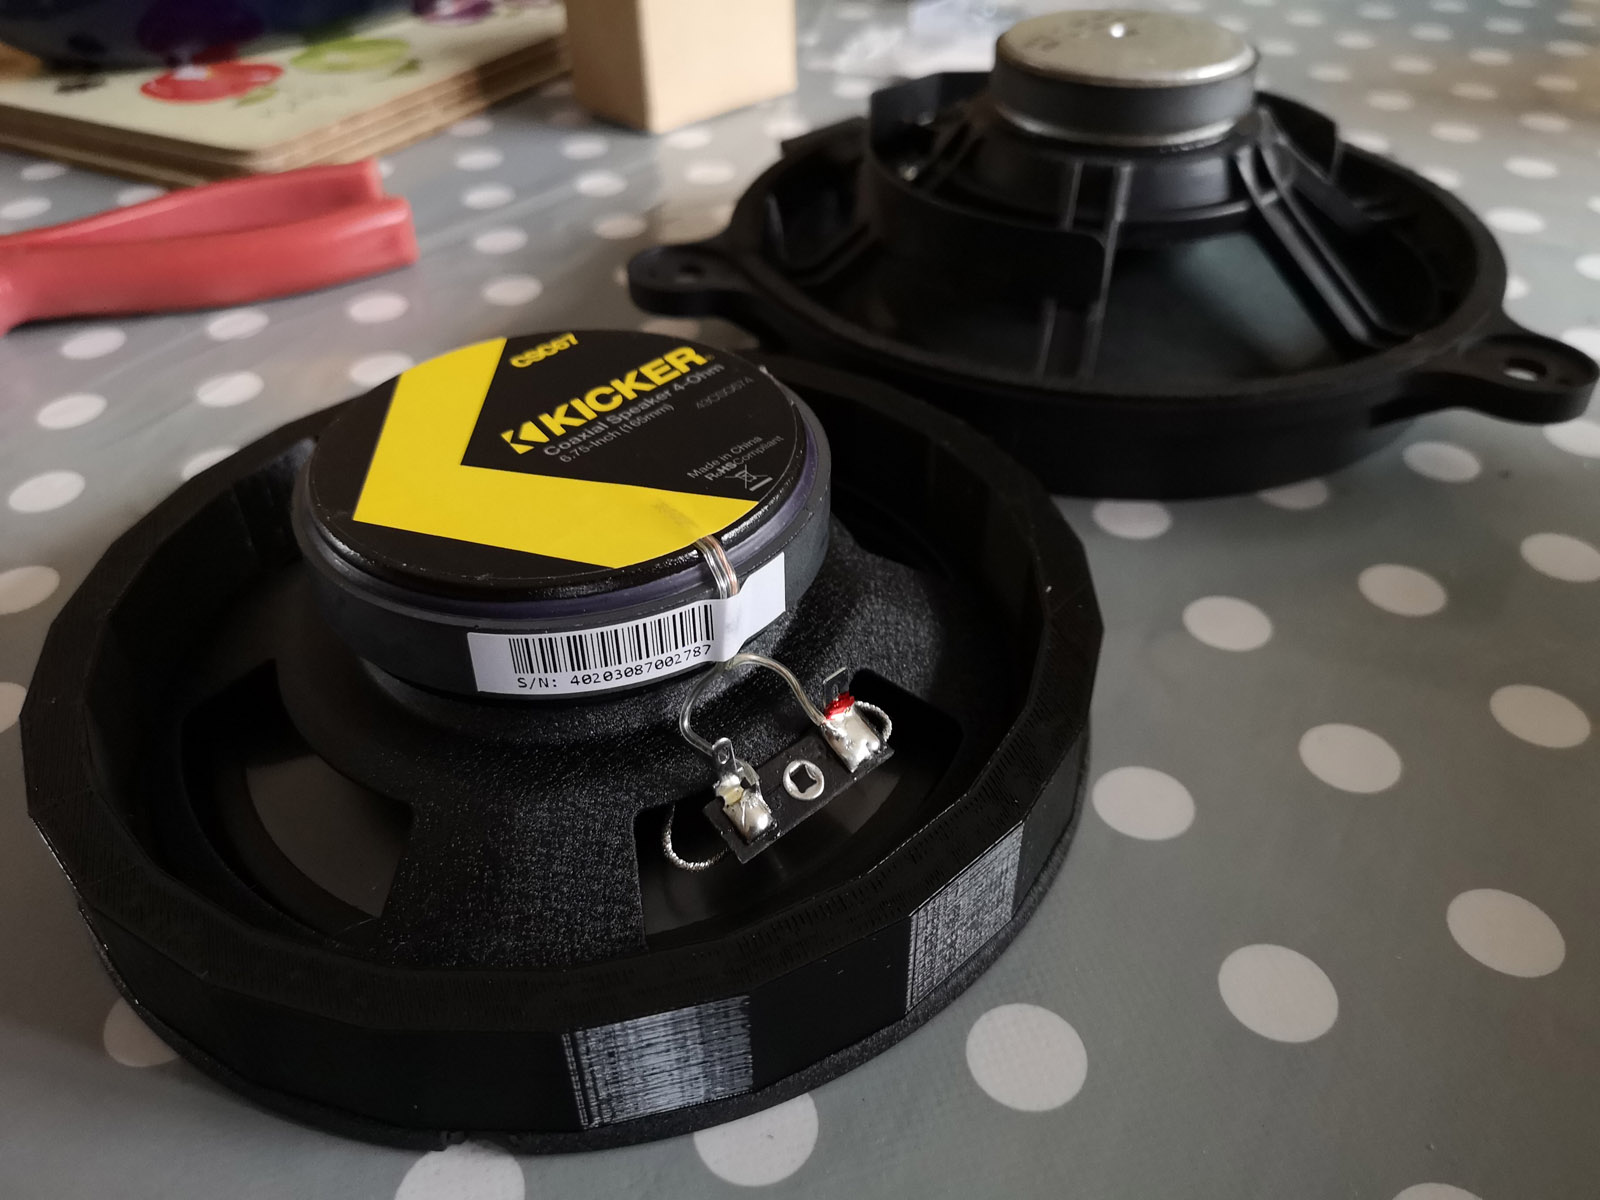
So, taking the three segments and the ring, I was able to glue them together (wood glue was all I had lying around) and attach them to the Kicker 165mm speaker.
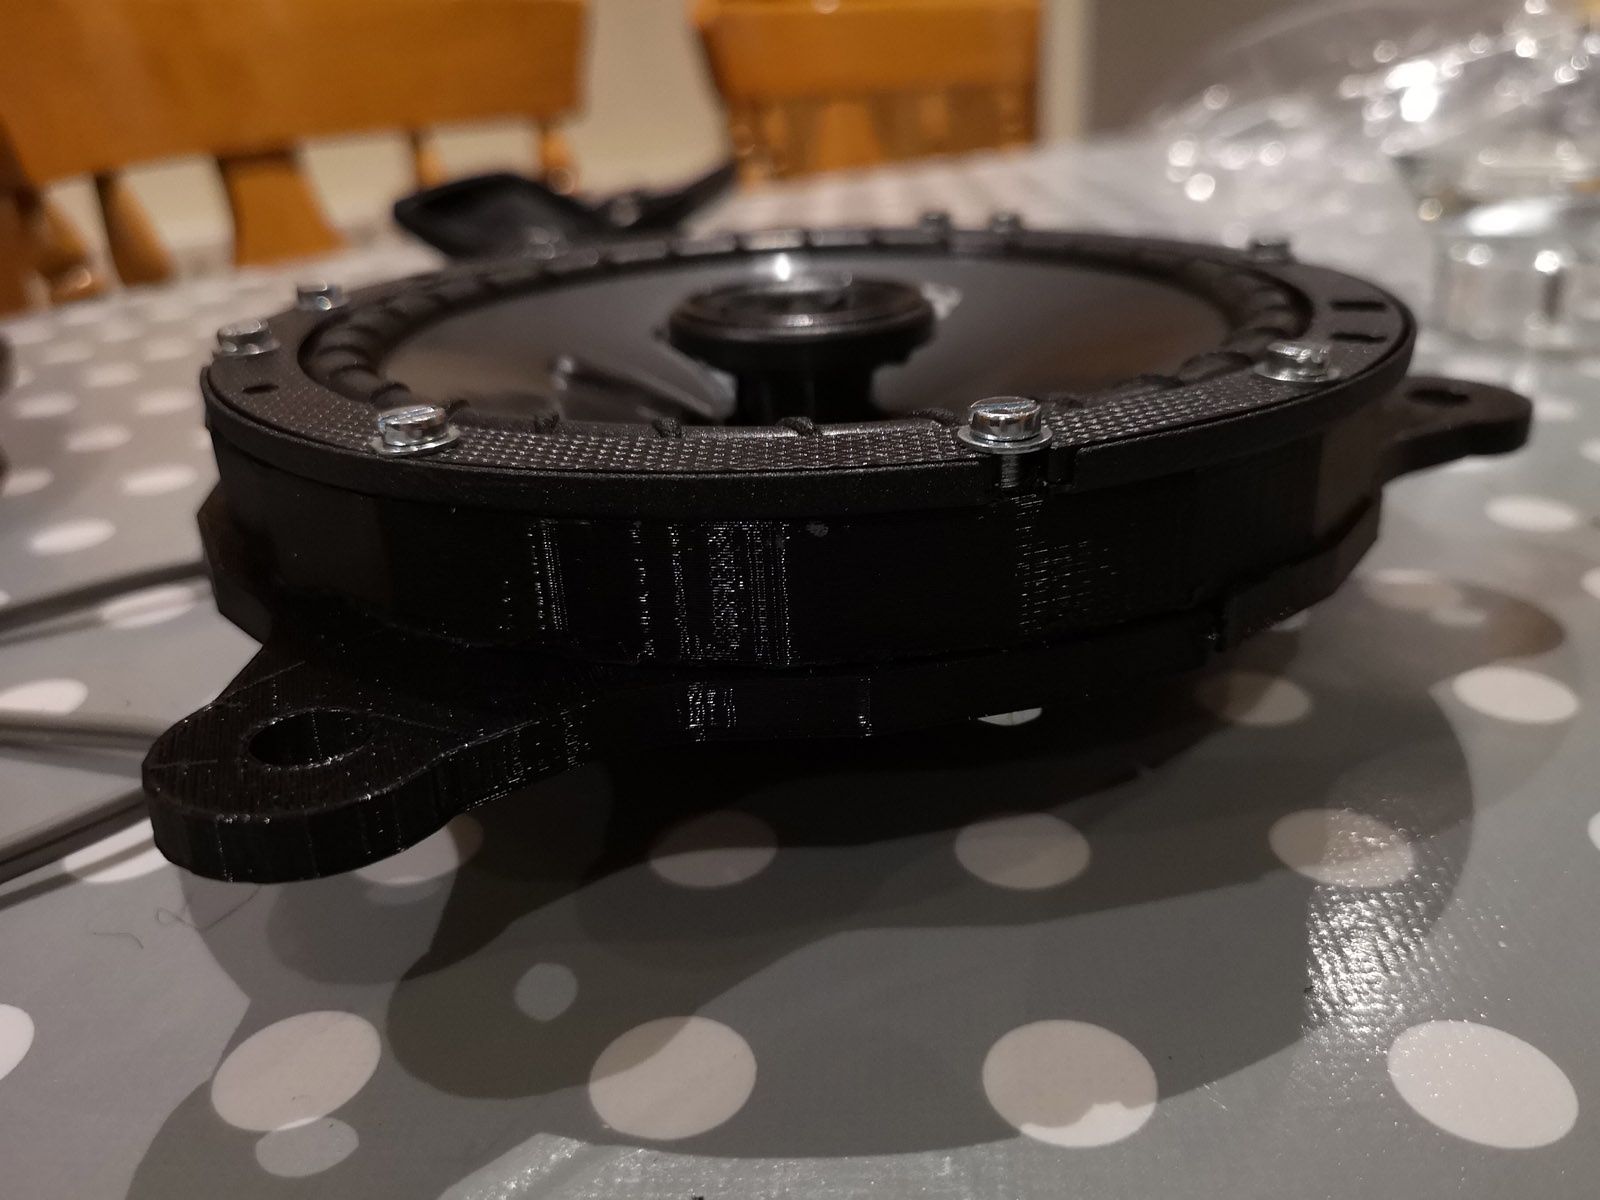
And here’s a comparison of the factory mount with the Kicker combo.
Then onto the car to see if it fits…
One small problem. The bolts holding the speakers onto the mount were rubbing off the chassis. So I turned them around and had the bolts sticking outwards, and applied a soldering iron to the washer, allowing the heads of the bolts melt into the 3d-printed mount until they were flush with the back of the mount.
On the second attempt to mount, they fit perfectly.
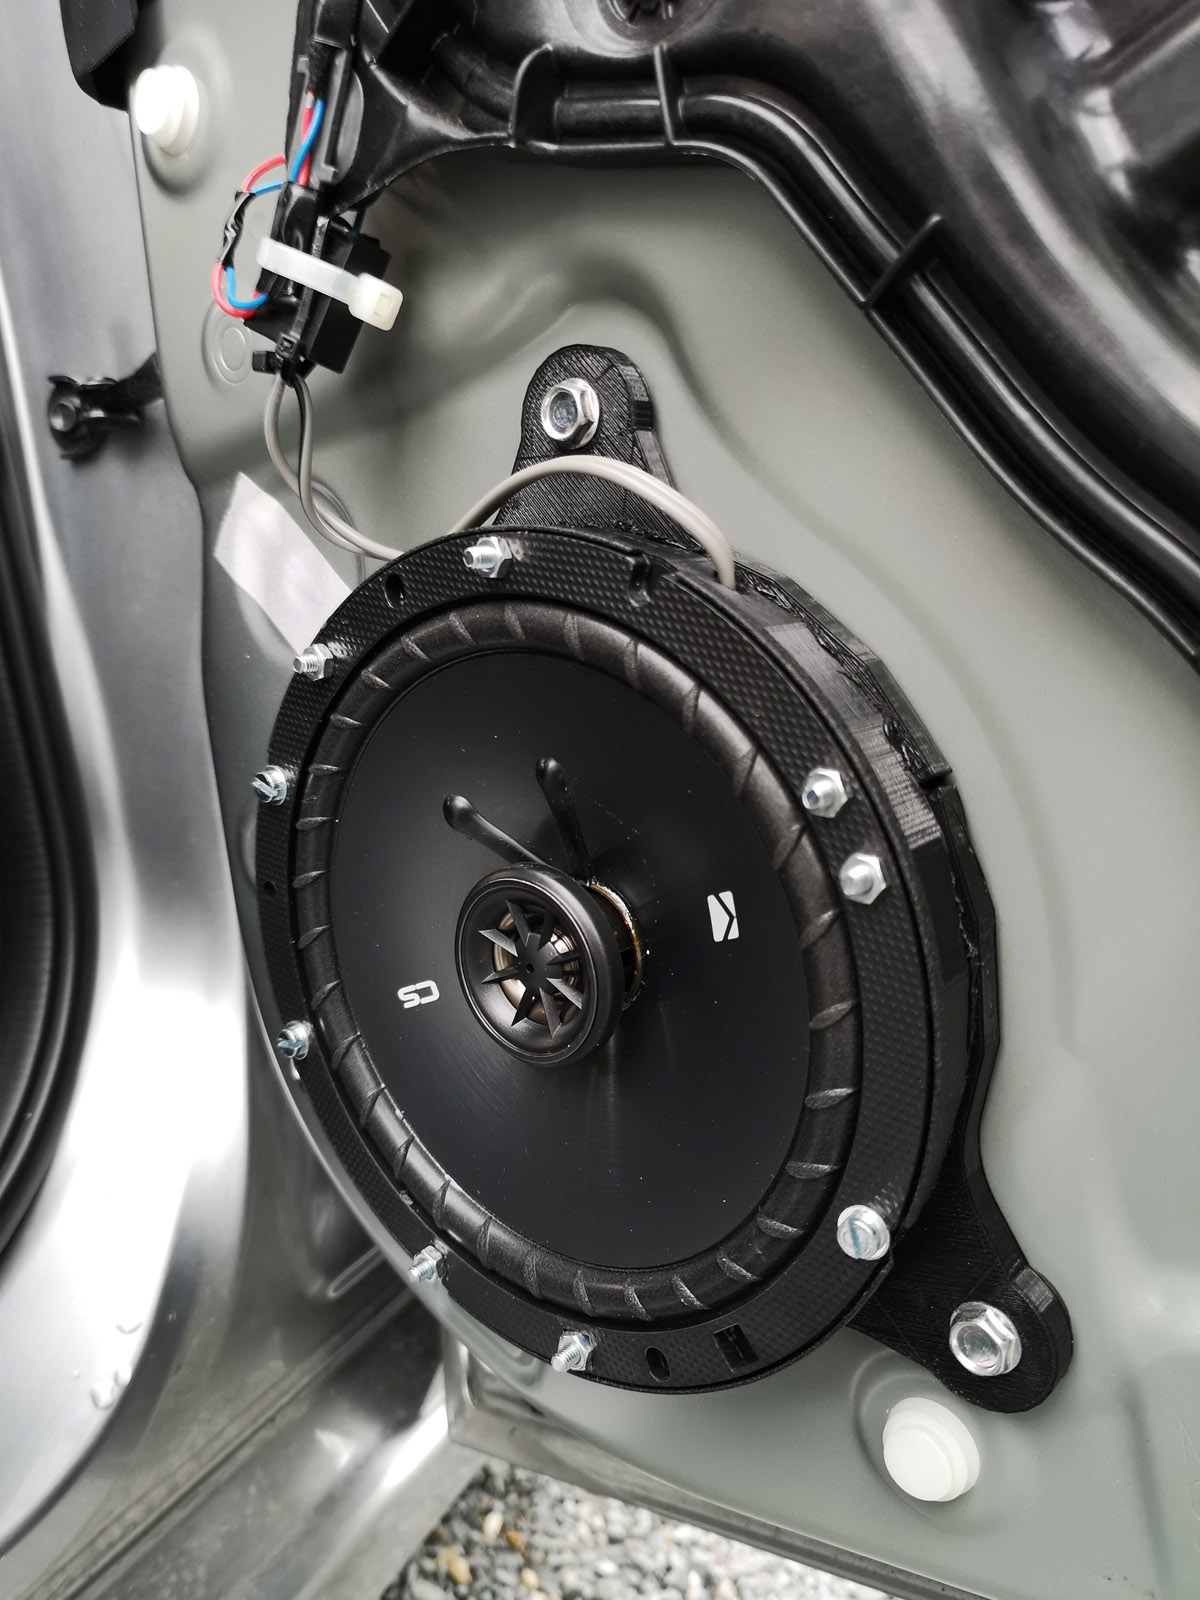
All that was left then was to do the other side, and then tidy up the wiring.
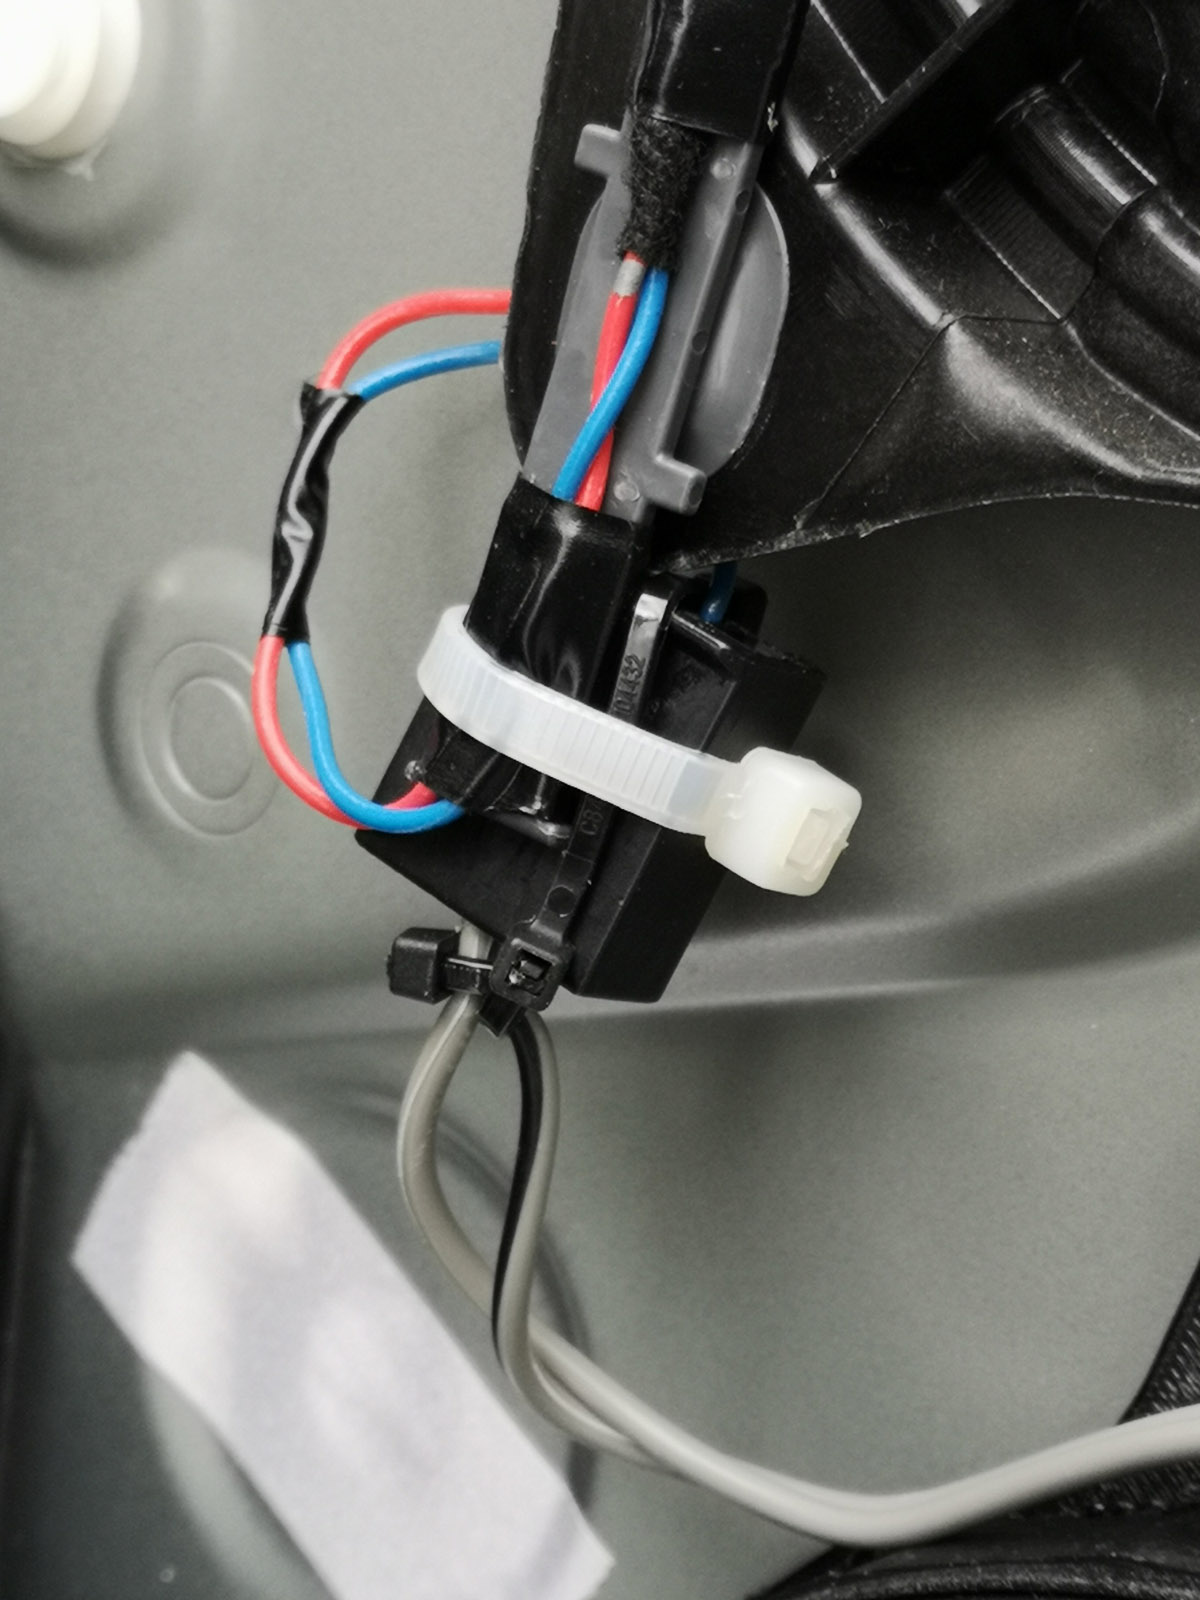
The existing connectors were left in place, and wires inserted into them. This means I can easily remove the speakers and replace the factory units should I need them for another project (e.g. car). 🙂
I also got my bass blockers (re: non-polarised capactitors).
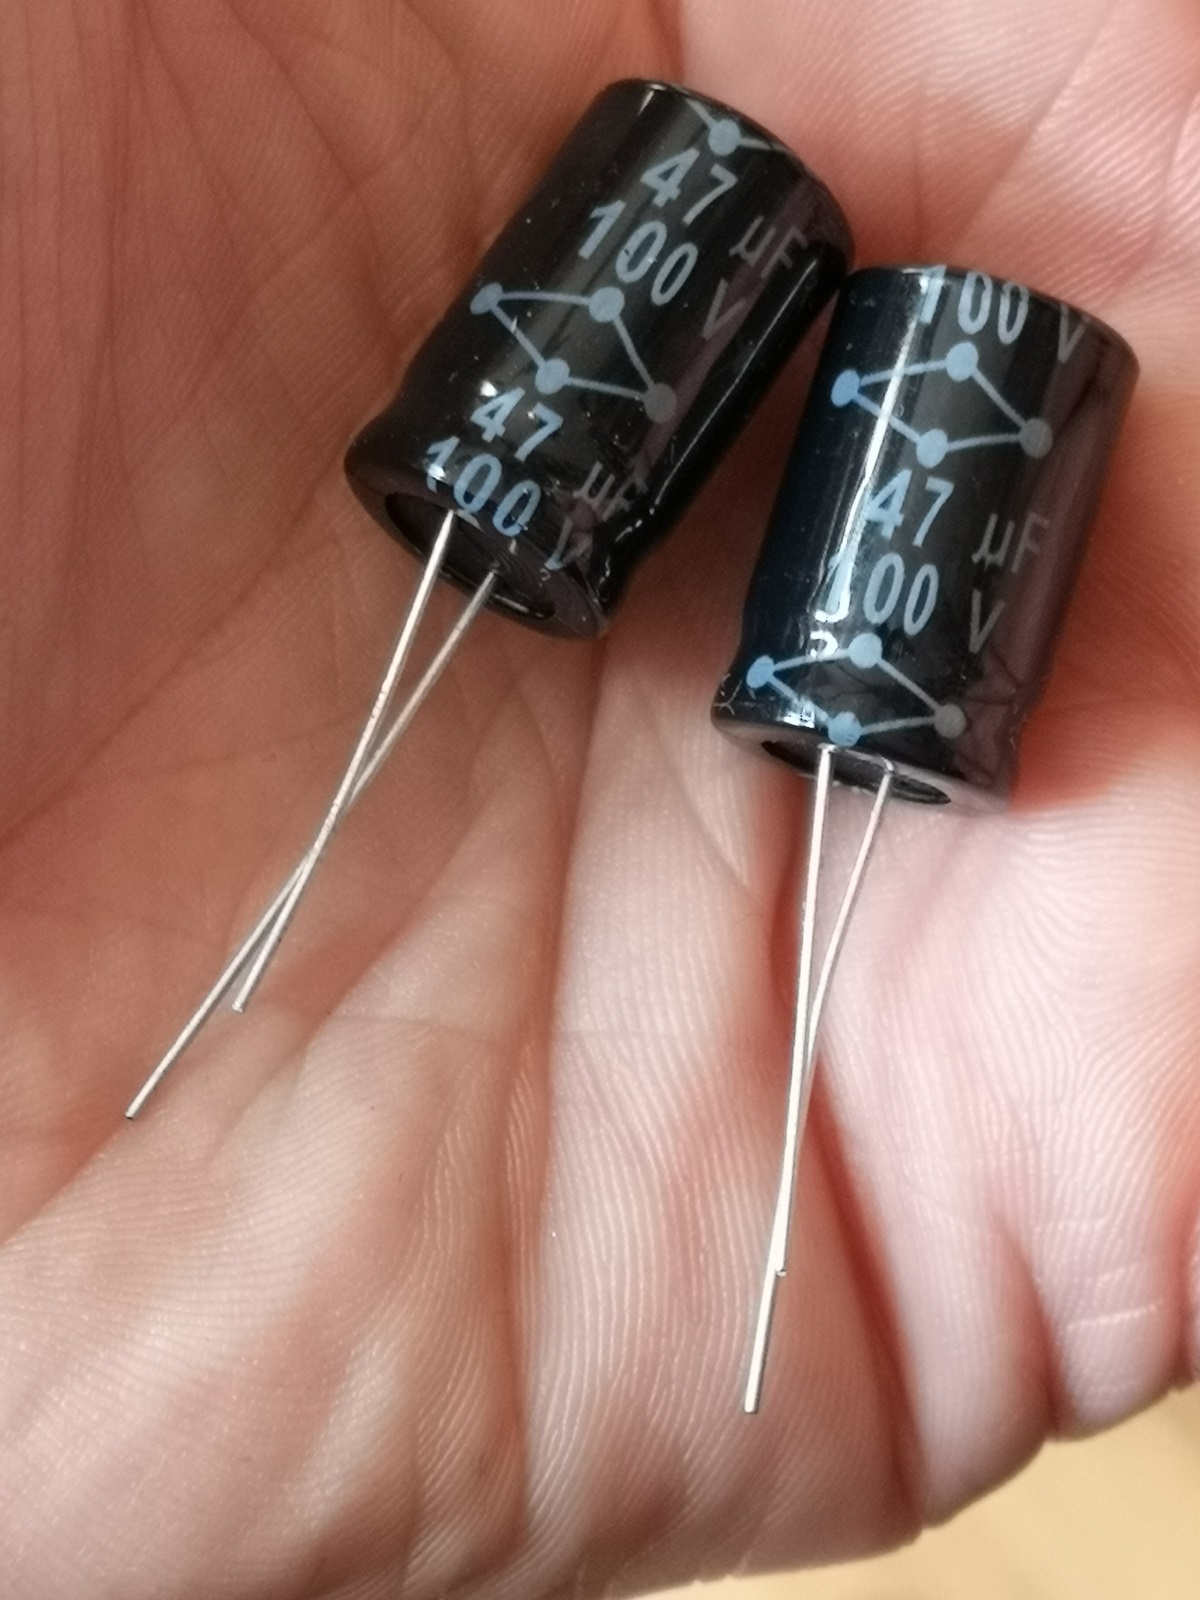
I found this video very useful, and it’s why I ordered 47uF caps, as they use the 3.5″ speakers as examples in the video. Ideal. 🙂
There’s also an interesting chart on this page that shows the high-pass cut-off frequency for various values of capacitors into various loads. I chose a 47 uF capacitor, which has a cut-off of about 800 Hz into a 4 Ohm load, meaning that anything below 800 Hz is attenuated.
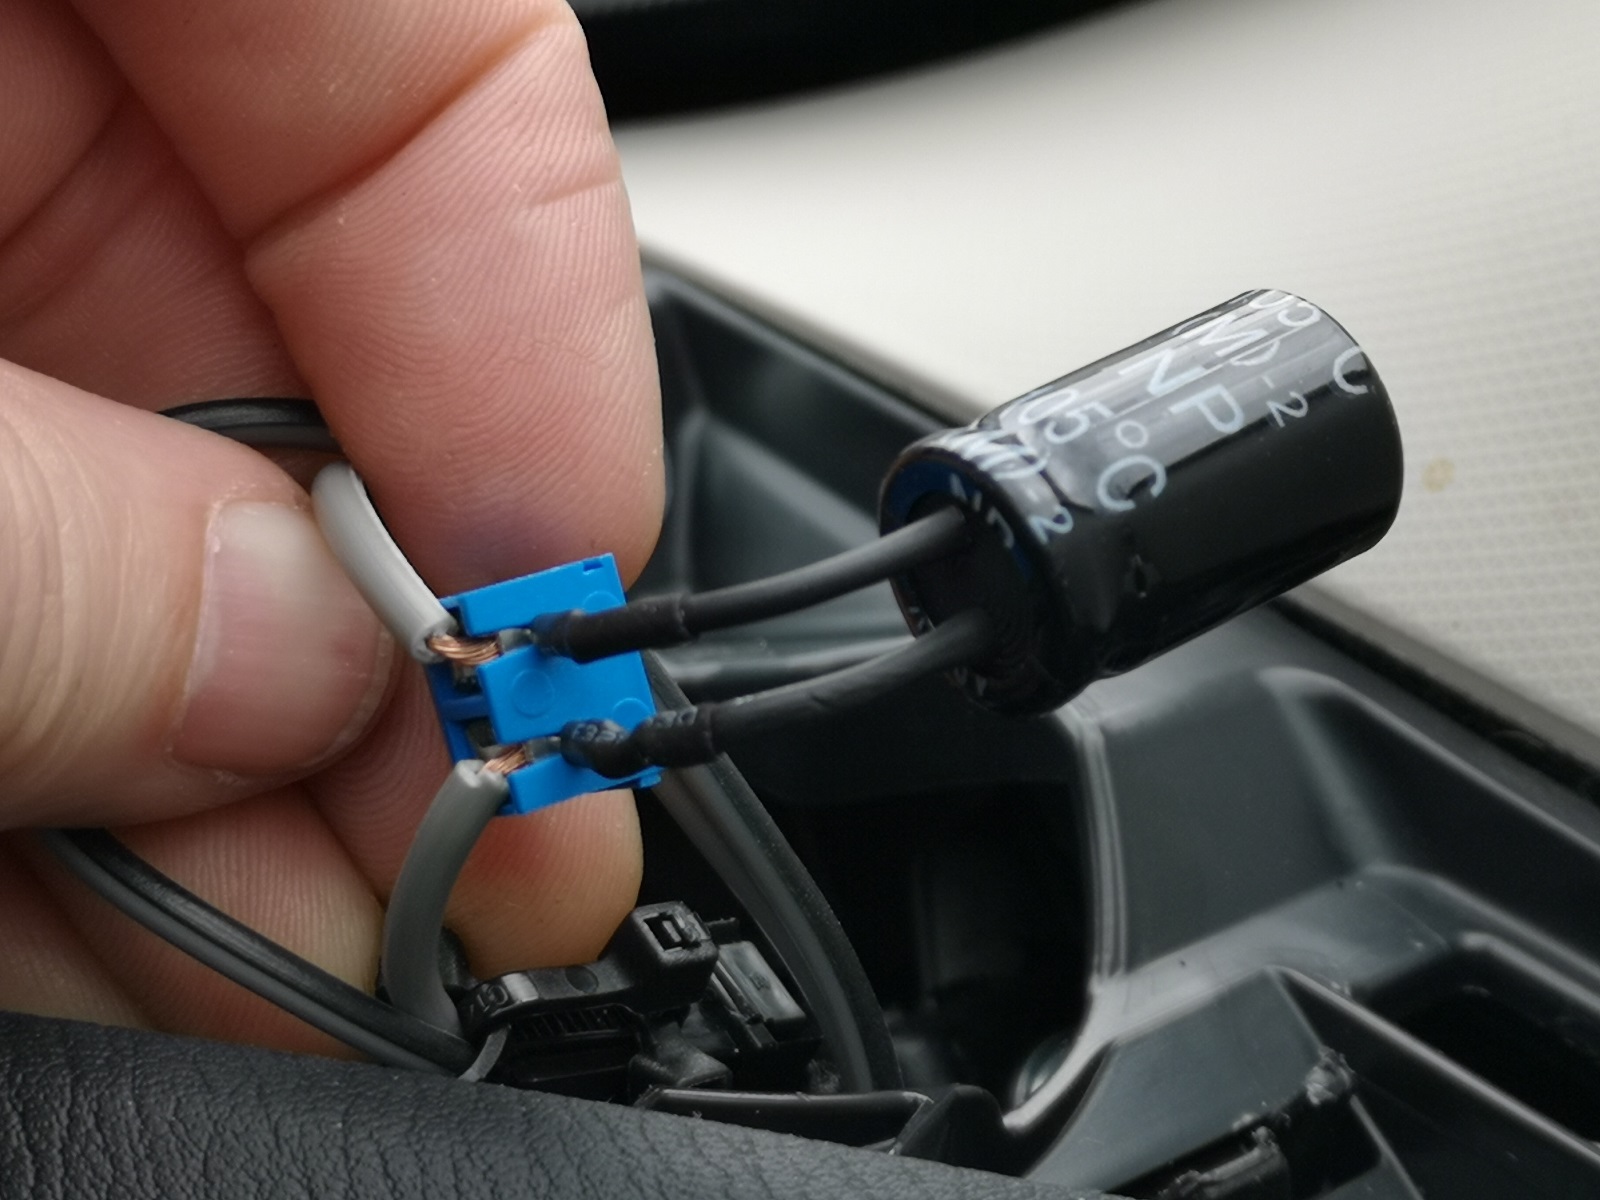
I soldered the capacitors onto some screw terminals and inserted them into the positive speaker wire on the 89mm speaker wires.
So, that’s it. Part 2 complete. So now I have upgraded all 4 door speakers with 165mm Kicker CSC67’s, added two Kicker CSC35’s to the front dash (along with 47uF bass blockers to reduce the low freqency power to them). The sound is far superior to the original factory 4-speaker sound system, and I’ll give it a few weeks to see if I’m going to take it further. But, to be honest, I’ve kind of got to where I wanted to be, with a sound system that’s as good as my previous car’s sound system, and I think I’ve already achieved that. If I do go further, I think it’ll first be a sub-woofer, and then (unlikely) replace the head unit, with maybe an amp upgrade somewhere in the mix. Those Kicker door speakers are capable of handling 100W RMS each, with a max input of 300W each.
Anyway, if you’re still reading , great! Hope you enjoyed it. Feel free to drop a comment in below. Bye for now.
Hi,
Very interesting articles…
Keep the good work