 I didn’t think there’d be another car audio post so soon, but about 8KG of noise reduction matting arrived in the post, so I though I’d give it a go. This is not something that is directly related to the sound system in the car, but more to do with reducing road noise so the music can be heard more clearly whilst driving.
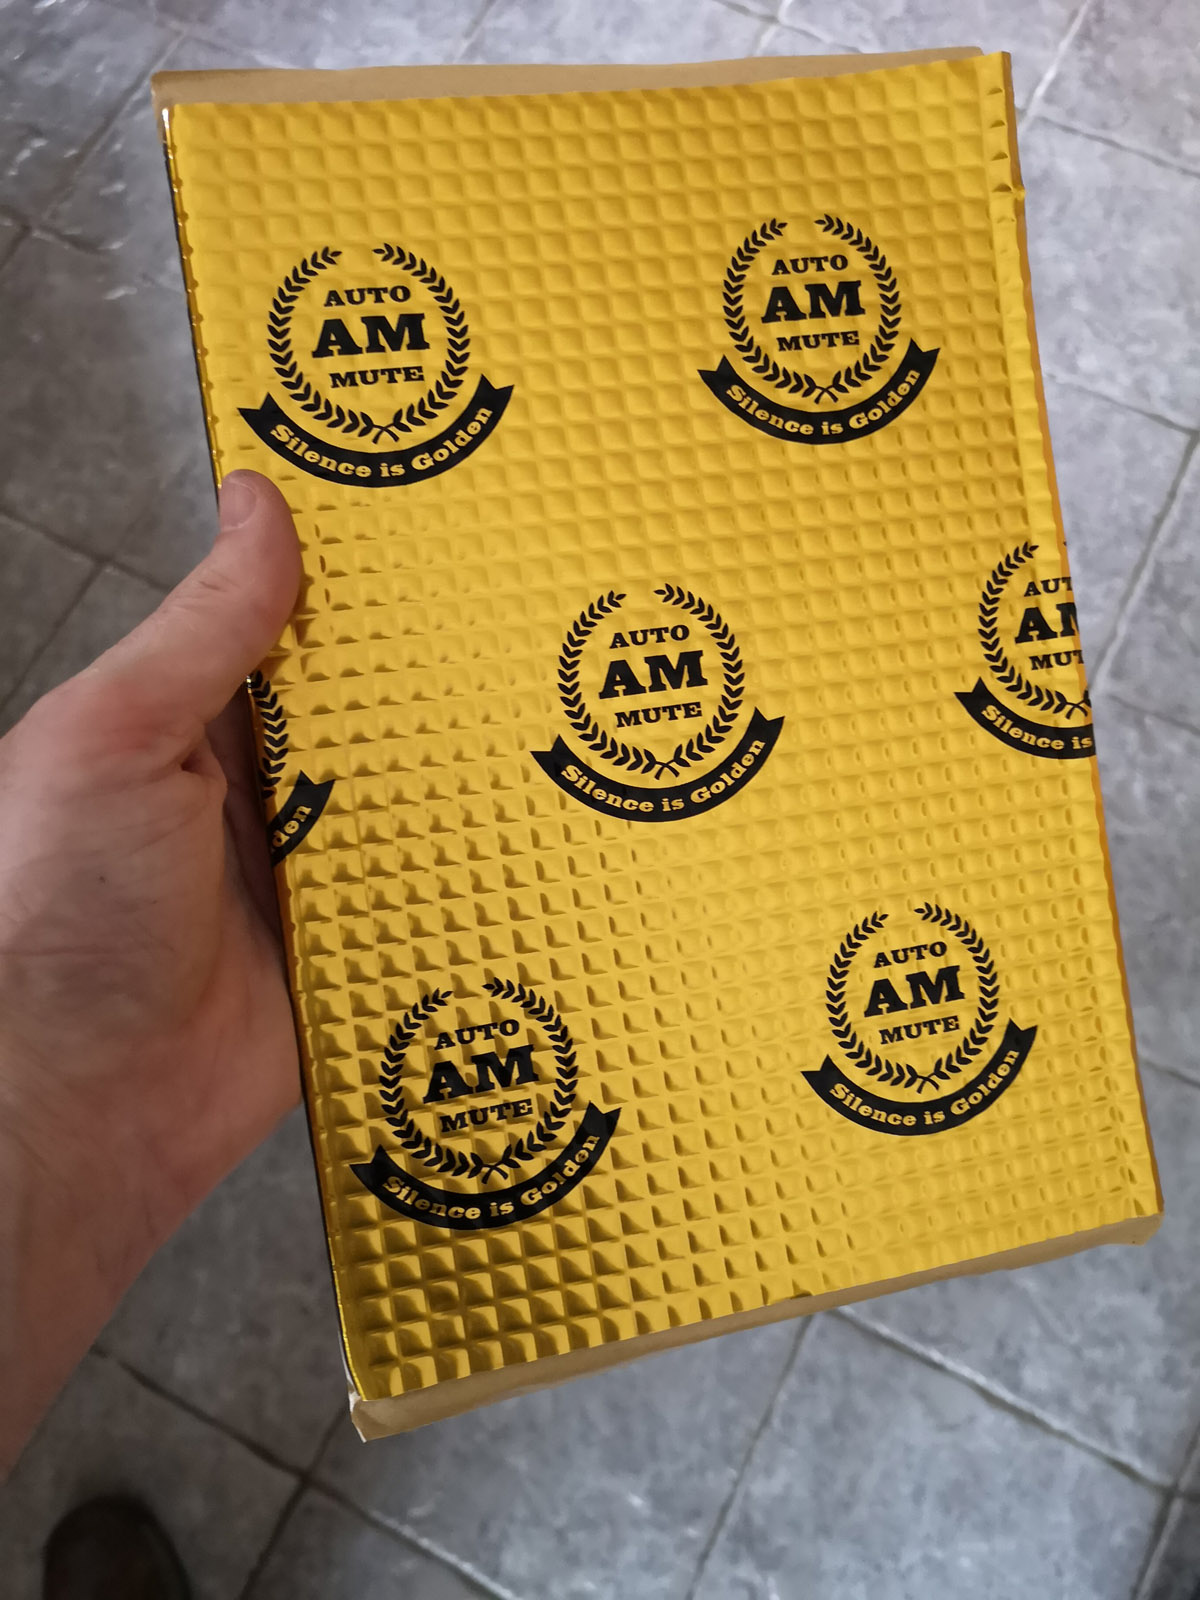
The material I ordered from eBay was Auto Mute, a 2mm thick butyl rubber sheet material with an aluminium foil on the outside. So as well as reducing road noise, it also has some insulating properties.
I had a look at some videos where they applied this stuff, and there’s an excellent video here describing the pros and cons of the stuff. It’s a very entertaining video full of great information on making your car quieter.
Now this stuff weighs a bit, each sheet is 190 grams, so 5 sheets is about a kilo. I used about 25 sheets to do the 4 doors, and I had about 15 sheets left. So bear that in mind if you’re going to soundproof your car, it might have a slight impact on your fuel economy.
So, off with the panels again.
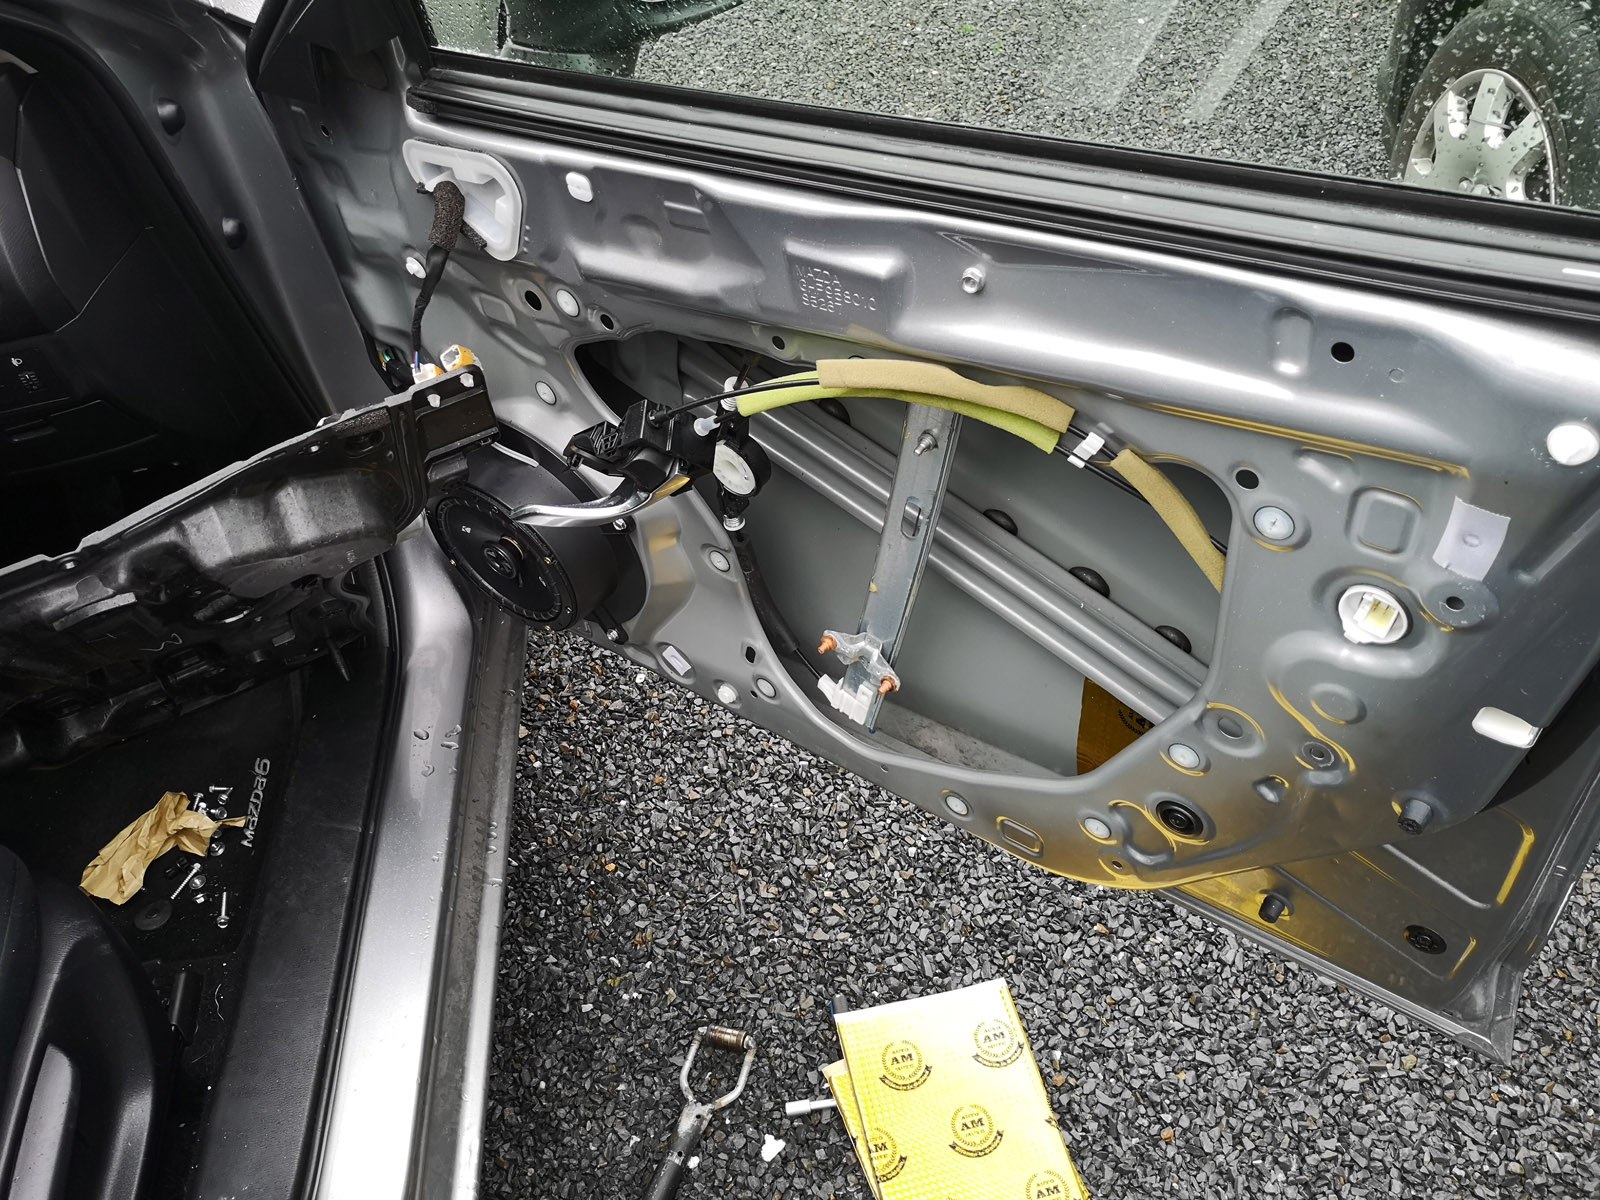
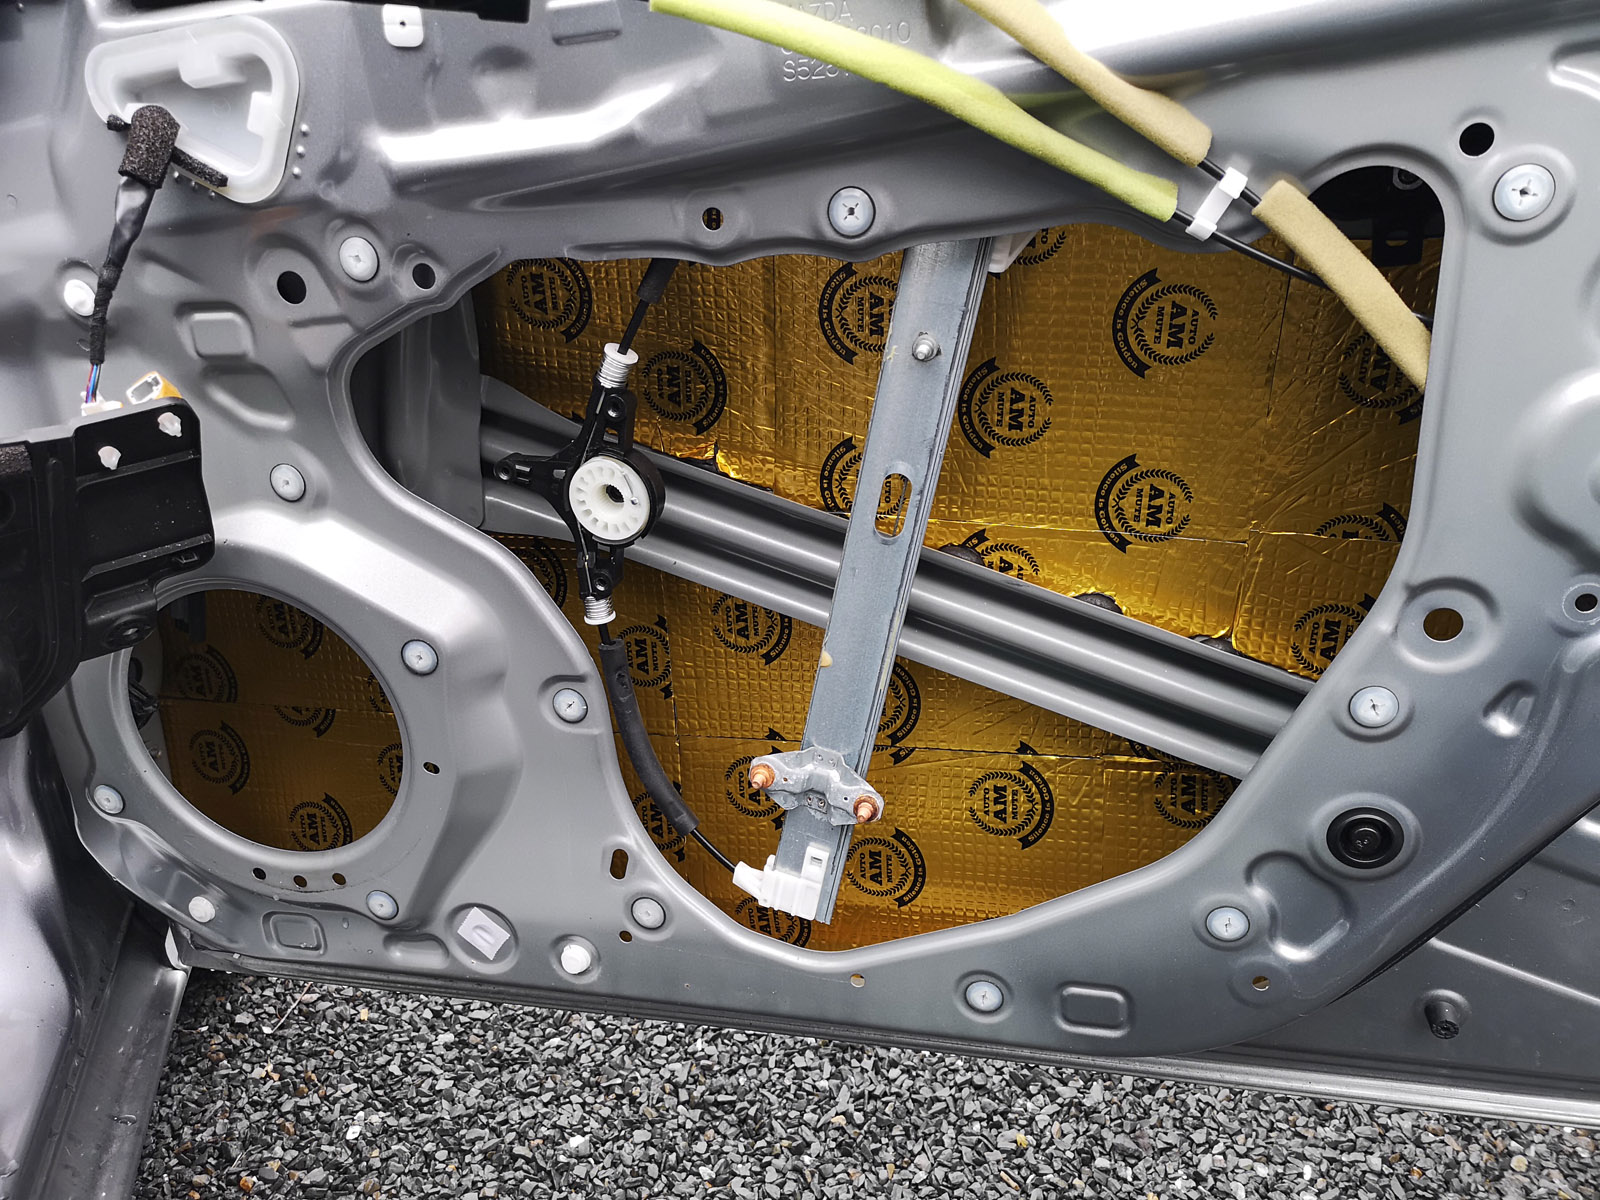
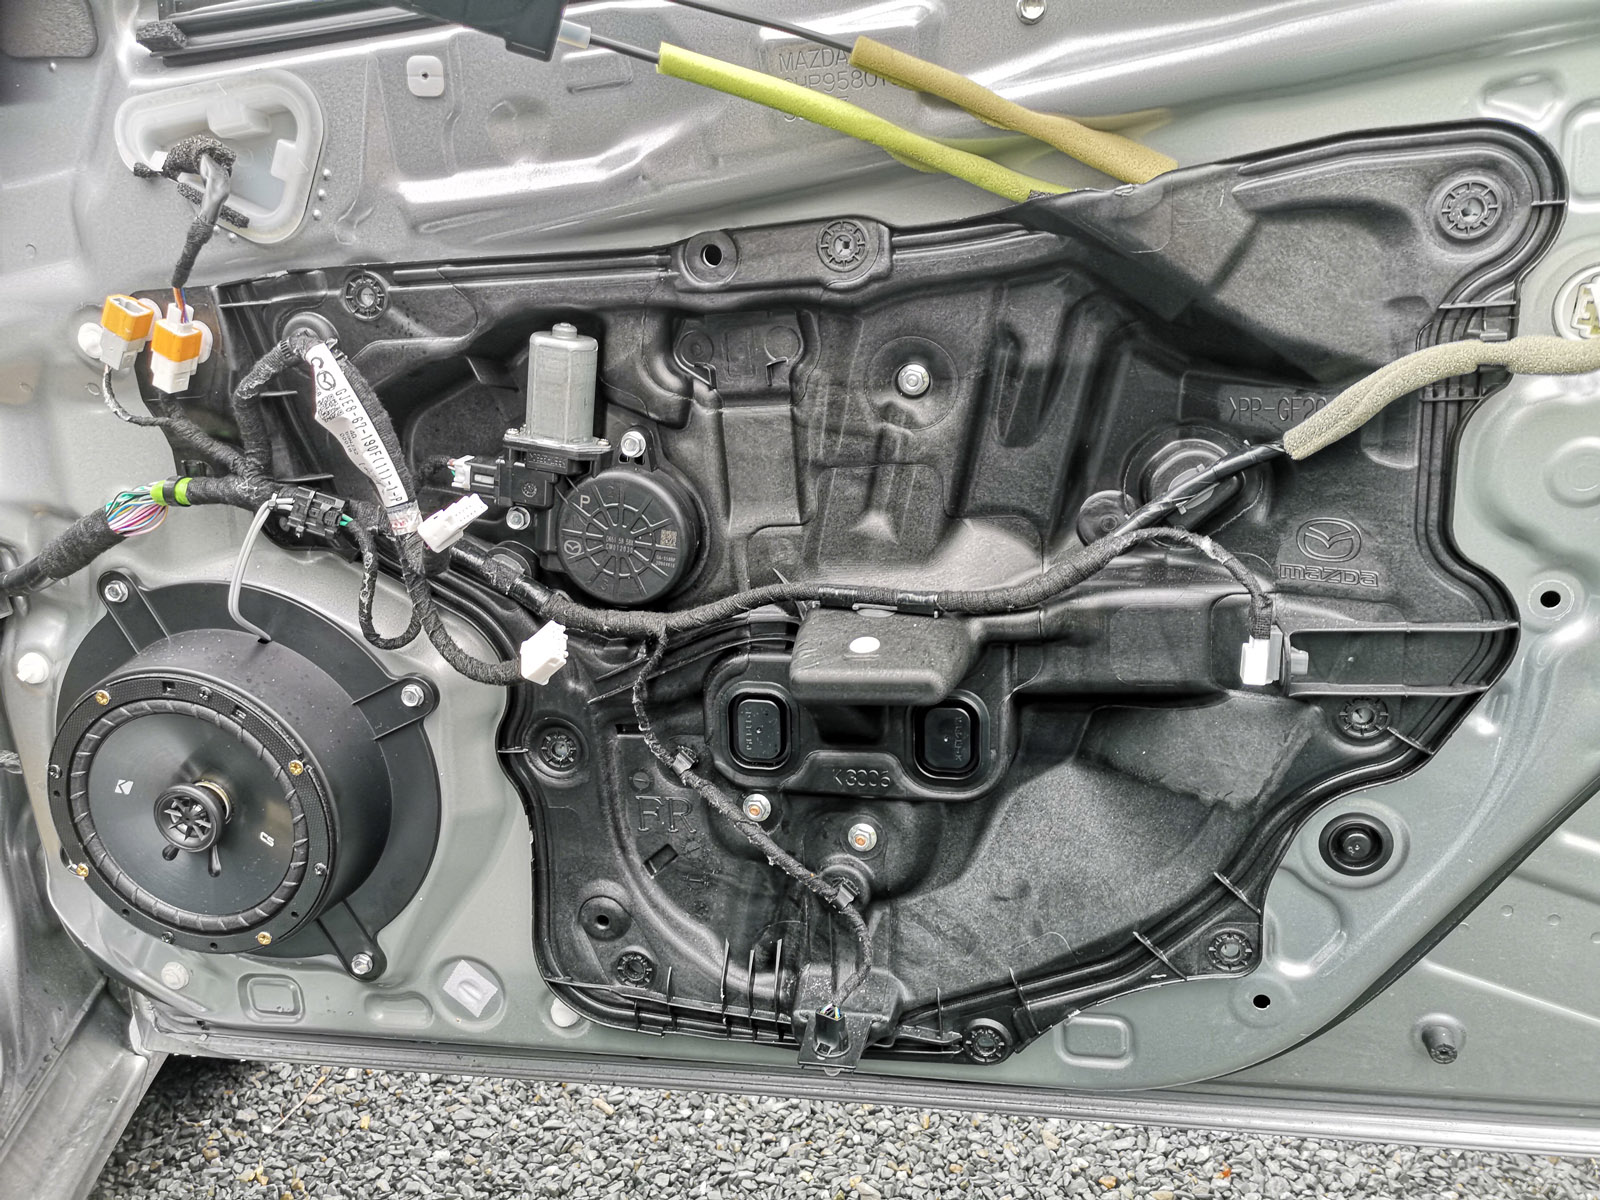
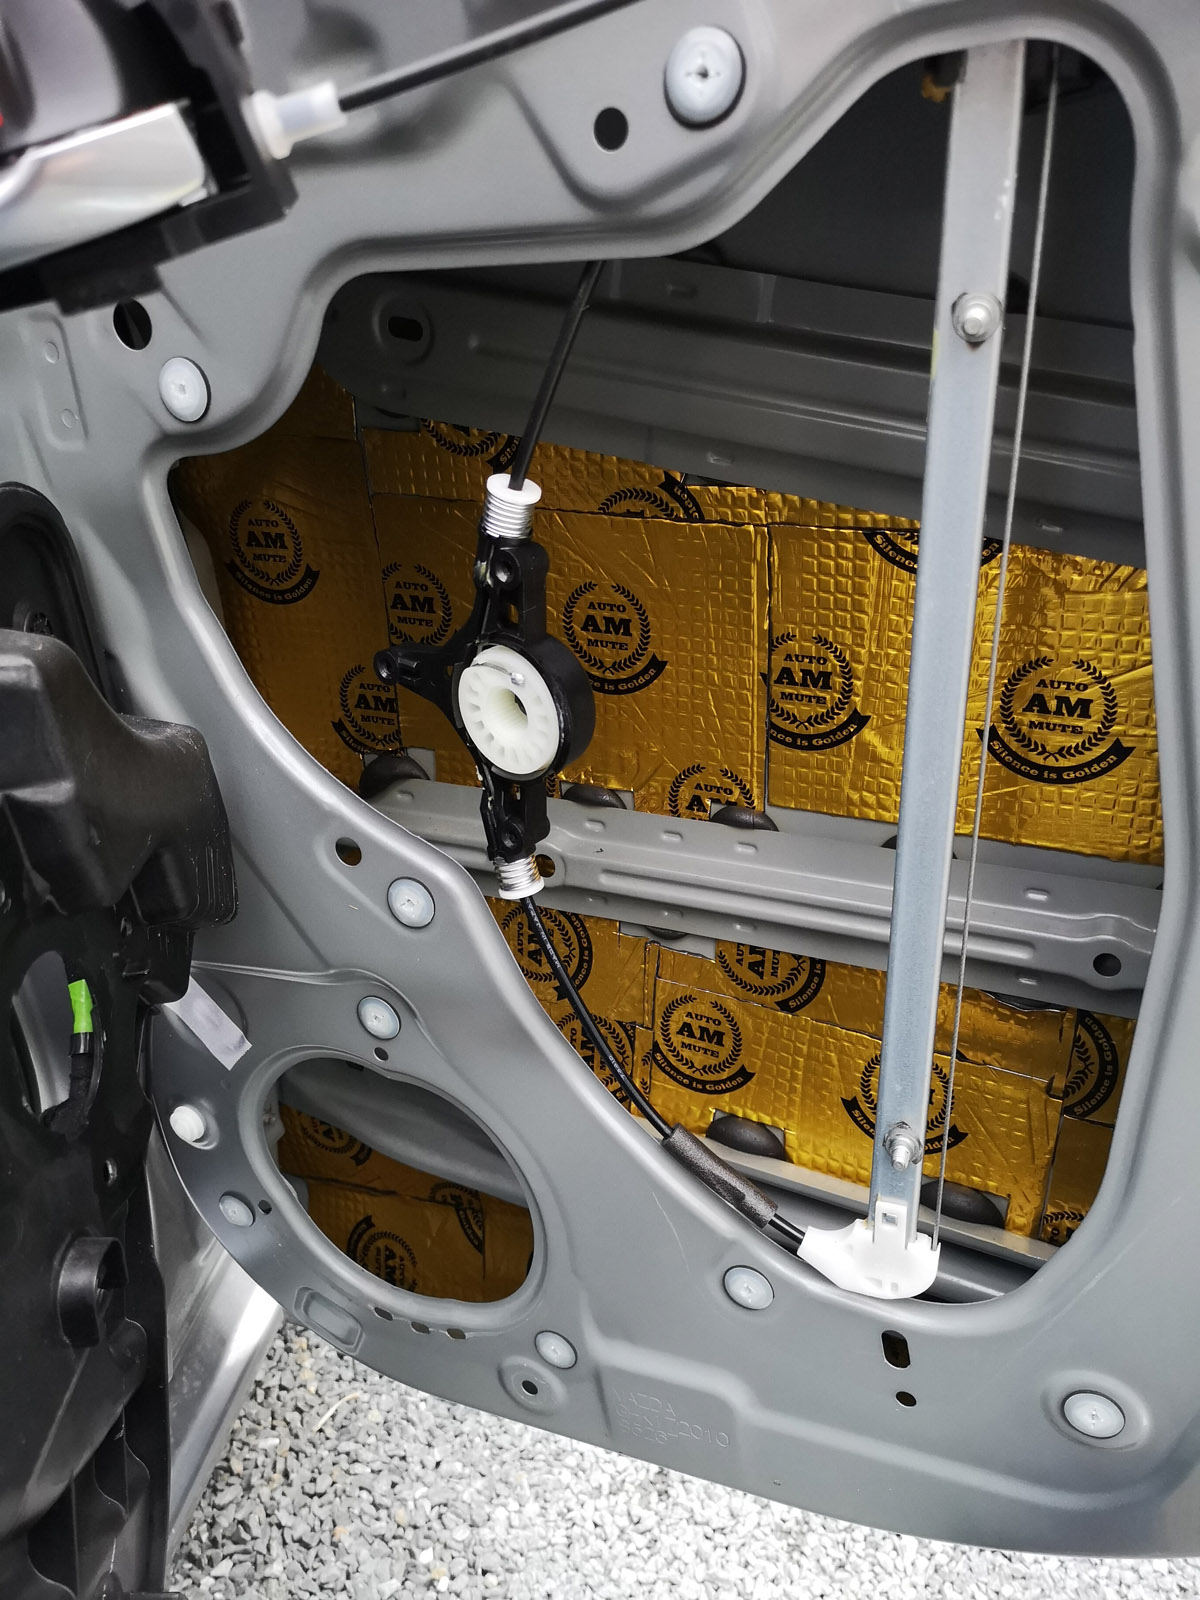
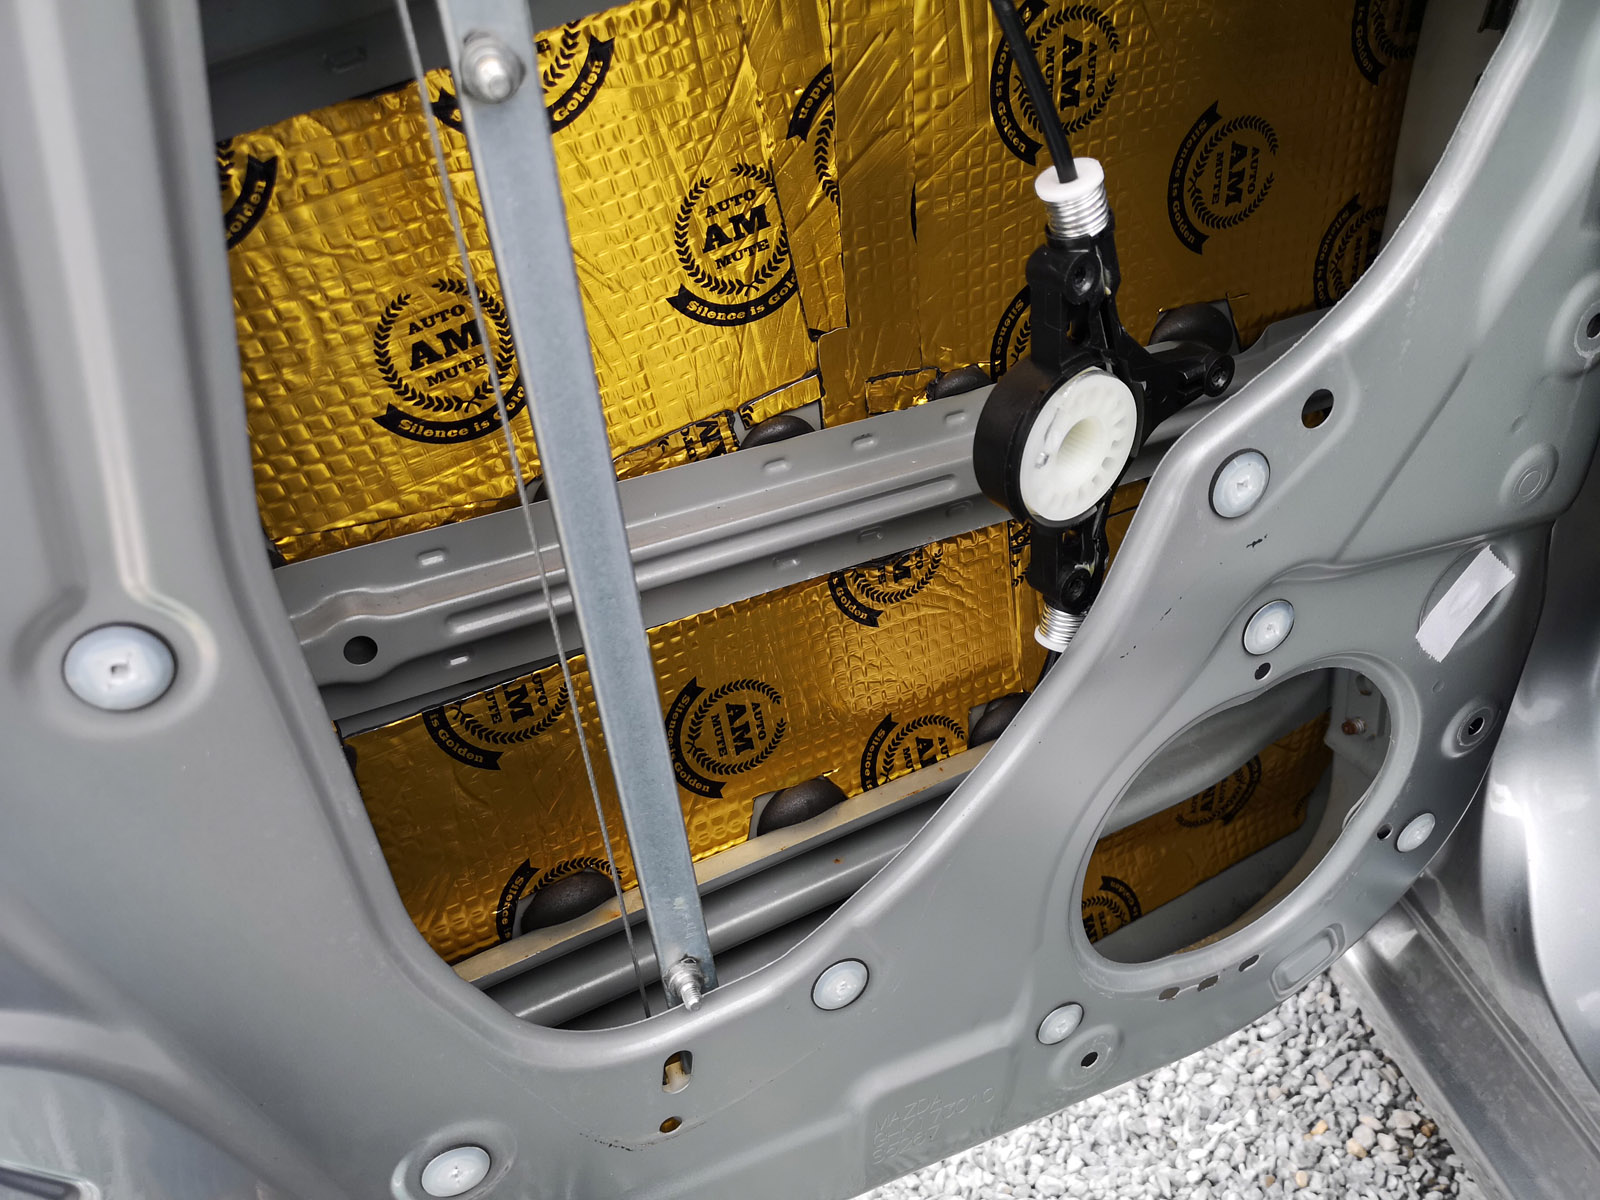
In my car, once you take off the outer panel, there’s an inner panel to which all the wiring harnesses are clipped onto, as well as the window motor mountings, etc. That had to be removed to give me access to the inside of the door. It’s here that I want to apply the butyl sheets.
But I quickly realised that my poor fingers were not going to be able to apply the material properly, so I quickly fabricated up a tool for rolling the material into place. 6 bearings and a few bolts, along with a bit of welding gave me this:
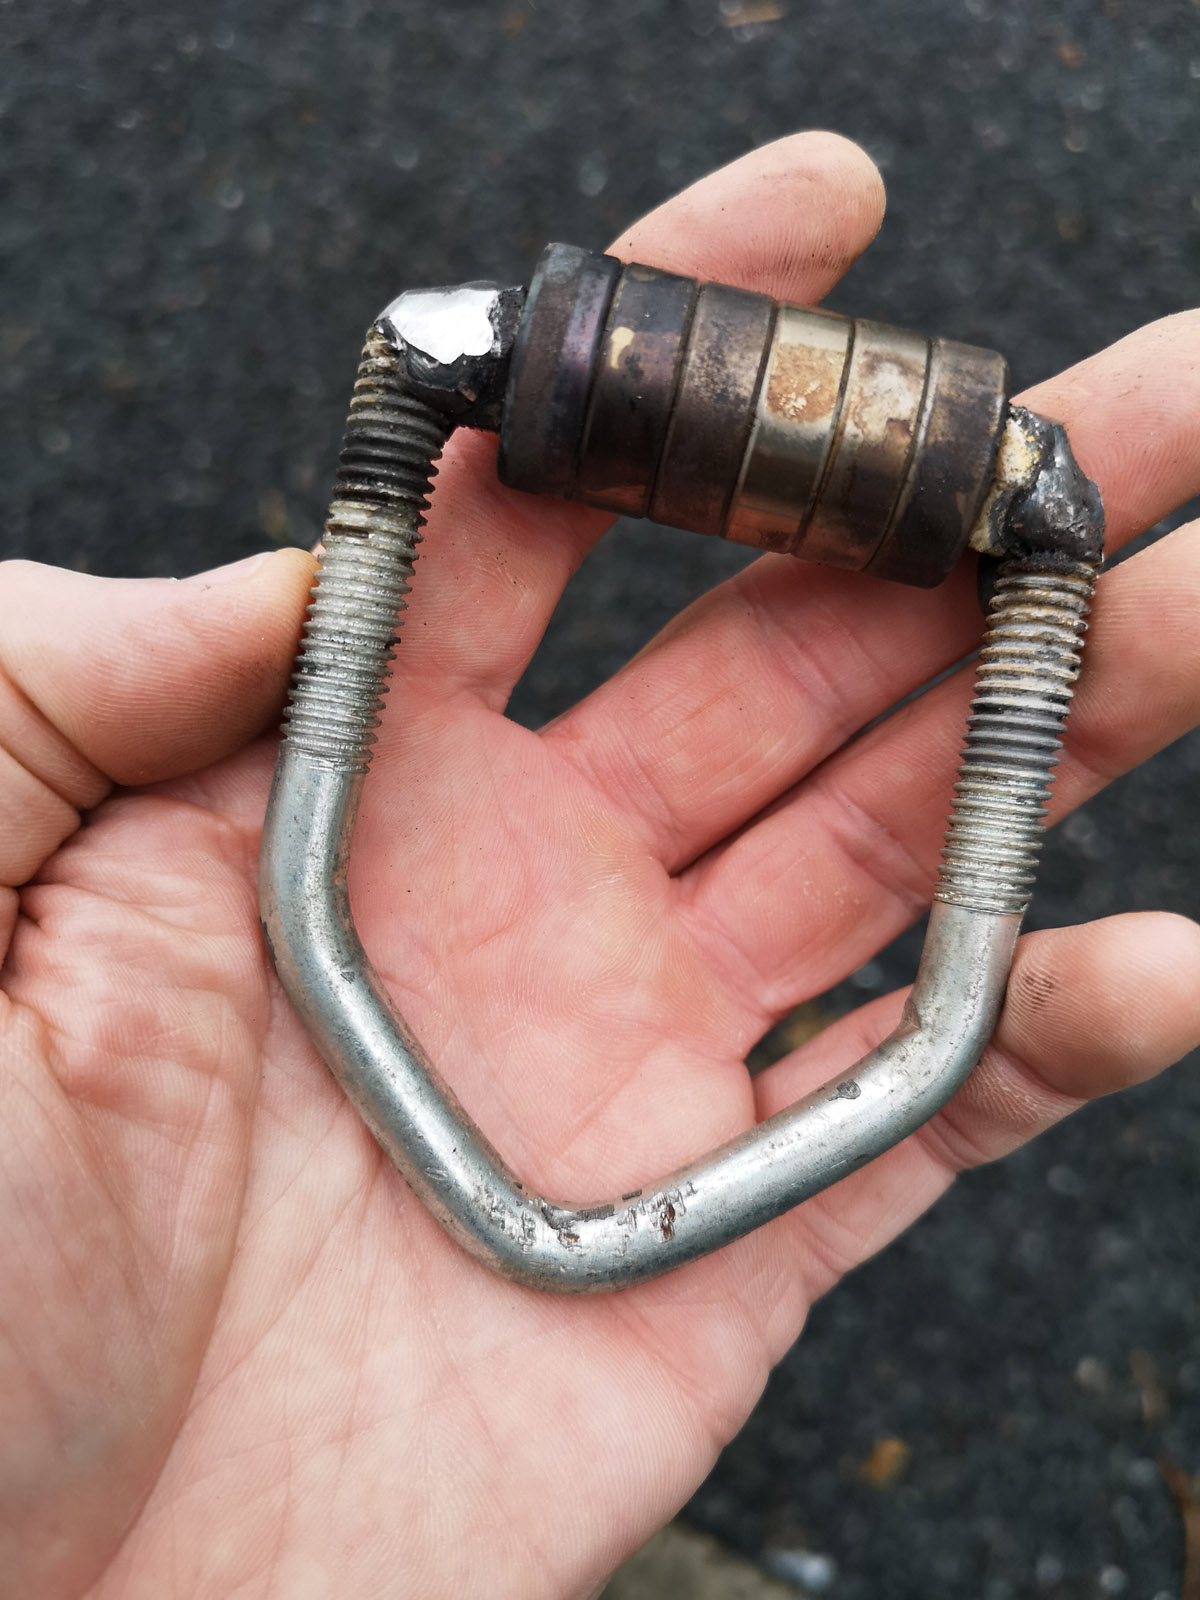
And a but of pipe for a handle:

This thing is heavy duty enough to be able to put serious pressure on the butyl sheets. On with the job.
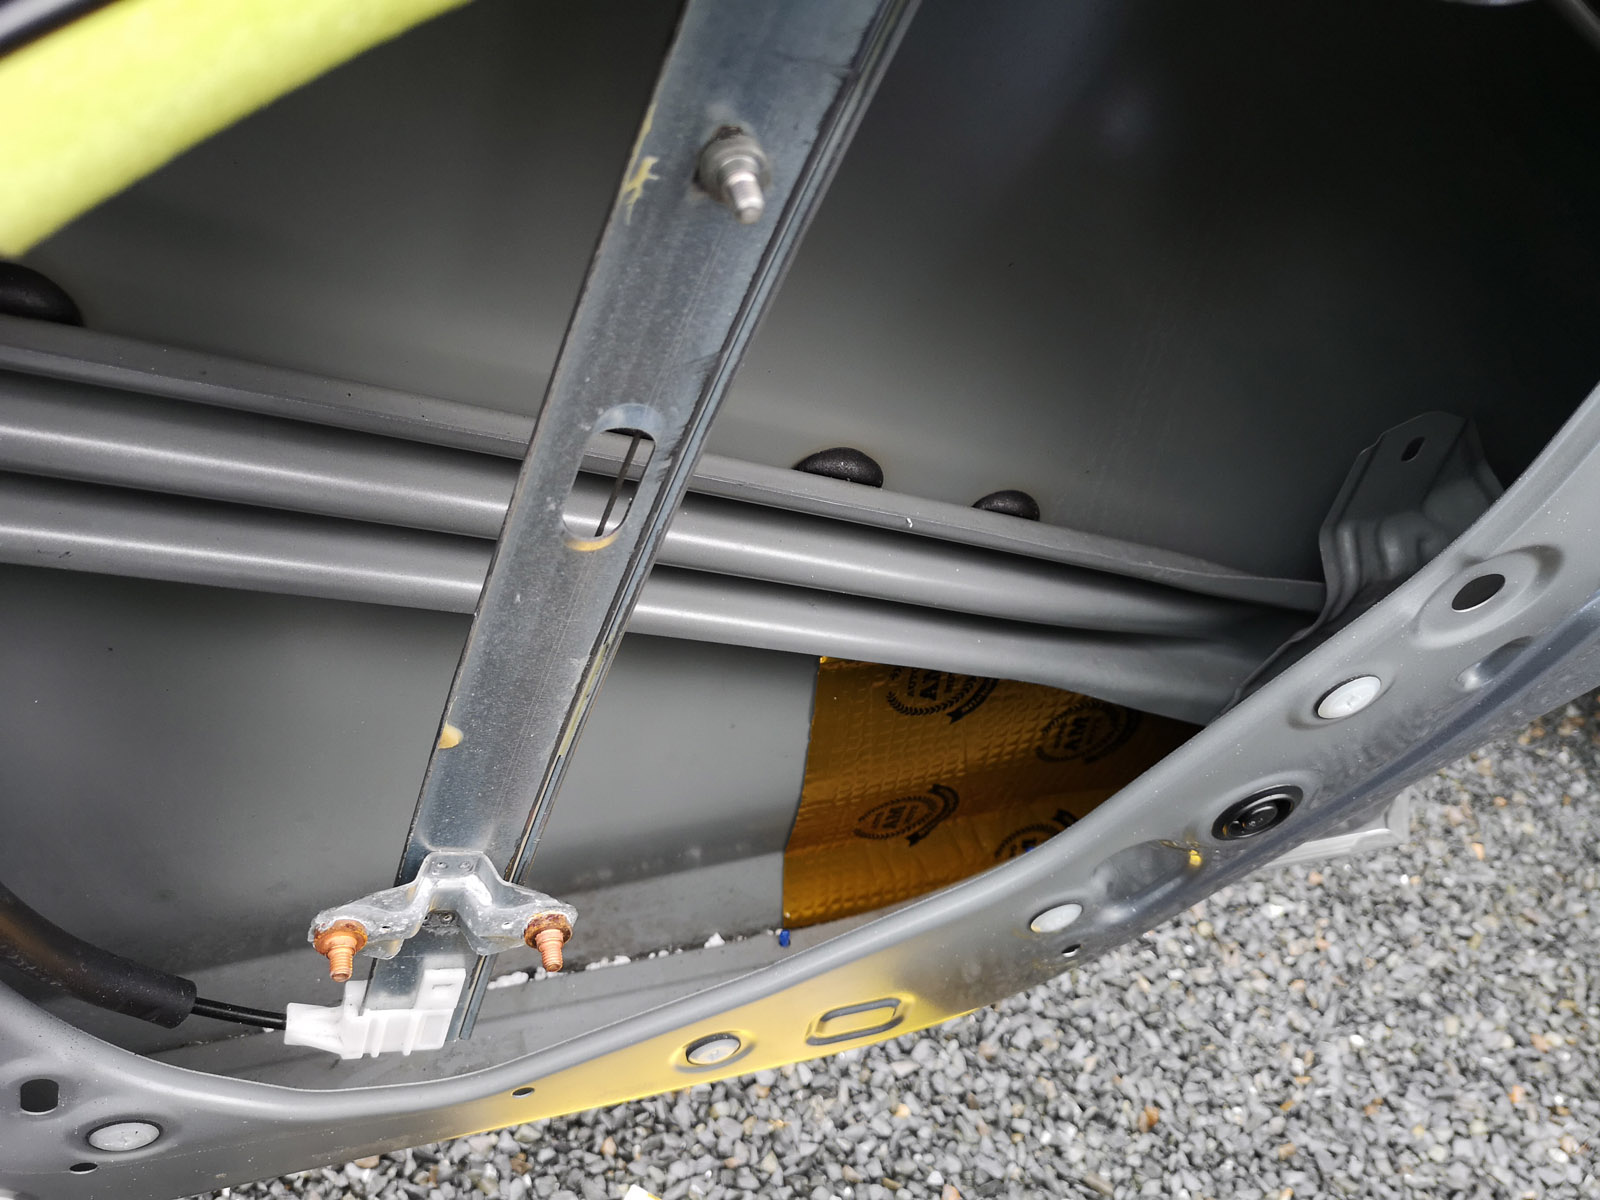
The first sheet went in easily. It’s easy to cut with a Stanley knife (box cutter) and a cutting mat. And once the paper backing is removed, it can be applied to the car and rolled on for good adhesion.
Then I replaced the inner door panel and the speaker.
Before I did the other door, I took a small video.
What that’s also done is to completely reduce any ‘tinny’ noise when closing the doors. That annoyed me, but now it sounds very solid indeed. Another bonus. 🙂
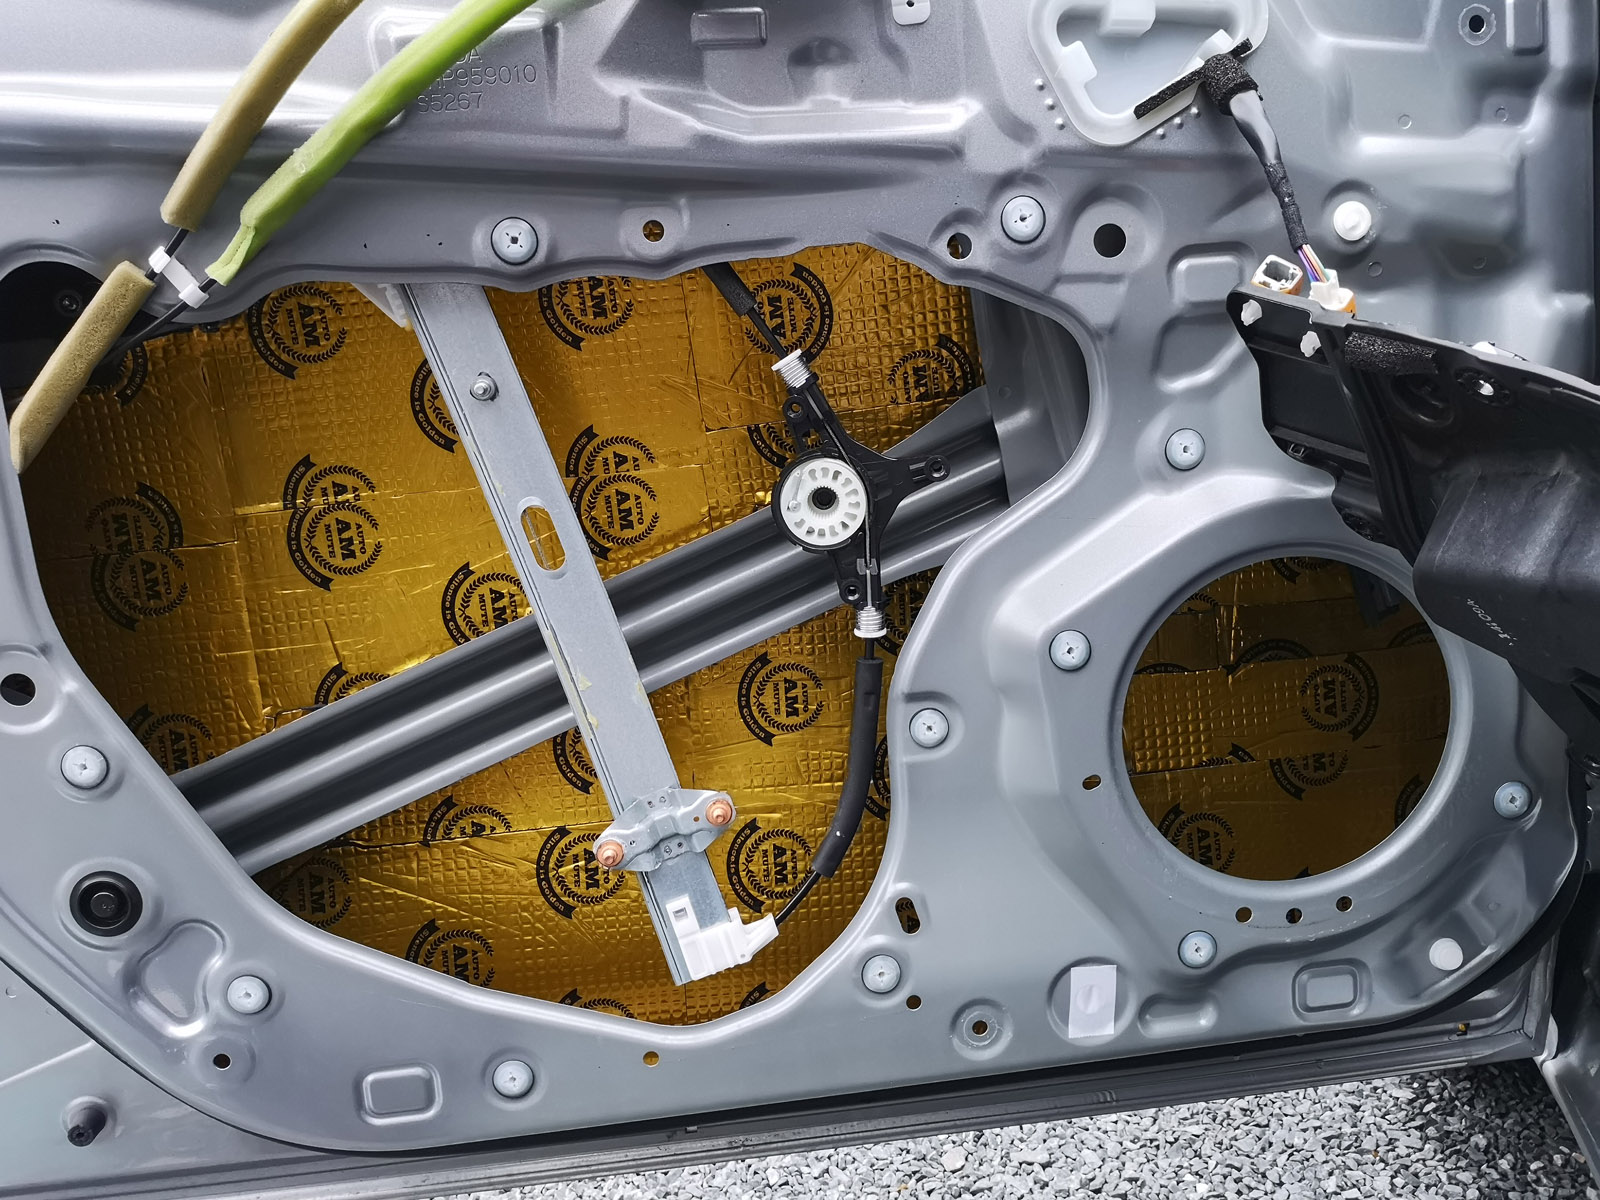
And then, before taking for a drive, I completed the front passenger door.
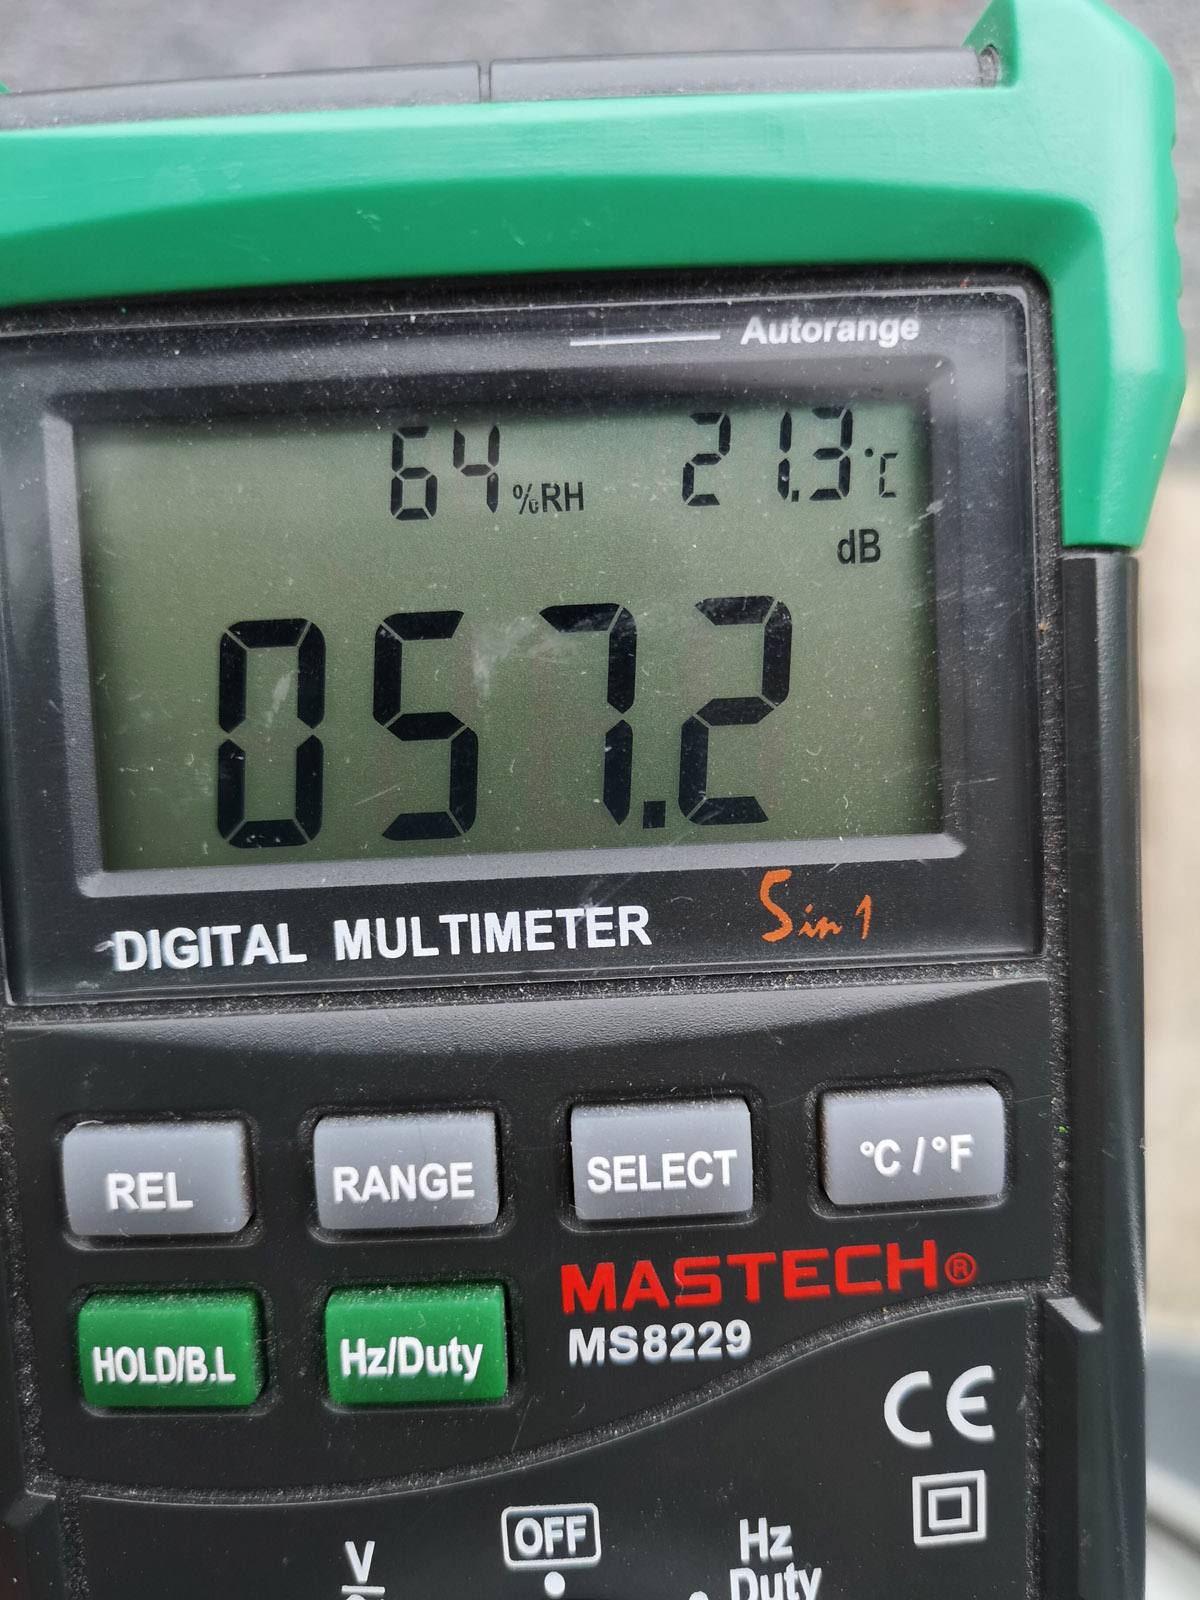
Once I had the panels back in place, I took the car for a drive. This was with noise reduction material in just the front doors. When I was driving, I was measuring the noise level in the cabin with my multimeter, which measures audio decibels. It’s not hugely accurate, but it’s enough to give me an idea of any improvements.
So when I switch my multi-meter into measuring dB, it reads about 34 dB with no perceptible noise (car not running or moving) so I put it into relative mode, with then shows zero, and goes up as I start the car and start driving.
Before I put in any material, I measured an average of about 60dB on a particular stretch of road. The reading was jumping around a lot, but the average looked to me to be around 60 dB.
So when I tool the car out on the same stretch of road, the noise was very perceptibly lower, and the average on the multi-meter was around 57 dB. That’s about half the noise level, if I remember my dB scale. 🙂
So, on to the rear doors. First the right:
Then the left.
So out for another driver, and the measurement seemed around 54-55 dB, another significant reduction in road noise.
For the sake of €50 you’d think that Mazda would put this stuff in all their cars.
Anyway, the doors shut now with a definite thud, and the road noise is dramatically reduced. All the better to enjoy my new speakers with! 🙂